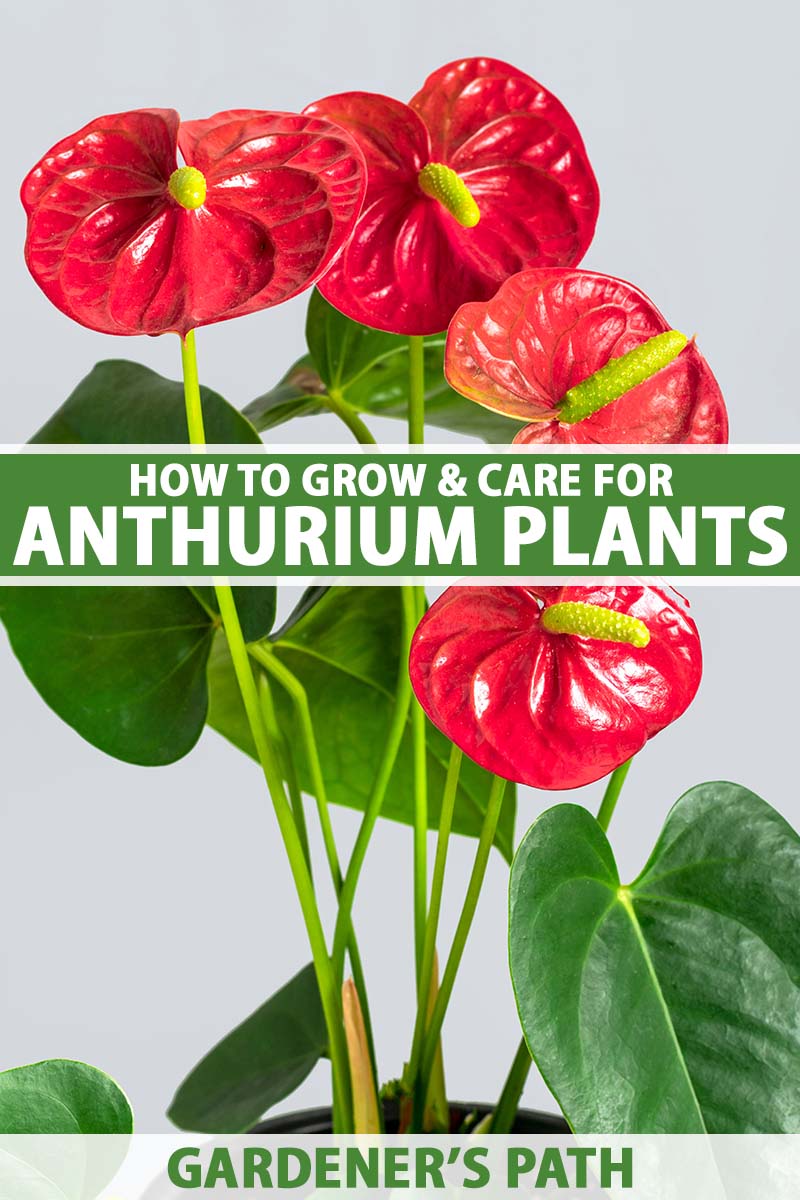
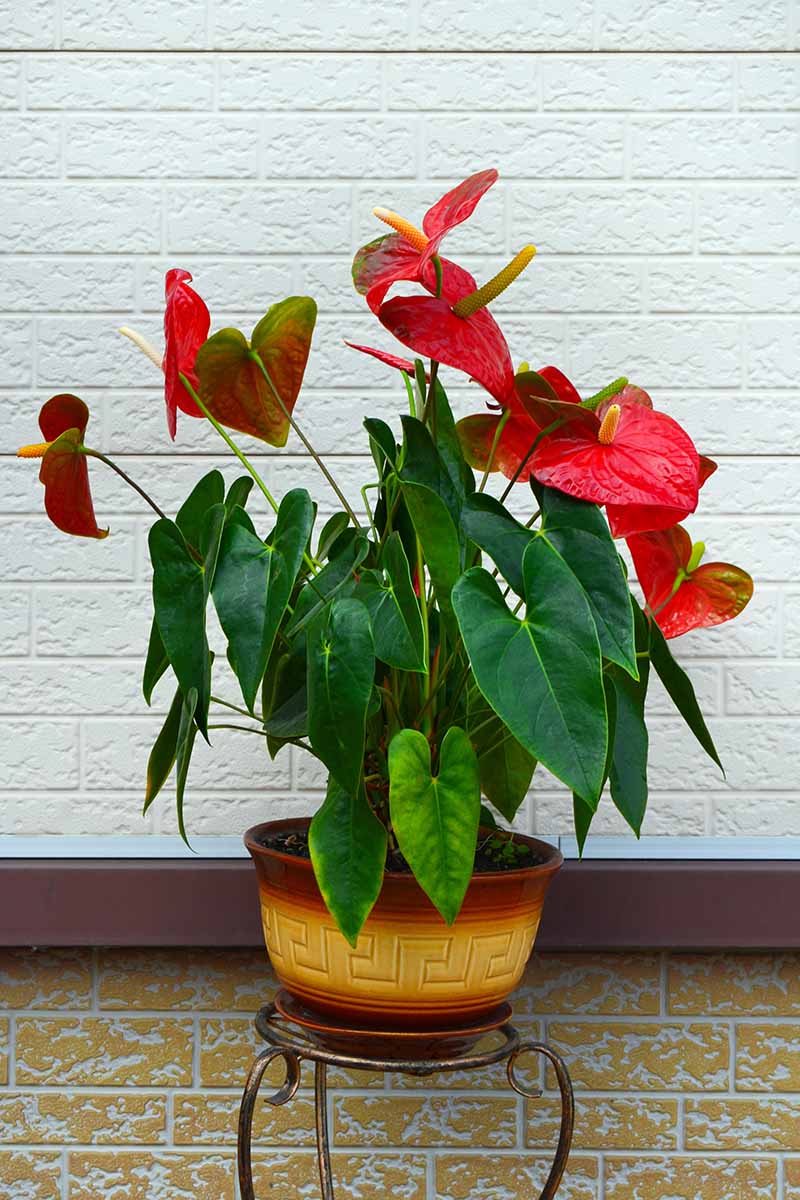
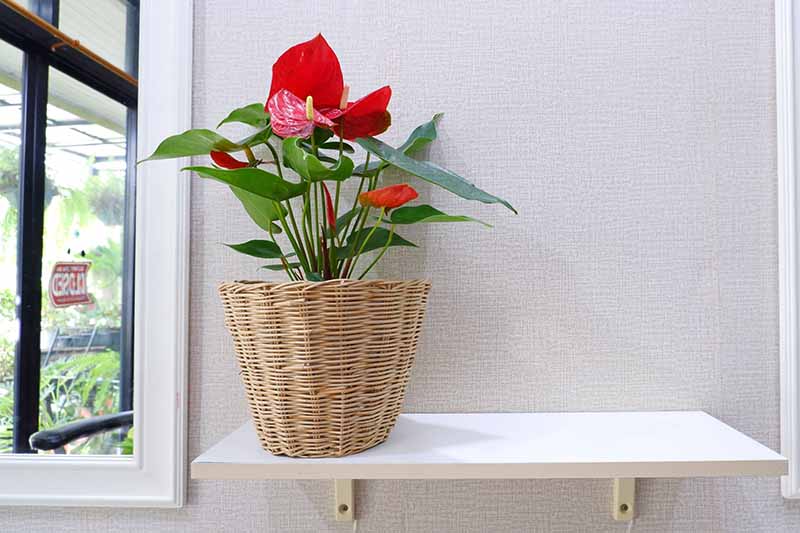
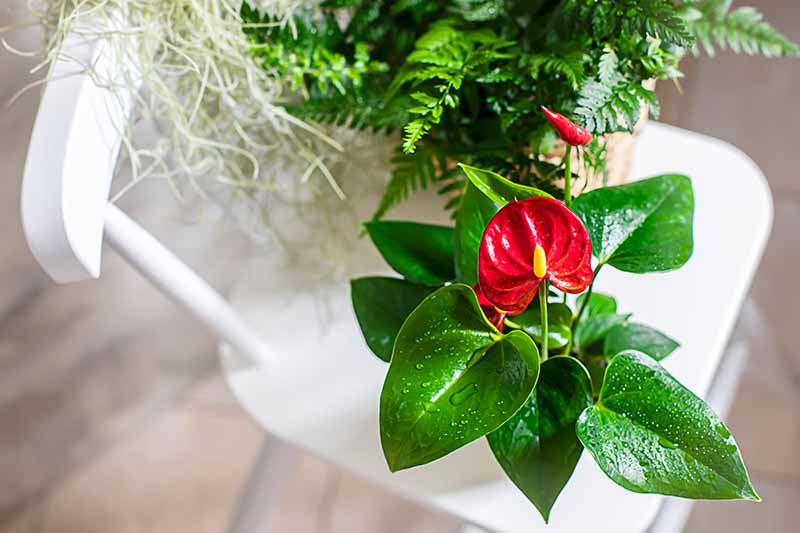
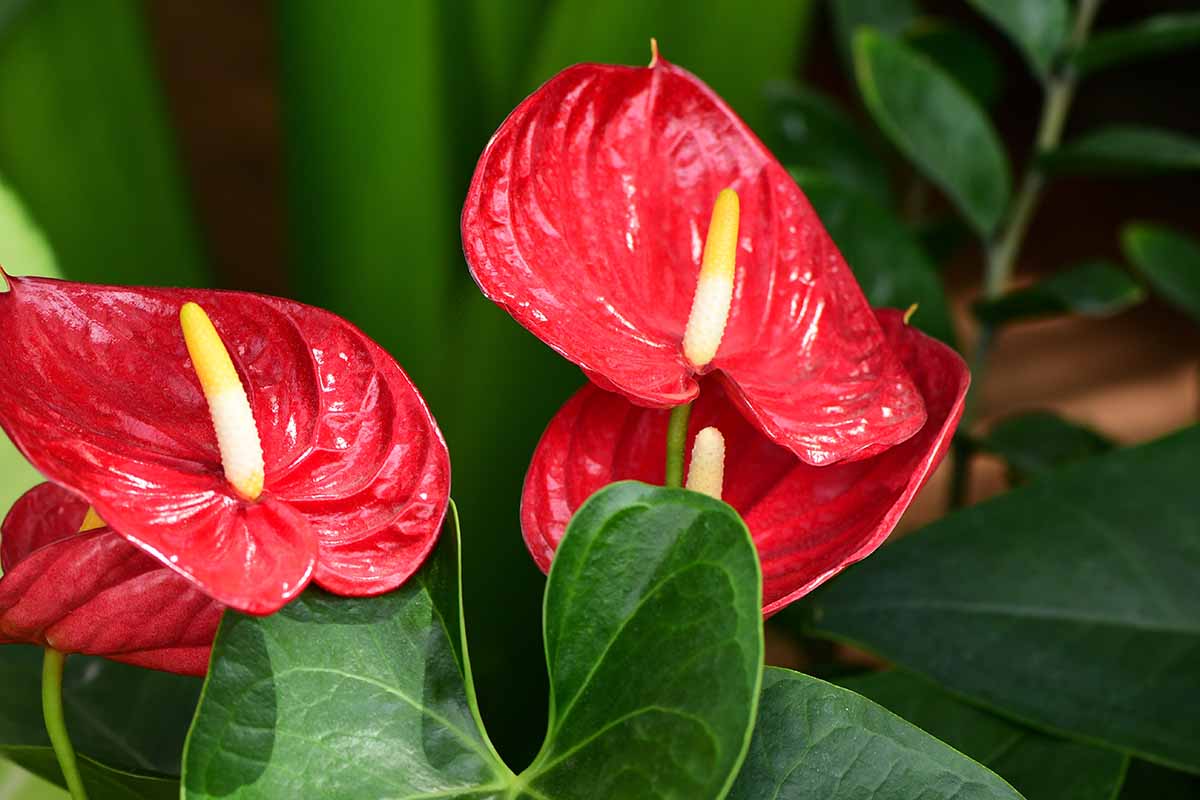
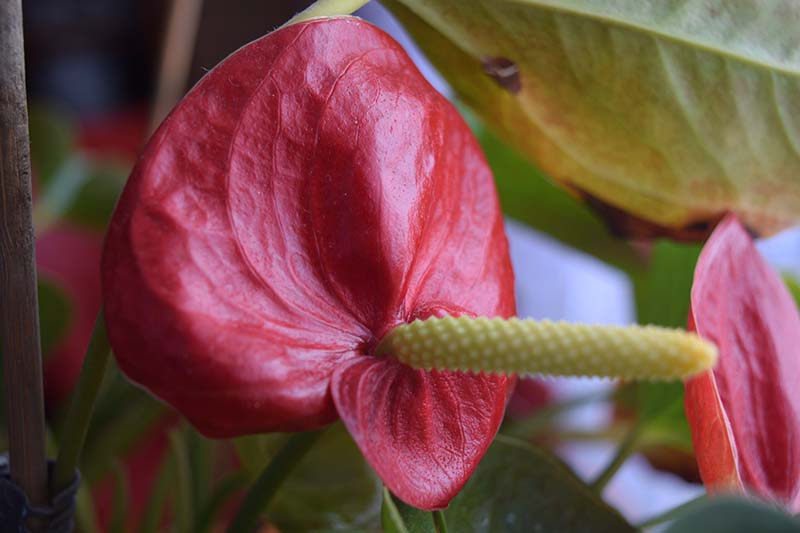
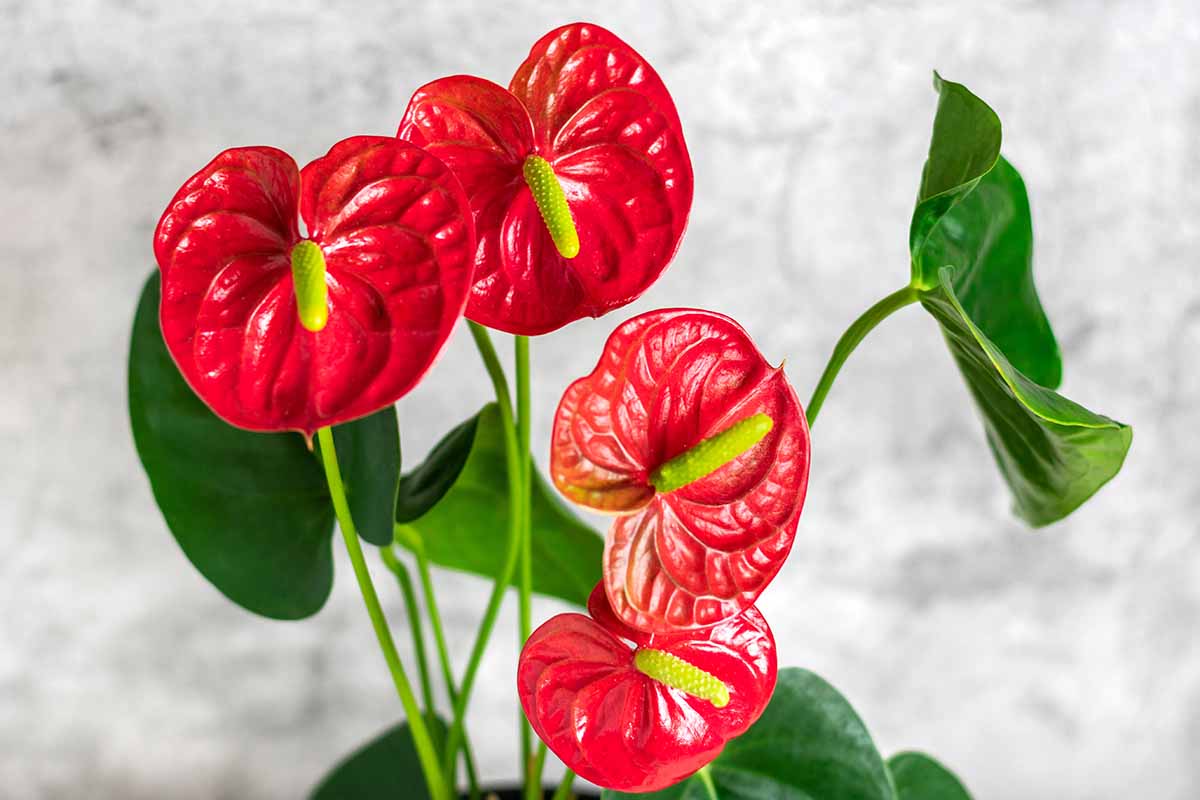
That’s why I’m such a fan of a houseplant known as the flamingo lily. It’s a type of Anthurium, a genus that includes about 825 species. This particular species, A. andraeanum, has heart-shaped spathes that add vibrant color to my indoor decor without demanding a huge amount of effort on my part. I admire colorful houseplants, particularly in the dark days of winter, and these have the added advantage of retaining their color over the course of weeks, not days. Plus, when they’re not showing out in shades of red, magenta, orange, or yellow, the glossy leaves are attractive on their own. We link to vendors to help you find relevant products. If you buy from one of our links, we may earn a commission. Some of these herbaceous perennials can be grown outdoors in tropical-friendly USDA Hardiness Zones 10 and up. But if you don’t live where it’s warm, you can still enjoy these splashy specimens indoors year round, and that’s what I’ll focus on here. Follow along to learn about the non-flower “flowers” on many varieties of this tropical beauty, learn how to propagate it, and discover how to keep your anthurium healthy throughout the year when you grow it indoors as a houseplant. Here’s what I’ll cover:
What Is Anthurium?
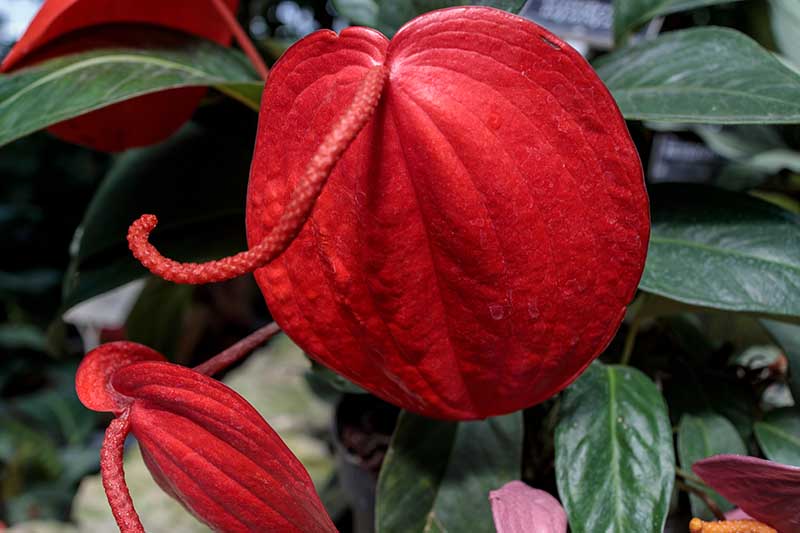
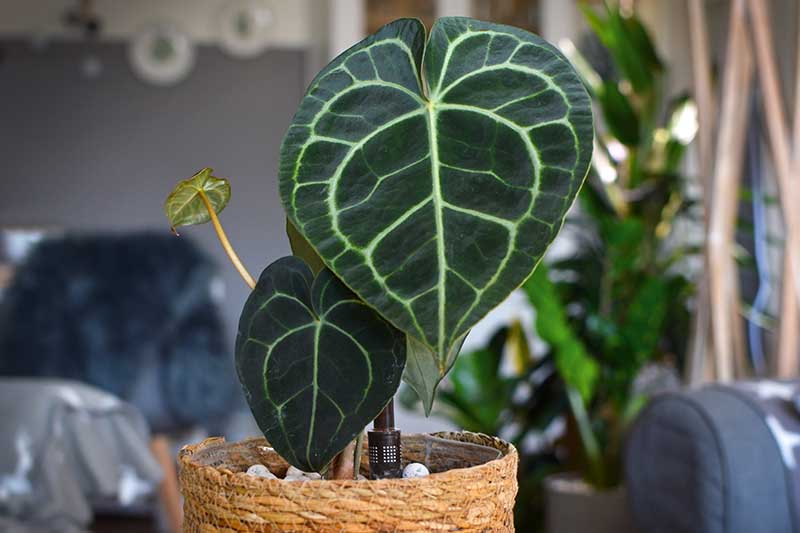
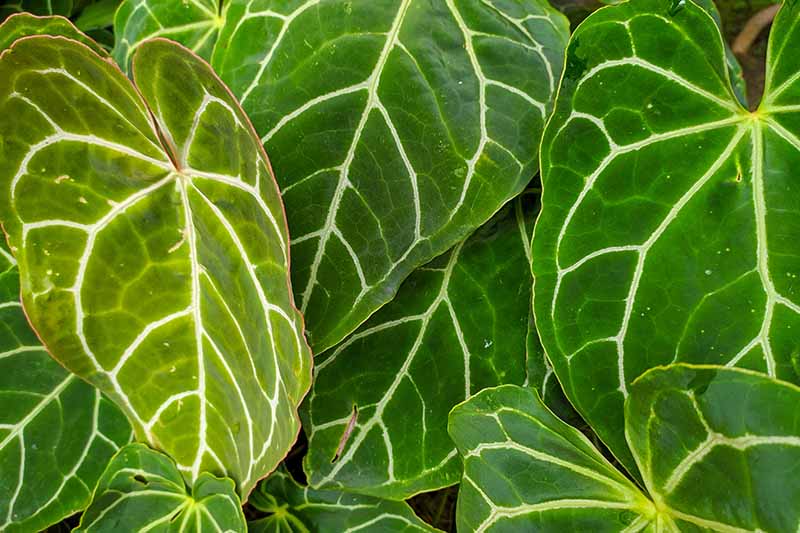
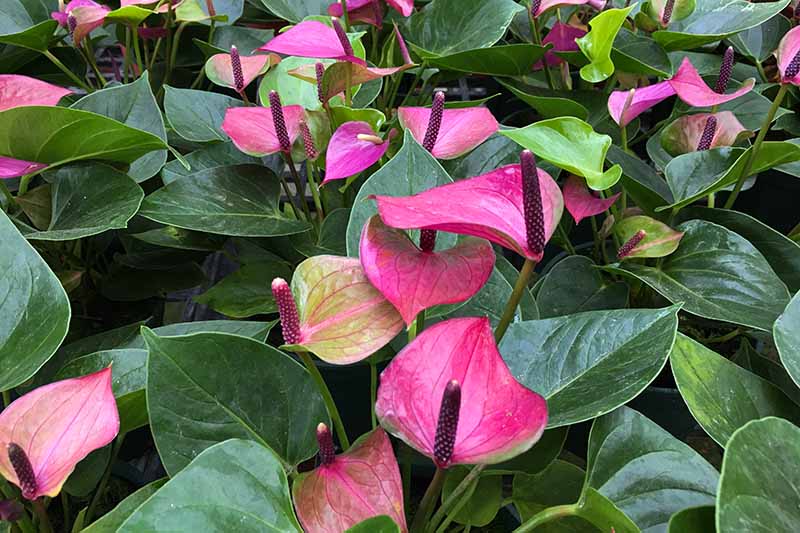
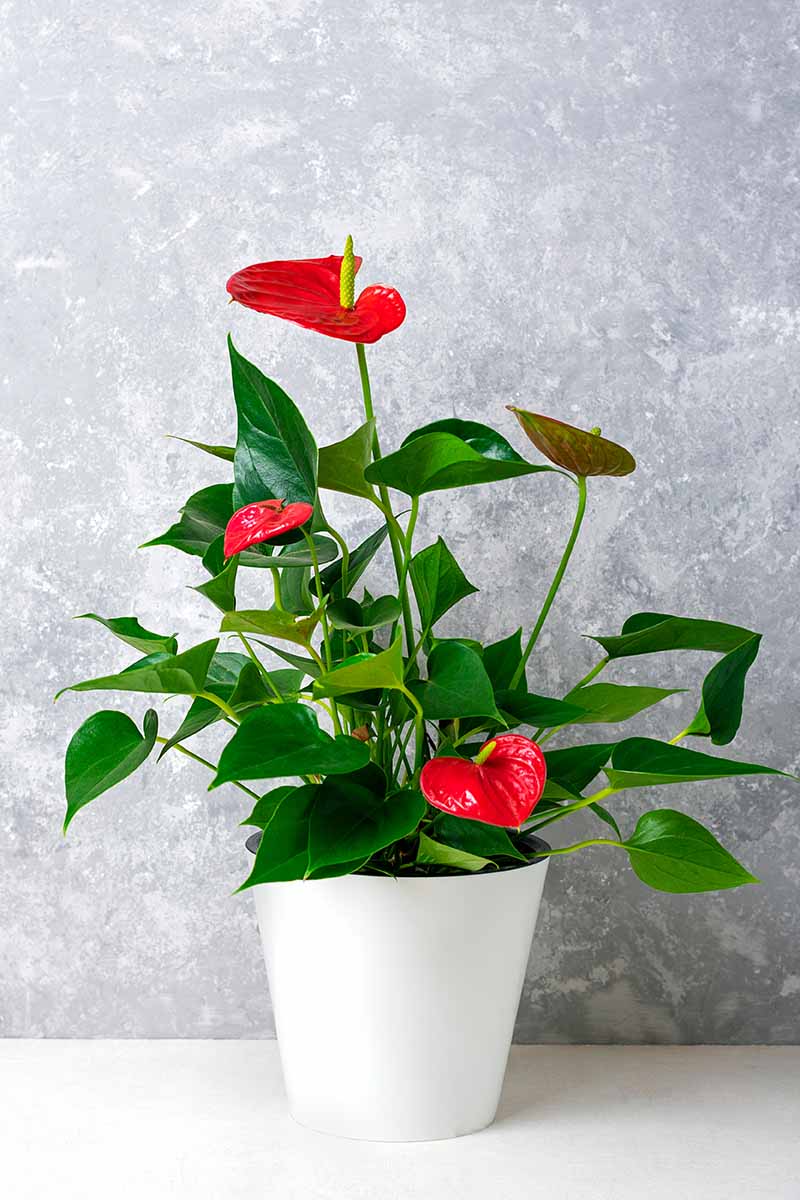
Tropical plants that originated in tropical regions of North and South America, primarily Colombia and Ecuador, anthuriums are epiphytes, meaning they’re air plants that grow in the wild on the surface of other plants via aerial roots. This striking variety of houseplant belongs to the family Araceae, which is vast. It includes more than 100 genera and some 1,500 species. The most unique trait of certain anthurium species is the part that gives the plant its color. These growths resemble flowers, and many folks refer to them as such, but they aren’t really flowers at all! Instead, those vibrantly colored, heart-shaped portions of an anthurium plant are actually modified leaf bracts known as spathes, similar to what you would see on peace lilies. These spathes serve a protective function while the flowers are developing, and they also help to attract pollinators when the time is right. A spadix, a short inflorescence with a fleshy stalk, protrudes from the center of the spathe. This is where the tiny flowers grow, arranged in spirals around the outside, and these are so small that you can barely see them. One of the most colorful species grown indoors is my favorite, A. andraeanum, which grows about two feet tall and produces numerous shades of colored spathes. Another is A. scherzerianum, which grows to about 18 inches tall and produces deep red spathes that have red-orange spadices at their centers. This color combo probably inspired this variety’s common name, flamingo flower, which is sometimes applied to A. andraeanum as well. A few other noteworthy anthurium species also produce spathes, but they are minimal, and these varieties are grown more for their striking foliage. A. clarinervium, also known as the velvet cardboard anthurium, is one that features deep green leaves, with yellow-white contrasting veins. A. crystallinum has a similar appearance, with less deeply lobed leaves. Another variety that has fans among indoor gardeners is A. luxurians, though it’s rare and hard to find. It boasts puckered, leathery, dark green leaves that only grow darker as the plant gets older. Despite their differences in appearance, you can expect all the anthurium species you’re likely to see available for growing as houseplants to have aerial roots. These are necessary for climbing surfaces in the tropics, but serve as a way to form new plants for propagation when you grow them indoors.
Cultivation and History
A. andraeanum is named after French botanist and landscape architect Edouard Andre. All parts of the plant produce insoluble calcium oxalate, a substance that causes people who eat small quantities to experience symptoms including pain, swelling, or burning in the mouth; swollen lips, tongue, or throat; stomach irritation or vomiting; and diarrhea. If a child or adult ingests any part of the plant, immediately call the US Poison Control Center at (800) 222-1222 and follow their advice for further treatment. Anthurium can also be mildly toxic to cats, dogs, and horses, according to the ASPCA. Contact your veterinarian without delay if your dog or cat nibbles the leaves.
During an expedition to South America in 1876, he came across these plants in a Colombian rainforest, and sent a specimen to Europe. It first arrived in Belgium and eventually made its way to Kew Royal Botanic Gardens in England. While A. andraeanum is commonly associated with the Hawaiian Islands today, it didn’t actually arrive there until 1889. Samuel Mills Damon, the son of American missionaries, was a politician and banker in the Kingdom of Hawaii during the 19th century, serving on the board of sugar plantations. He inherited a large piece of land called Moanalua from a Hawaiian princess and developed part of it into a botanical garden filled with many different species of plants from around the world. Damon visited London for Queen Victoria’s golden jubilee, and brought back an anthurium plant for his collection. In the years since, the species has become a much-loved element in Hawaiian horticulture, with botanists there cultivating and naming numerous new cultivars and varieties. Since the 1940s, large-scale commercial farms have cultivated these plants for the local and export markets. Today, the average indoor gardener who’s willing to provide humidity and a few other growing requirements can also have beautiful, colorful anthuriums in the house. Let’s jump right into some ways to grow and care for this houseplant, beginning with propagation.
Propagation
Most gardeners who grow anthuriums pick up either small or fully mature plants from a local nursery, or order them online, and I heartily recommend either option. While commercial growers typically propagate the plants via tissue culture, there are also ways to start new plants that ordinary gardeners can achieve. The easiest and most popular ways include taking a cutting to root in soil or water, or dividing a mature plant with developed roots. Germinating seeds is another possibility, though it is far slower. We cover this method in more detail in a separate guide. (coming soon!) It’s important to note that seeds can only be generated and collected from existing mature plants if you are willing to do the work to collect pollen from the male flowers lining a spadix and then save it until a receptive female flower develops. To prevent self-pollination, these plants produce “perfect” flowers that are both male and female, and that bloom at different times. This is tricky even for commercial growers and research scientists to achieve, and seeds available for purchase aren’t the best option as these should be planted immediately after harvest for best results.
From Cuttings
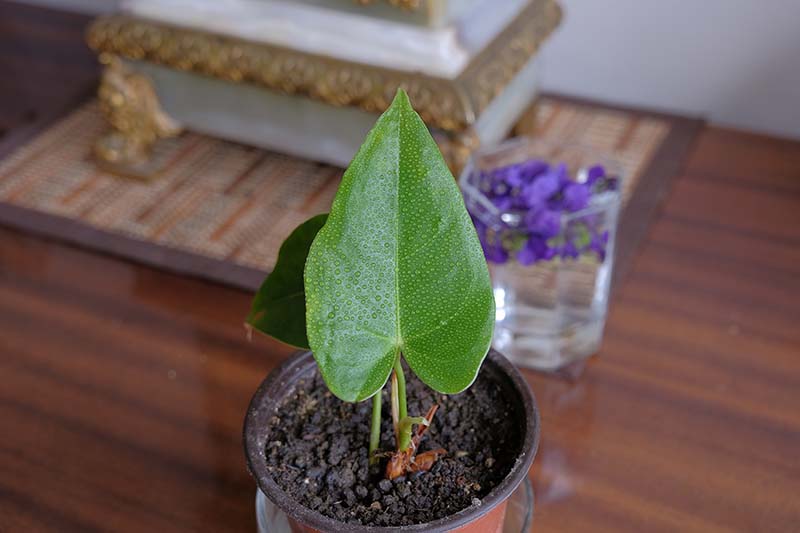
This is the simplest way to generate new anthurium plants, but you will need a plant that has stems that are at least six inches long with at least a couple of leaves and two nodes each. The nodes are the joints where roots will sprout. Using a clean knife, trim off all the brown, leaf-like husks clinging to the stalk, and any colorful spathes. Then use the knife to sever pieces from the stem, making sure each has two nodes to poke beneath the soil on one end, and a couple of leaves on the other end. Jab each piece into a four-inch pot filled with a mix of half sand, and half peat moss or coconut coir. Place the stalks vertically with the nodes positioned a couple of inches below the soil line, and the leaves above the surface. Create the ideal environment by placing the pots somewhere that stays right around 70°F and features lots of bright, indirect light. Also mist the cutting and soil often, and run a humidifier in the area if you have one. Expect the segments to develop roots in four to six weeks. Once they do, you can revert to treating the small starts like you would a mature anthurium in your care. It’s also possible to root these stem pieces in water. For that, put the cut segments upright into a glass filled with two or three inches of water – enough to submerge the end with the nodes but not so much that you can’t keep the leaves on the other end upright and out of the water. Place the cup of water in the same conditions you would if you were using soil to root a cutting. Don’t let the leaves fall beneath the water line, or they’ll rot and ruin the project. Expect roots to form in a matter of weeks. Once they’re a few inches long, you have the option to plant the seedlings into pots or leave them to keep growing in water.
From Divisions
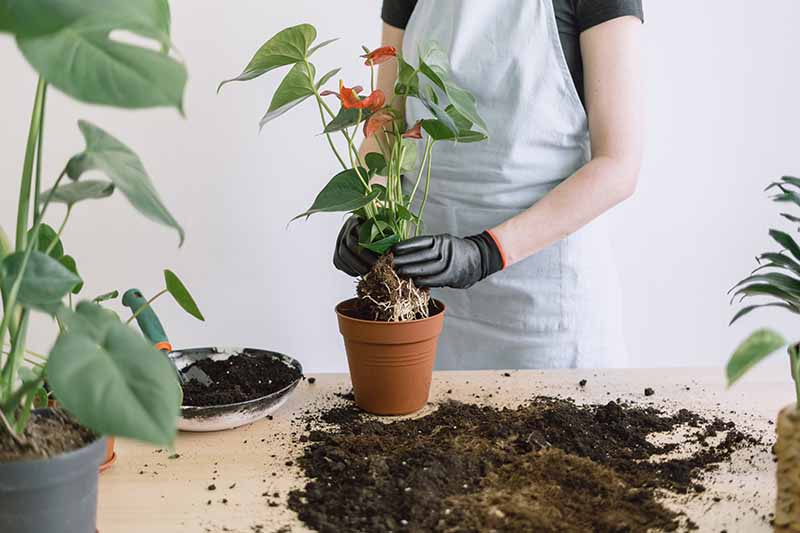
Do you have a friend with a thriving but root-bound plant? It’s probably ready to be divided, which is a fast way to obtain some inexpensive anthuriums that look just like the parent plant. Here’s how: Select a mature plant with compacted roots. If you can spot them growing through the drainage hole in the container, that plant is ready. Ease the anthurium from the pot and rest it on its side on a workspace protected with newspaper or a towel. With a sharp knife, sever the root clump into two sections, assuring that each of the divided root clumps is attached to stems above the soil before you make the cut. Gently pry the two plants apart, and then pot each in its own container of pre-moistened (but not saturated) soil. Voila! Two plants appear where there was once just one.
How to Grow
Preparation is key when you want these colorful houseplants to thrive. For the healthiest specimens long-term, begin by carefully choosing suitable soil. Like other air plants, anthuriums thrive in a coarse and porous growing medium that drains well. You can achieve this with a mix that contains peat moss or coconut coir, pine bark, and perlite. If you don’t want to mix those components yourself, Terasa M Lott, state coordinator of the South Carolina Master Gardener Program, recommends a combo that’s half cactus growing mix and half orchid mix. You can use just about any type of container for growing anthurium, as long as it has drainage holes at the bottom and a saucer to catch the excess when you water. The foliage and spathes are so attractive you may want to choose a decorative planter and make the houseplant a focal point of your decor. But if the objet d’art doesn’t have drainage holes, make sure to plant the anthurium in a pot that does, and then place that pot inside the decorative one. If you want to maximize the number of colorful spathes with their quirky spadix tails – and of course you do! – make sure the plants receive light that’s bright but indirect. Direct sunlight can scorch the leaves, while light levels that are too low cause the plants to grow slowly and form fewer spathes. If you can set them up with a west or south-facing window, they’ll like that. While you’re lining up the ideal growing conditions, be sure that it’s also a spot where they can enjoy temperatures between 78 and 90°F during the day, and 70 to 75°F at night. They’ll do just fine if you keep your space indoors in the 60s, but they won’t grow as fast or color up as often. And to avoid leaf damage, make sure to place them away from heating ducts, air conditioners, and drafty windows. Keep them watered whenever the top quarter of the soil is dry to the touch. Be sure to avoid overwatering, to prevent root rot.
Growing Tips
Place the plants where they’ll get plenty of bright, indirect light.Avoid overwatering to prevent root rot.To avoid scorched leaves or wilting, keep the pots away from heating and air conditioning units and vents.If your plant is droopy, there may several different causes which we in-depth explore here.
Pruning and Maintenance
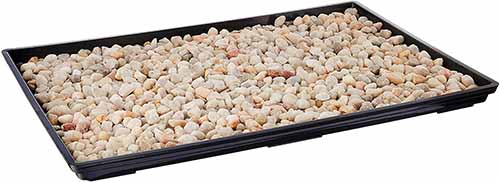
I said there would be little maintenance and lots of color, and that’s really what happens with these plants! Humidity Tray with Decorative Pebbles Remember to keep the water topped up regularly, and empty the tray and sanitize it every couple of weeks. Prune away the spathes once they’ve gotten dry and died off, to encourage more to form. Go ahead and clip any unhealthy stem segments or leaves at the same time, but you usually won’t see a lot of those. Fertilizer is not particularly important, but you can use a high-phosphorous mix every three or four months to encourage more spathes to form. Be sure to dilute it to 25 percent strength. If you’re not typically very diligent about dusting, you might want to make an exception for these plants. Their leaves tend to accumulate particles that interfere with photosynthesis. If you have time, consider wiping the dust off with a dry microfiber cloth once a month or so. And be on the lookout for overgrown, leggy, or compacted roots. While you want the roots to fill the container before you bump it up to a bigger pot size, this is one of those houseplants that does not enjoy being rootbound. When you can see the roots growing through the drainage hole in the bottom, follow these steps: Select a container that has a diameter about two inches wider than the current pot, and that also has drainage holes. Tip the pot on its side and use both hands to gently remove the rootbound plant. With sharp, clean scissors or a knife, trim any roots that look dead or withered. Fill the new pot about a third of the way with growing medium. Center the plant in the new soil, and backfill with potting mix to cover the root ball by about an inch. Firm the soil surface with the palm of your hand. Water in the plant and let it drain for 20 minutes, discarding the excess. Place it back in that ideal environment you’ve created, and you’re done. After that, your plant should be good for another two or three years, since anthurium doesn’t tend to grow very quickly.
Managing Pests and Disease
Anthuriums rarely have issues, but you should still make the effort to prevent these possible infestations and diseases: For the colorful varieties, there are more options. A. andreanum You can find a one-year-old red A. andreanum plant in a Savannah White pot from Fast Growing Trees. For other hues, consider one of these:
Purple
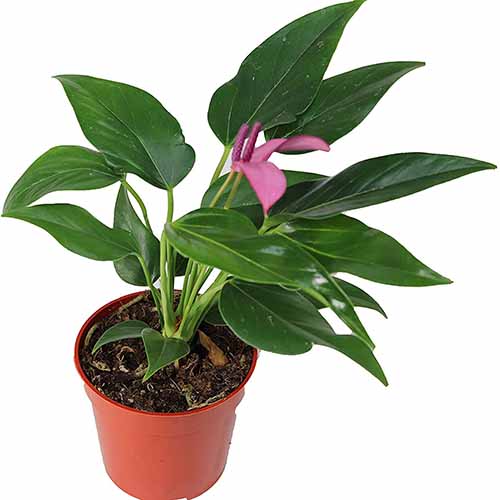
The modified leaves on this variety are more lavender than standard purple.They’re also more delicate and thinner than most – I think they look like flowing segments of wide, pretty ribbon. They’re smooth, not wrinkled, and both the spathes and spadices are that elegant shade of light pinkish-purple. Purple Anthurium
Tickled Pink
Not shy, this one! The hot pink modified leaves are magenta with light purple when they first unfurl, and then turn a distinct hot pink when they’re fully mature. ‘Tickled Pink’ Introduced in 2015, this hybrid cultivar is fairly compact, growing to eight or nine inches tall. The stalks shoot up to about a foot and stand a few inches above the glossy, elongated, heart-shaped greenery. ‘Tickled Pink’ is shipped as a live plant from Burpee.
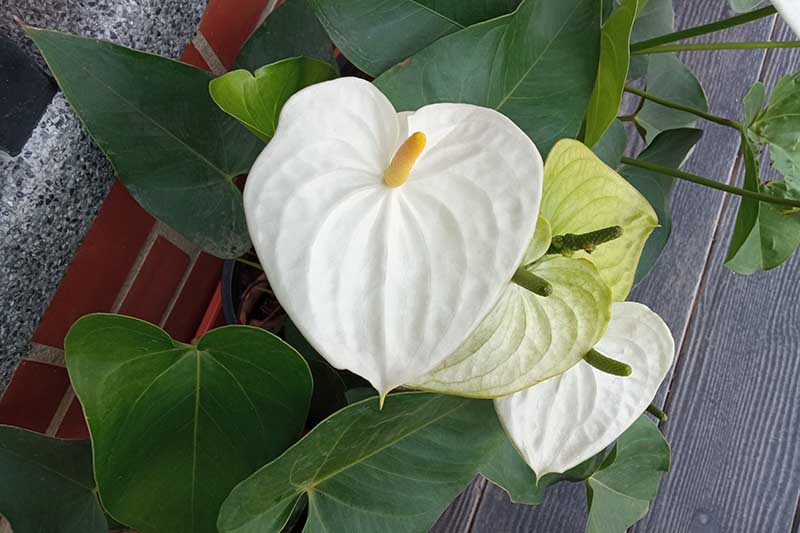
White Heart
This type looks just a wee bit like a peace lily, but the white spathes are heart-shaped and shiny, with a deep pink spadix jutting from the center of each one. The vibrant white is elegant and fresh in contrast to the smooth, shiny green foliage, and this cultivar pairs nicely with bright red types for Christmas decor or centerpieces. ‘White Heart’ Each plant grows 14 to 20 inches tall and spreads about the same amount. ‘White Heart’ is shipped as a live plant from Burpee. Check out our follow-up guide, 7 Types of Anthuriums to Grow as Houseplants, where we dive deeper into some of the different species of this fabulous plant.
Pests
While these tropical beauties don’t attract bugs the way some colorful houseplants do, you may still see the occasional pest insect. Here are four of the main ones to watch out for, so you can eliminate them before they get out of hand and harm your plant:
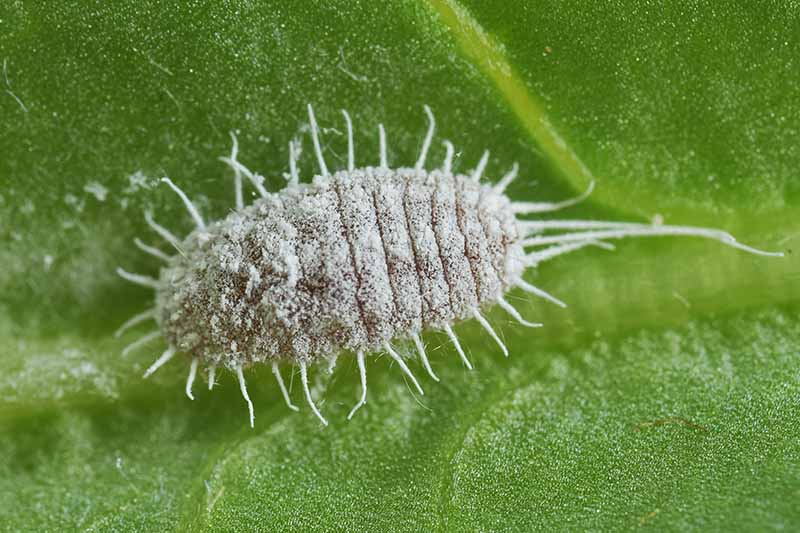
Mealybugs
These lumpy little wingless insects look like grimy bits of gray, damp flour. Pleasant, huh? They eventually form a white mass, and they’ll make the plants drop leaves or stop growing by sucking their sap, and leaving a sticky residue on the leaf surfaces. If you don’t spot them outright, you may be able to tell they’ve attacked if your plants have yellow or shriveled leaves. If you’re vigilant, you can clear a few of these just by spraying the plant with a diluted solution of soapy water. For solutions to a more widespread mealybug infestation, reference our guide.
Scale
These are soft, flat, yellow bugs, Coccus hesperidum, that are easily mistaken for a growth on the stalks. They damage the plants in their nymph stage, mostly, sucking sap and leaving behind a “honeydew” substance that can harm the plants’ ability to grow via photosynthesis. This is where keeping a close eye on your indoor garden really helps. If you spot these icky little scablike bugs while there are still just a few, you can probably take care of them by dampening a cotton pad with rubbing alcohol and using it to wipe them off. If they’ve made the leaves yellow already, you may need to employ insecticidal soap or one of the other solutions described in our guide to managing scale.
Spider Mites
These pinhead-sized bugs, Tetranychidae, are spiders, not insects, and thrive in the same conditions as tropical plants like anthurium. They seek warmth and feed on foliage from its underside, leaving behind brown and yellow spots, and teeny-tiny webs. Eventually, the damage they cause will weaken the plant, and they may move on to spinning their webs on the colorful spathes. Prevention is the best approach. Spider mites like to attack grimy foliage, so make sure to dust the leaves once a month or so. Also keep the plants moist, since spider mites prey on water-stressed foliage. If these arachnids have already made a strong showing on your houseplants, read our guide to learn how to control spider mites through integrated pest management or with biological controls.
Whiteflies
Small, light-colored, winged whiteflies (Trialeurodes vaporariorum) are literally sap-suckers, and they’ll happily make a meal from the foliage of your plant. They, too, leave behind the “honeydew” that can deter photosynthesis. If you’ve spotted these miniscule pests, you may need to enlist the aid of neem oil spray or insecticidal soap. We offer top-notch advice for coping with whiteflies in our guide. Find more tips on identifying and controlling anthurium pests here.
Diseases
It’s rare, but the attractive, healthy leaves that are so characteristic of anthurium may have occasion to turn yellow or brown. Or, the plant might start wilting, or producing truncated leaves or stunted stems. The good news here: Natural aging can account for leaves fading and dropping from the lower regions of the plant. It’s also possible that exposure to hot, direct sunlight has caused the foliage to dry up or look scorched, and that’s easily remedied with a move to a spot that provides bright, indirect light. Those are the easy fixes for these often unavoidable houseplant travails. But anthuriums may come up against two ailments that are more difficult to contend with: Leaf blight and root rot. Either condition may destroy the plants entirely. If, instead of a falling leaf now and again, the whole plant seems to be turning yellow or brown in a hurry, leaf blight could be the source of the deterioration. The water mold Phytophthora nicotianae, an oomycete, thrives in moisture and humidity. It is spread via splashing water and causes leaf blight on anthuriums and a host of other plants. Your plant may be suffering from blight if it starts developing black or brown spots of dead tissue on the margins and centers of its leaves. These lesions will only get bigger if they go undetected or untreated. One potential solution is cutting off the damaged leaves and repotting the remainder of the plant in a newly sterilized pot filled with a completely fresh growing medium. If that doesn’t work, you may lose that plant, which is a bummer. To prevent another case of leaf blight, eliminate overly-humid growing conditions, and be sure to only water your plants at the soil line, not overhead. To learn how to bottom water houseplants, check out our guide. Root rot is the most nefarious of the ailments anthuriums can develop, and may necessitate tossing the plant. Oomycetes in the Pythium genus are a common cause of root rot. It affects the root system, which can lead to failure to take in water through the roots, and the affected plant will eventually turn yellow and die. The simplest way to avoid this calamity is to make sure you let the water drain each time you water your plant, and throw away any excess that pools in the saucer below the drainage holes. Standing in accumulated water can quickly set off a bout of root rot. To determine whether your plant is suffering from this malady, give it a sniff. If the rot has progressed sufficiently, the roots will smell foul. Also take a look at the roots, first peering at them through the drainage holes in their container if you’re able to. If they look brown at all, or if you’re unable to see them, ease the plant from the pot to look for mushy or slimy blackened roots. If you do detect that sort of decay, you may want to make a last ditch effort to trim the rotten spots with sanitized scissors, disposing of the debris and then repotting the plant infresh growing medium in a clean container. Sadly, the only solution for root rot is often to simply trash the plant and start over. It’s unfortunate, but next time you’ll know not to overwater or leave the plant in standing water. It really is an easy-care option, and could be the gateway to an expanded collection. Or maybe you’ll stop at one, and that’s fine, too! What’s your attitude towards anthurium? Whether you’ve grown all the colors of the rainbow already or are just starting out and still have questions, your input is welcome in the comments section below. And if you found this coverage valuable, you’ll probably enjoy reading these tropical houseplant guides next:
How to Grow and Care for Christmas CactusHow to Grow and Care for Areca PalmHow to Grow and Care for Rubber Trees
