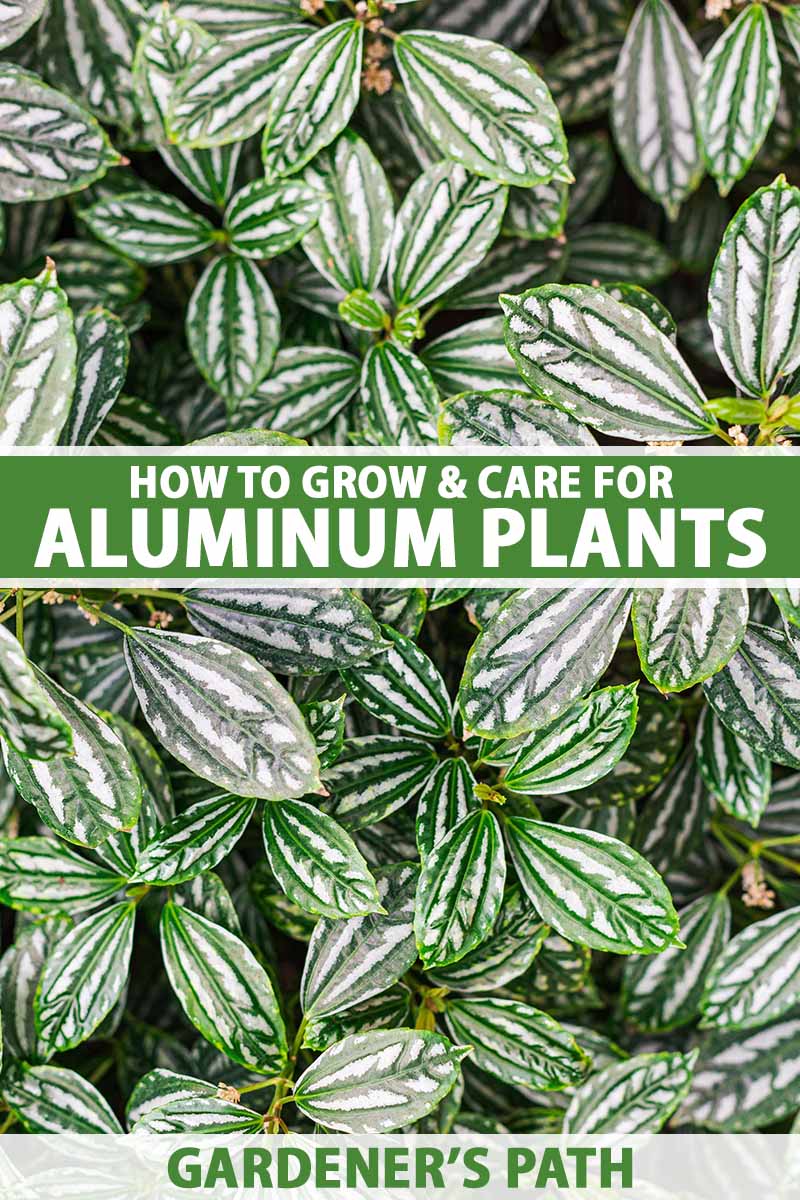
It has a shrub-like, clumping growth habit and is appreciated for having texturally rich foliage that is green with silver markings. P. cadierei is one of approximately 600 types of non-stinging Pilea species in the Urticaceae, or nettle family that contains stinging nettle and clearweed. We link to vendors to help you find relevant products. If you buy from one of our links, we may earn a commission. Here’s what’s in store: Ready? Let’s get into gardening mode.
Cultivation and History
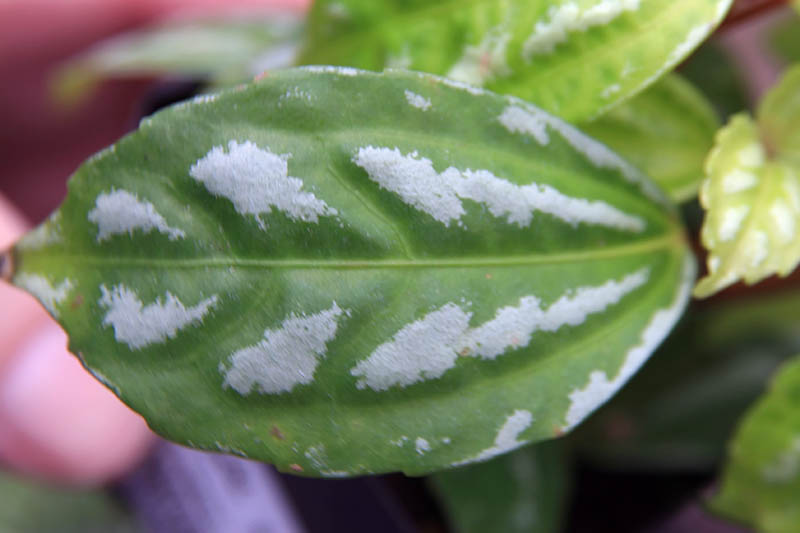
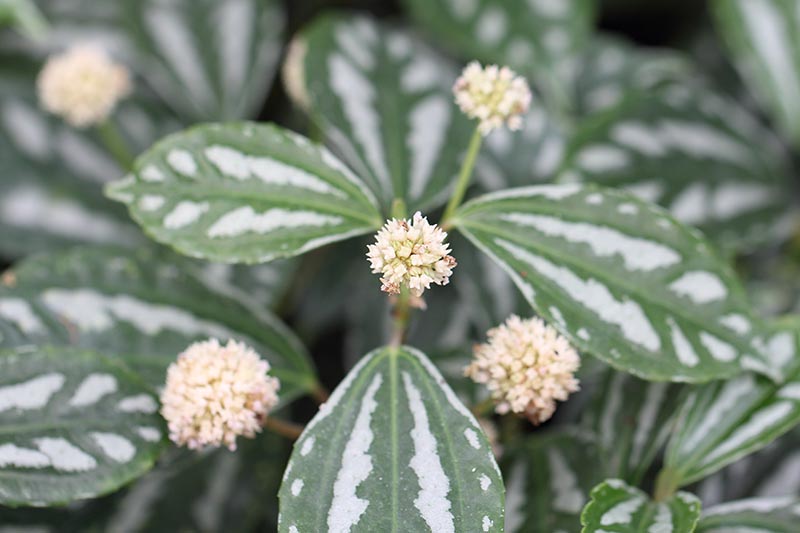
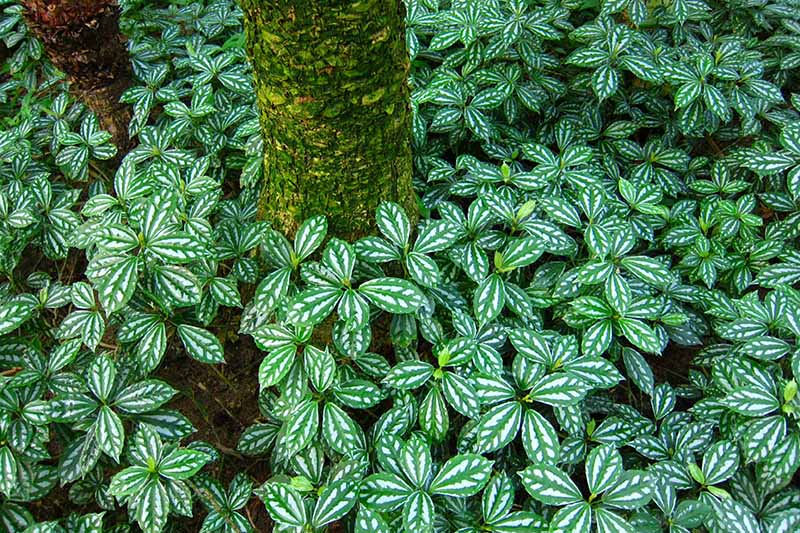
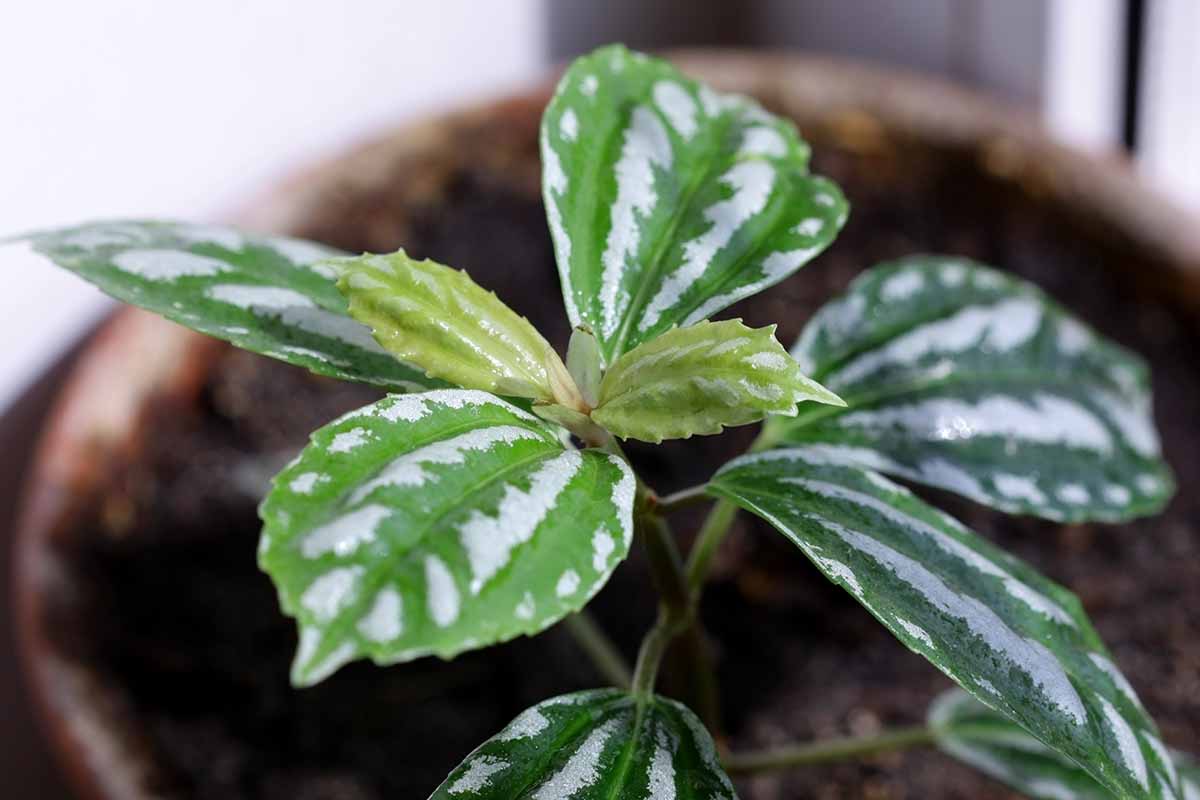
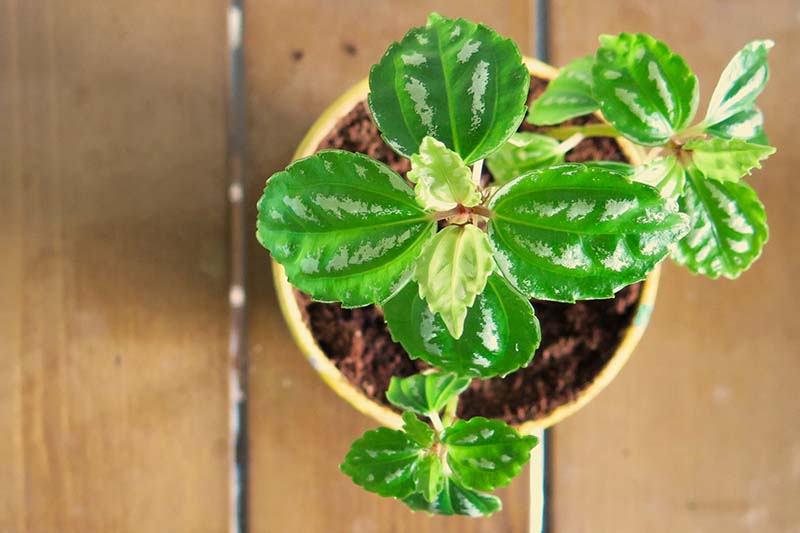
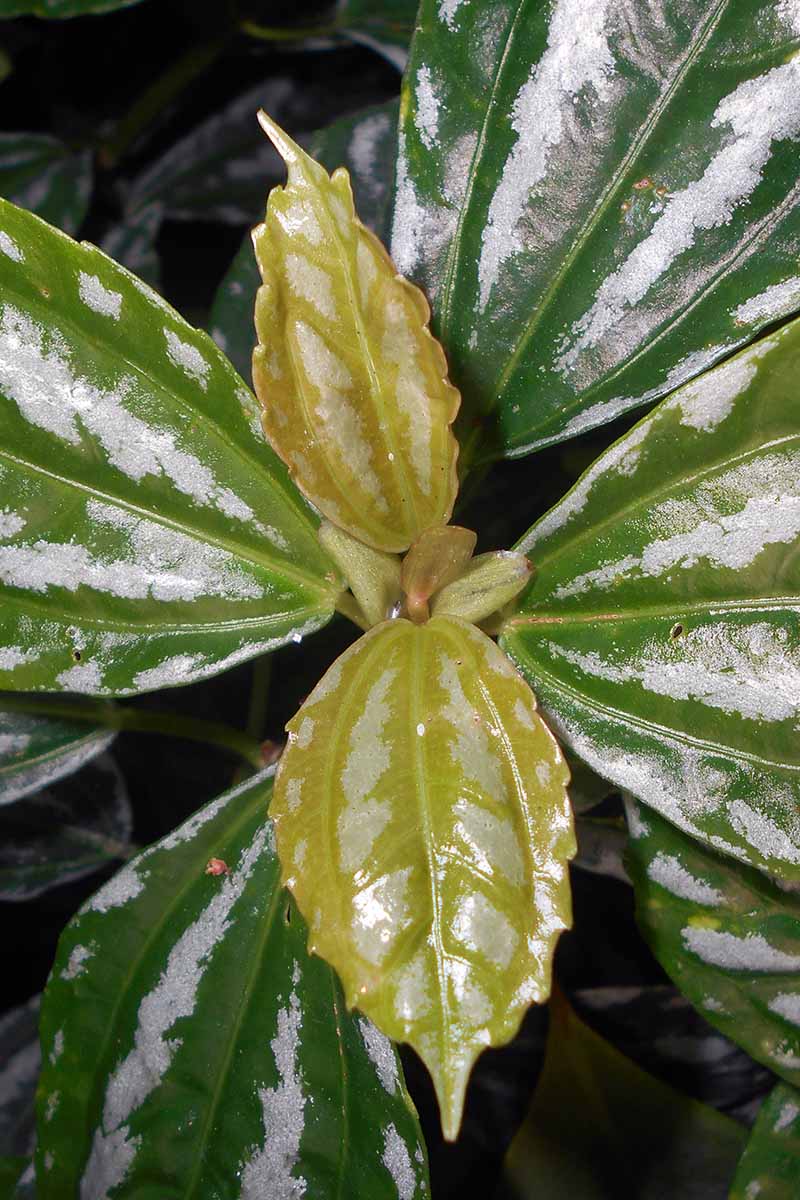
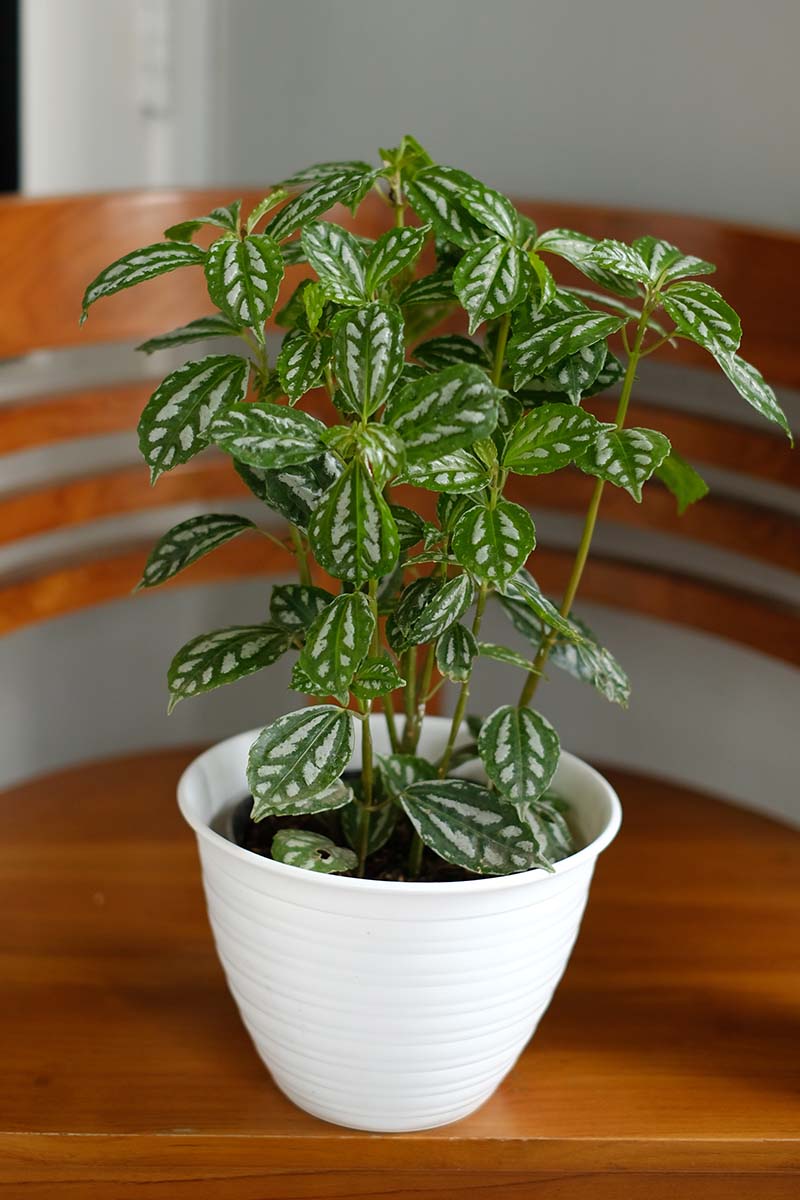
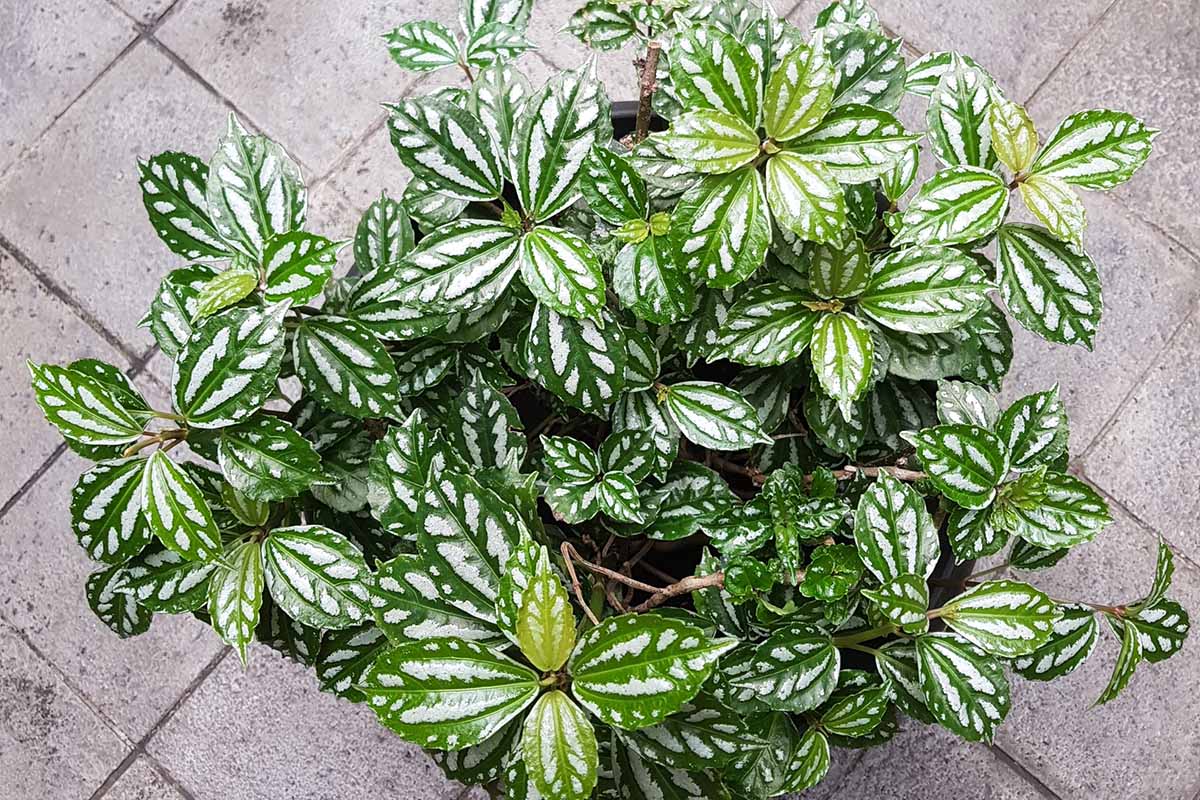
Also known as watermelon pilea, the silver-streaked foliage of P. cadierei resembles the striping on the rind of the classic summer melon. It’s an intriguing pattern. Between the leaf veins there are raised areas, and the fact that they are highlighted with silver makes them stand out strikingly. The leaves have serrated margins, and are a cross between elliptical and ovate in shape, as some are pointed, and others are more rounded. The leaves feel waxy, and the stems are fleshy, like those of a begonia or succulent species. The flowers are nondescript with a greenish-white color. They grow in cymes, which are flat-topped inflorescences, or clusters. In their natural habitat, blooms appear in spring and summer, but they are rarely seen on houseplants. With a manageable mature height of nine to 12 inches and a spread of six to nine inches, this little cutie is well suited to indoor gardening, especially in small spaces where it can shine as a standalone showpiece. P. cadierei is native to China and Vietnam, where it grows as a ground cover over the jungle floor, thriving in shade and dappled sunlight with an abundance of heat and humidity. P. cadierei likely made its way west as one of a host of tropical specimens destined for study, cultivation, and introduction to the burgeoning ornamental plant market of the early 20th century, when imported palms graced Victorian parlors. And although it is a relatively short-lived species that is unlikely to last more than five years, it’s so easy to propagate from stem cuttings that you can enjoy it well into the future. Let’s find out how!
Propagation
To start your own watermelon pilea, you’ll need to take a stem cutting from an existing plant or purchase a new one from a nursery that you can transplant to your own pot as desired. First, let’s talk about taking cuttings and rooting them in either water or soil. Then we’ll move on to nursery pots.
From Stem Cuttings
The best time to take cuttings is during the growing season in spring or summer. To take a cutting from a stem, start at the growing tip and measure down about three inches. Use clean scissors to cut cleanly across the stem about an eighth of an inch below a pair of leaves. Snip off the lowest leaves so you’re left with a length of bare stem at least two inches long, with the top leaves intact. There should be no leaves below the surface of the water we’re going to put the stem in. Choose a four- to six-ounce container and sanitize it with a 10 percent bleach solution (one part bleach to nine parts water), then thoroughly rinse and dry it. Place the stem in the container and fill it with two inches of water. Set the container in a location with bright indirect sunlight and a temperature between 60 and 75°F. Change the water every few days to keep it fresh. You’ll see fragile white roots sprouting from the bottom of the stem in a few weeks. Once the roots are less fragile, in another week or so, it’s time to transplant the cutting to potting soil. Choose an attractive, well-draining container that can accommodate bushy dimensions of nine to 12 inches tall and six to nine inches wide. Fill the pot three quarters full with an organically rich, loamy potting medium that is light and airy, moisture retentive, and well-draining. A pH of between 5.0 and 6.0 is ideal. Make a one-inch hole in the soil with a dibber, chopstick, or the like. Gently insert the rooted stem into the hole and tamp the soil around it securely, then water well. If you wish to start your cutting in soil, you can dip the cut end in rooting hormone powder, then set the cutting one inch deep in a starter pot filled three quarters full of potting medium. Maintain even moisture. New growth is evidence of successful root formation. At this point you can pot it up into a larger container as discussed below. After taking a cutting just below a leaf node that will readily root for a new plant, it’s good to clean up the original stem, instead of leaving a length of bare “stump.” Trim the stem to a point that is one-eighth of an inch above a pair of leaves, to stimulate upward and outward foliar growth.
From a Nursery Pot
When you purchase a potted specimen, you may wish to repot it in a container of your choice. Choose a container that will accommodate the mature dimensions of the plant, and ensure that it has drainage holes in the bottom. Here’s how to transplant from a nursery pot: Gently unpot the plant and loosen the soil and roots. If they are tightly coiled, or “root bound,” you can snip the lowest roots to loosen them and flay them outward to encourage them to spread out. Place the entire contents of the original pot in the new container. Set it so the plant is at the same depth in the new pot as it was in the old. Fill in with organically rich potting soil as needed. Ideally, you should leave one inch of space from the rim of the pot to the soil surface to allow for watering without overflowing. Tamp the soil down to secure the plant in the new pot, and water well.
How to Grow
Keep your plant in a room with temperatures between 60 and 75°F, and provide bright indirect light. Direct sunlight, especially through a windowpane, can scorch foliage and should be avoided. Aluminum plants thrive in soil that is kept evenly moist, but not waterlogged. Water the plant before the soil in the pot dries out, taking care to avoid wetting the leaves. Leaves that stay wet invite fungal growth. If your home is especially dry, you may want to increase the relative humidity for your aluminum plant. Here’s how to do it with a bed of moist pebbles: Find a non-rusting pan that is two to four inches deep, and enough pebbles or marbles to cover the bottom of it in a single layer. Avoid painted products as they may deteriorate when sanitized. Sanitize the pan and pebbles by soaking them in a 10 percent bleach solution for 10 to 15 minutes. Rinse thoroughly and dry. Fill the pan with a single layer of pebbles. Add enough water to the pan to barely cover the pebbles. Put the potted plant on top of the pebbles. At planting time and each spring, feed with a well-balanced liquid fertilizer per package instructions. Continue to feed monthly during the growing season to stimulate the production of healthy foliage. In autumn, growth slows down, and a period of dormancy begins. Reduce watering and suspend fertilizing until the following spring. Note that if bright indirect light is unavailable, a quality grow light is a viable option. Please see our article on grow lights to choose the best model for you.
Growing Tips
Caring for an aluminum plant is not hard when you remember the following:
Cultivate P. cadierei in a room with a temperature of at least 60 and no more than 75°F.Place a bed of wet stones beneath the pot to increase ambient moisture for this humidity-loving tropical and keep it wet.Fertilize with a well-balanced liquid fertilizer at planting time and monthly throughout the growing season.Maintain even moisture by watering before the soil completely dries out and reduce watering during the fall and winter.
Maintenance
This is a moderate amount of maintenance involved in caring for your aluminum plant during the growing season. You may read that it’s a low maintenance plant, but you’ll need to be diligent about watering as you can’t let the soil dry out during the most active growing periods of spring and summer. During dormancy in fall and winter growth is suspended and the soil dries out more slowly, at which time maintenance is reduced. In addition, this is a fast-growing species that requires regular pruning during the growing season to maintain a compact form. The removal of dead and damaged leaves as well as leggy stems optimizes visual appeal. Always sanitize pruners in a 10 percent bleach solution (one part bleach to nine parts water) before and after use. Make cuts just above a pair of leaves to stimulate upward foliar growth. If you are going to use the pruned stems as cuttings to propagate new plants, recut them just below a pair of leaves to stimulate root growth below the leaf node. To encourage bushier growth, you can wash your hands and use your thumb and index fingernails to periodically pinch off the top inch or two of fresh spring and summer growth. Maintain even moisture by watering before the soil completely dries out. Take care to water the soil, not the leaves, as wet leaves are prone to diseases and rotting. And finally, remember that P. cadierei is a tropical specimen that craves moisture. If the growing environment is too dry, it may not thrive. Instead of misting the leaves, as one would logically think to do, use the pan of pebbles discussed above. Add water to the pebbles as needed to keep them barely covered. Periodically, say every month, give the pan and pebbles a thorough sanitizing with a 10 percent bleach solution before adding fresh water.
Managing Pests and Disease
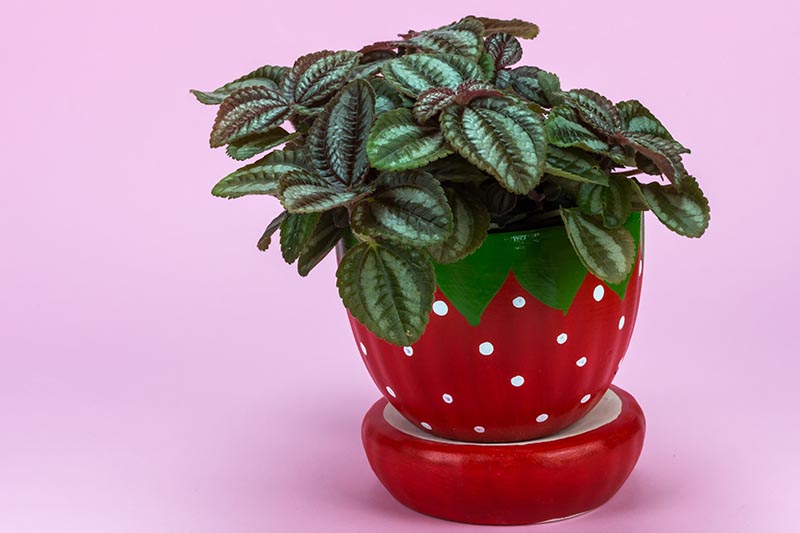
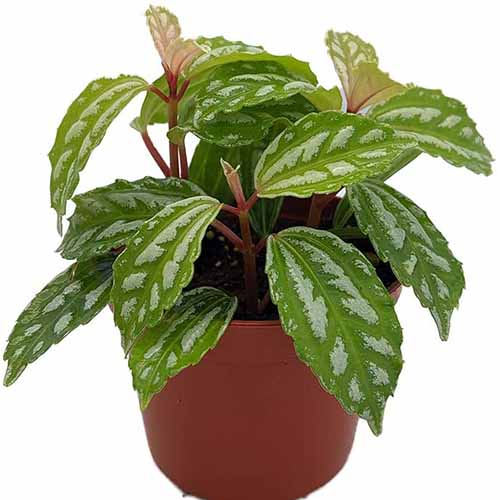
With bright, indirect light, moderate watering, rejuvenating pruning, and monthly fertilization, your watermelon pilea will enjoy good health and be able to fend off many ailments. Aluminum Plant This little darling from Hirt’s Gardens is ready for its new plant parent. Remember to keep the temperature above 60 and below 75°F and provide bright indirect light. For best results, provide even moisture, neither oversaturating nor letting the soil completely dry out. When you prune to rejuvenate and maintain a bushy shape, your new arrival will be quite happy. In addition to full-size plants, there is a dwarf variety. P. cadierei ‘Minima’, with an especially petite height of only eight to 10 inches. It has the same rich green and silver leaf markings, and cultural requirements. However, houseplants in rooms that are too hot and dry may succumb to pests like:
AphidsMealybugsSpider Mites
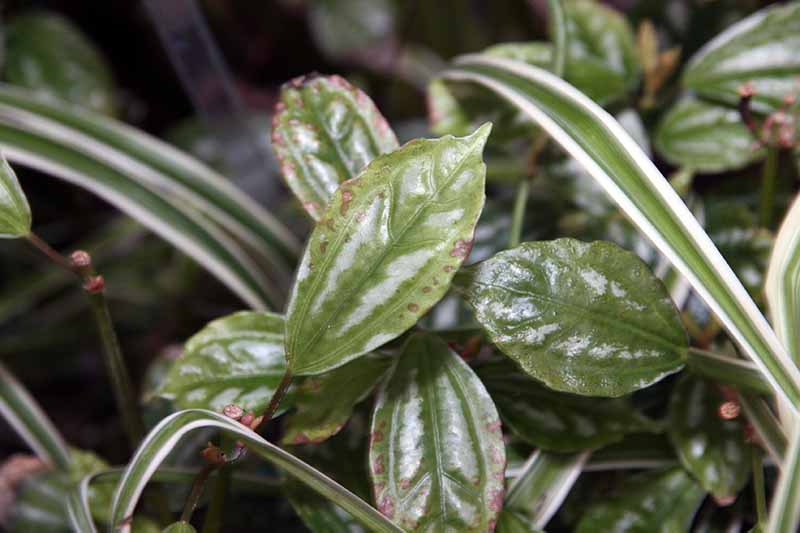
Caught early, a firm dousing with the kitchen sprayer followed by a treatment with organic insecticidal neem oil should do the trick. Getting rid of these pests is a must, as they are carriers of plant diseases, and their sap-sucking can cause extensive foliar damage. You may be wondering why the aphid, an outdoor pest, would affect an indoor plant. In November 2018, the Florida Department of Agriculture and Consumer Services Division of Plant Industry issued a Pest Alert that warned that the Pilea aphid, Myzus fataunae, had been detected in the Western Hemisphere. Native to Japan and Korea, this aphid is more likely to affect foliage cultivated outdoors. However, it bears noting that the potential exists for it to be present on a plant purchased for indoor cultivation. And without any outdoor predators like birds to gobble it up, it has the potential to wreak havoc. When a pest infestation can’t be controlled, as a last resort, you can cut all the stems to the crown and discard them in the trash. With a nourishing dose of liquid houseplant fertilizer and regular watering, the stems may regrow. Per the experts at Mid-Florida Research and Education Center of the University of Florida Institute of Flood and Agricultural Sciences, the following diseases are common to P. cadierei:
Anthracnose (Colletotrichum spp.)Myrothecium Leaf Spot (Myrothecium roridum)Pythium Root Rot (Pythium spp.)Rhizoctonia Aerial Blight (Rhizoctonia solani)Xanthomonas Leaf Spot (Xanthomonas campestris)Southern blight (Sclerotium rolfsii)
The first, Anthracnose, is bacterial and the others are fungal. Symptoms can be hard to distinguish, and most spell disaster. Only Pythium root rot and Rhizoctonia aerial blight may respond to fungicidal treatment. The bottom line is this: When plants are too hot and dry, they may succumb to sap-sucking pests. And when the foliage stays wet, it becomes a breeding ground for bacteria and fungi, most of which cause diseases that are are incurable. It’s important to be proactive! Select a healthy specimen and provide a temperate location with adequate moisture. Avoid both under- and overwatering, and always water the soil, not the leaves, to prevent moisture buildup. With organically rich, well-draining potting medium, a warm room, bright indirect light, monthly feedings, and consistent moisture, you’re well on your way to success. Showy yet compact, P. cadierei is easily transported to the sink, where it can drain neatly after a thirst-quenching watering. There’s no need for large supplies or great strength. It’s not going to need a wheeled cart someday like a mature ponytail palm, or Swiss cheese plant. And if it does, we want to be the first to hear about the phenomenon! Don’t you think it’s time to add P. cadierei to the to-do list in your handy garden planner? Do you grow your own watermelon pilea at home or work? Tell us about your little plant buddy in the comments section below. If you enjoyed reading about growing this tropical species indoors, we recommend the following houseplant guides next:
How to Grow and Care for Prayer PlantsHow to Grow and Care for SpiderwortHow to Grow and Care for Hoya Houseplants