Those of us who spend a lot of time outdoors, tending our gardens and growing our own produce often have to take steps to protect ourselves from the harsh rays of the sun. But even with the best sun protection, we sometimes still manage to get sunburned. We link to vendors to help you find relevant products. If you buy from one of our links, we may earn a commission. But since I started growing my own aloe vera, I’ve got a plant at the ready for some fresh gel, free from all the dye and preservatives contained in store bought products. Research suggests that aloe vera gel can shorten the healing time for first- and second-degree sunburns by about eight days. We’ll talk more about its uses in a moment, but suffice to say that this is one of the coolest succulents you’ll ever meet. Ready to learn more? Here’s what I’ll cover:
What Is Aloe Vera?
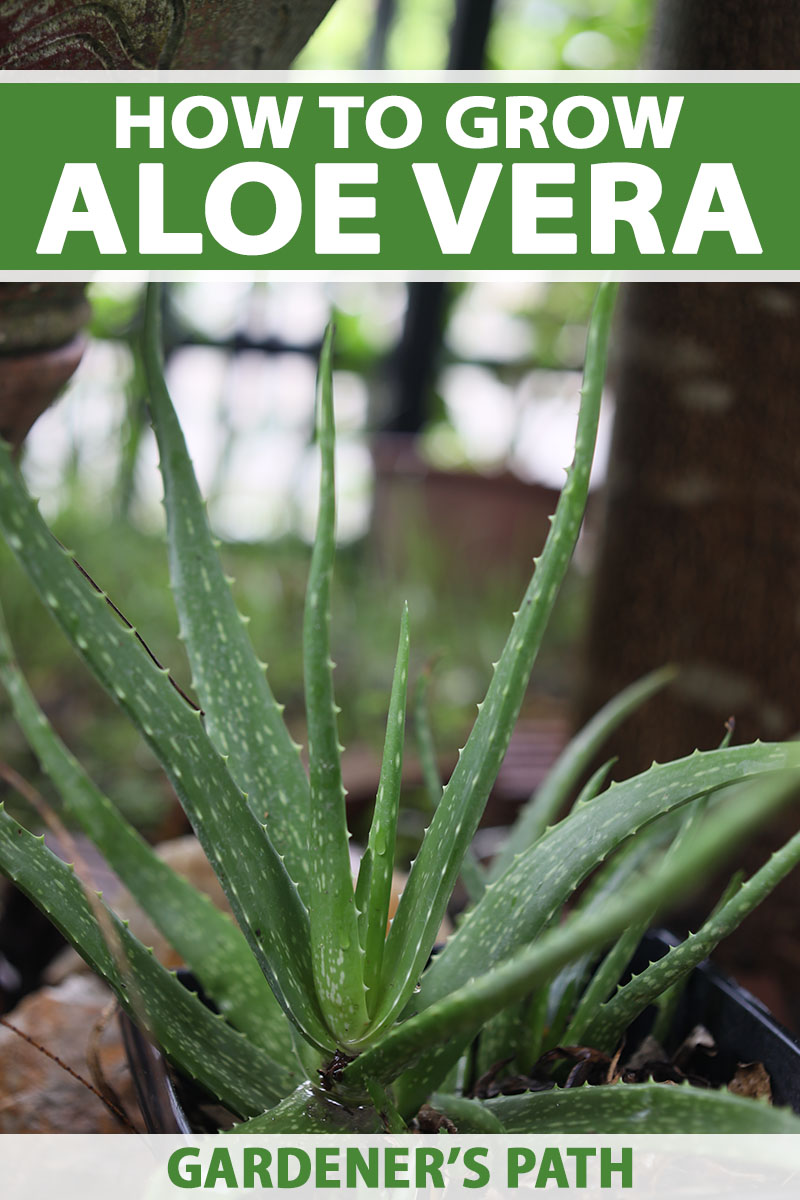
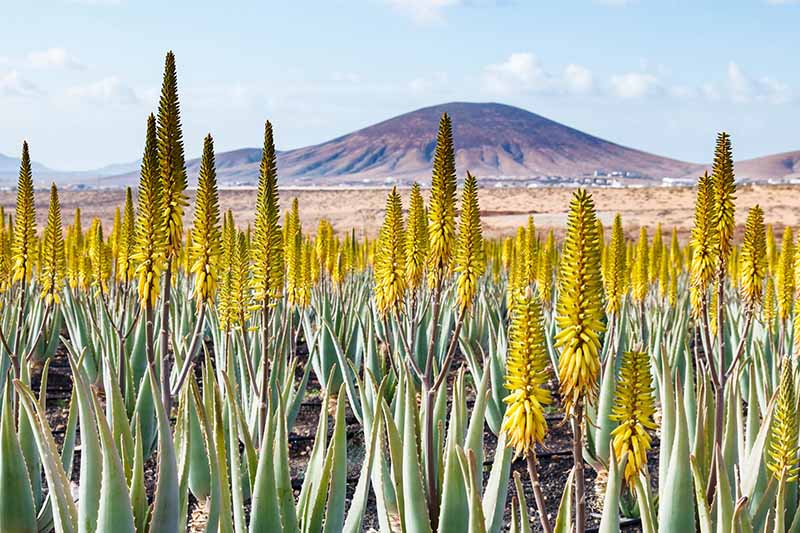
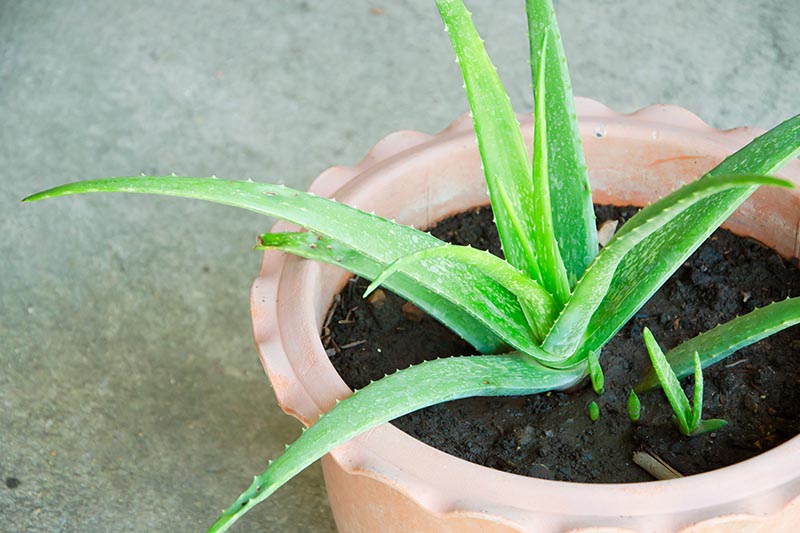
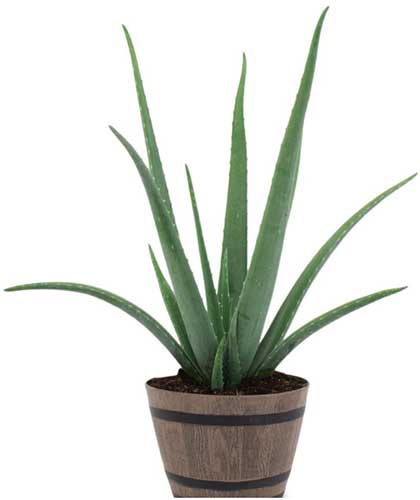
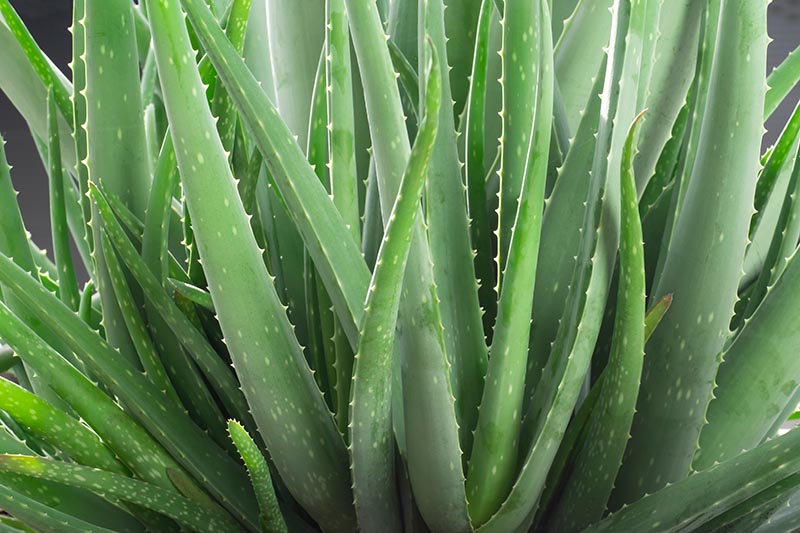
Aloe vera may resemble a cactus, but taxonomically it’s actually a member of the Asphodelaceae family, not the cactus family. While its botanical name is A. vera, various synonyms abound for this evergreen perennial: A. barbadensis, A. indica, A. elongata, and more. Other common names are the first aid plant, burn aloe, and true aloe. The name aloe is derived from the Arabic word alloeh which translates as “shining bitter substance” and the Latin word vera means “true.” Long, thick leaves, up to 39 inches grow from a very short stem. The succulent leaves are green and speckled when young, and they have serrated edges. Greenish-yellow flowers grow out of a tall central spike that reaches up to 35 inches tall, and they will only bloom if you grow the aloe outdoors. The leaves have three main components: the outer green “rind” or skin, a layer of latex, and the mesophyll layer, known as the “gel.” It’s this gel that stores water to enable the plant to photosynthesize during periods of drought. Consisting of 99 percent water and a variety of amino acids, enzymes, minerals, lipids, vitamins, and anti-inflammatory hormones, aloe vera gel is popular in traditional and natural medicinal practices around the world. Used topically, the gel can be used to treat skin ailments like bug bites, first- or second-degree burns, acne, and even help to prevent bedsores. If you grow it at home, you can snap a leaf off, cut it open, and scoop out the gel to use on your sunburn or bug bites. Between the leaf skin and the gel there’s a layer of yellowish latex that contains aloin, a substance that has potentially harmful laxative effects if ingested. And those who have a latex allergy should steer clear of aloe. According to experts at the Mayo Clinic, aloe gel is generally safe to ingest in small quantities, but “oral use of aloe latex poses safety concerns.” For this reason, it’s best not to ingest any part of the plant as it can be mildly toxic to humans and according to the ASPCA it is highly toxic to cats, dogs, and horses. Aloe vera juice is a popular health product, but bear in mind that it has been processed and purified to remove aloin, the compound contained in the latex that’s responsible for its laxative effects. Known as Lu Hui in traditional Chinese medicine, extracts from the plant are prescribed as a “purgative” to treat constipation and kill parasites. But medical and commercial uses aside, this plant adds interest to a yard and is an easy-care houseplant. You can grow it outdoors in USDA Hardiness Zones 9-11, and indoors as a houseplant no matter where you live. In this guide, I’ll focus on growing this succulent indoors, but you can find information on growing aloe outdoors here.
Cultivation and History
This intriguing plant is native to the Arabian peninsula, but it’s grown around the world in arid, tropical, and semi-tropical climates and has readily naturalized in North Africa, parts of Spain and Portugal, and parts of the southwestern United States. Ancient Egyptians used aloe therapeutically at least 6,000 years ago, where it was considered “the plant of immortality,” although whether this referred to its use medicinally or because the plant can thrive and bloom even without soil, is unclear. Various stories abound suggesting that Cleopatra made use of aloe in her beauty regimes, and Alexander the Great used it to treat wounded soldiers. Whether or not these stories are true, there is certainly evidence of its use as a laxative 4,000 years ago, where its medicinal properties were recorded on Sumerian clay tablets dated circa 2200 BC.
Propagation
While you can technically grow aloe from seed, the process is long and somewhat tricky. The easiest way to propagate it is to remove and repot offsets from established plants. Luckily, aloe makes propagation extra-easy because it spreads by growing offsets, often called “pups,” that essentially give you a whole, entire new plant when you cut them off and plant them.
Propagating Aloe From Pups
Pups are clones of the parent plant that grow as an offset from the original plant’s roots or stem. They depend on the parent plant’s water and nutrient supply until their own root system can fully support them. A. vera typically begins to grow pups when it’s about three years old. The older and healthier the plant, the more easily it will grow offsets. All you have to do to propagate a new plant from a pup is gather a few key materials:
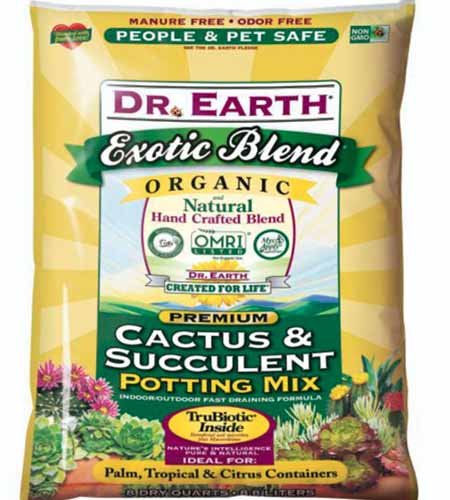
Four-inch plastic containers, one for each pup.Cacti and succulent potting mix, like this one from Dr. Earth, available at the Home Depot.A small trowel or knife to separate the offset from the parent plant.
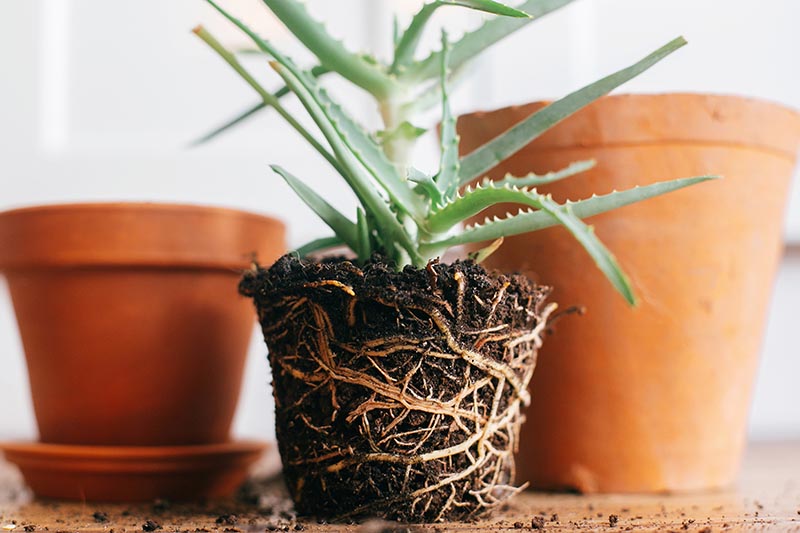
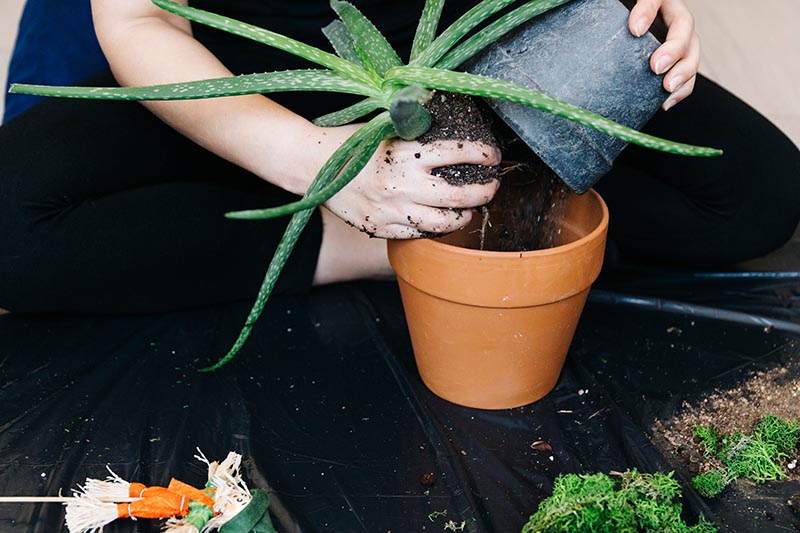
If you or a friend has a thriving plant with one or more pups, take a close look and locate the tallest one – around three to five inches is ideal, as it means the root system is thriving. If it is growing in a large enough pot or outdoors, with your trowel or knife, carefully loosen the pup’s roots, pulling them away from the mother plant’s root system. You may need to cut them away if the pup is several inches tall and its roots are long and strong. Lift it out and put it in the waiting pot filled with cacti and succulent mix. In the case of a smaller potted plant, use a knife to loosen the root ball from the pot. Shake or brush off as much potting mix as you can and then tease the offsets away from the mother plant, and place the pup in your prepared pot. Backfill the pot until the entire root system is covered, but make sure the stem and leaves are above the surface of the potting mix. Give the newly transplanted pup a thorough watering and place it in a warm, sunny location outside or inside. The plant should receive at least six hours of sunlight every day. You’ll need to water the plant every few days, allowing the top inch of potting mix to dry out in between waterings, until roots are established – which should take about a month. Once the plant is established, the top two inches of soil should be allowed to completely dry out between waterings. Transplant the pup into an eight- to 12-inch pot after another month or two, or when you see evidence of new growth. Learn more about how to propagate aloe from pups in our guide.
How to Grow
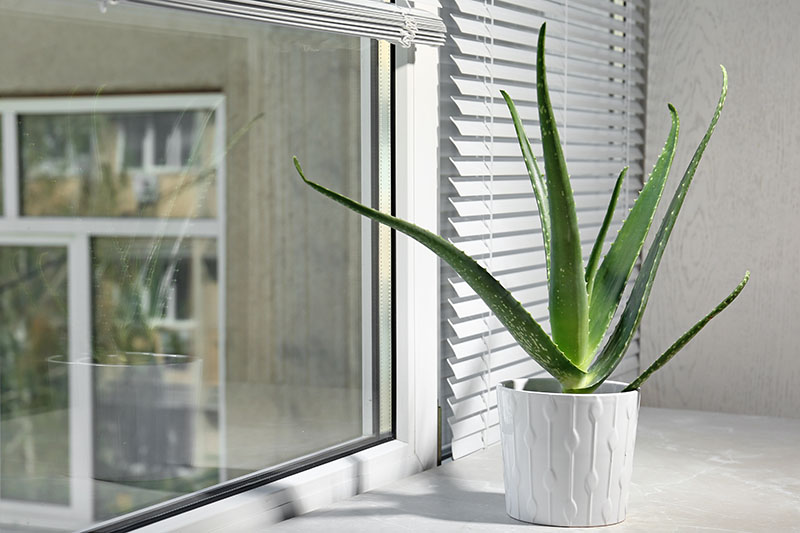
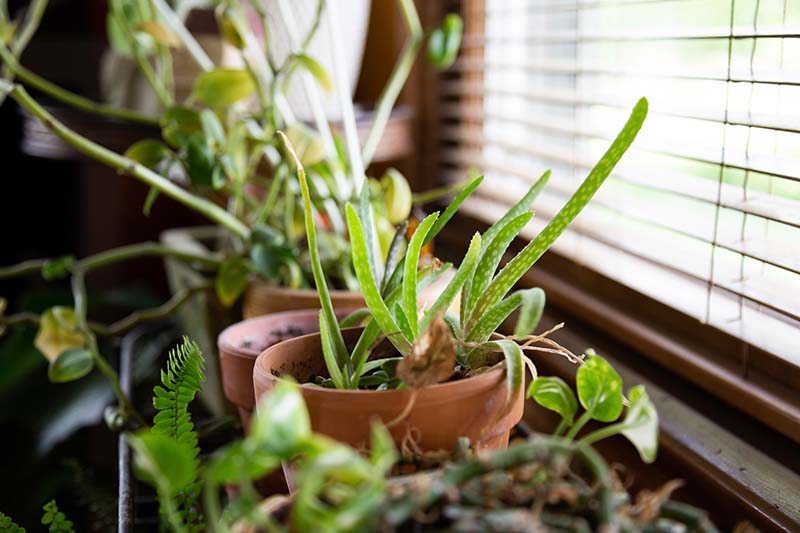
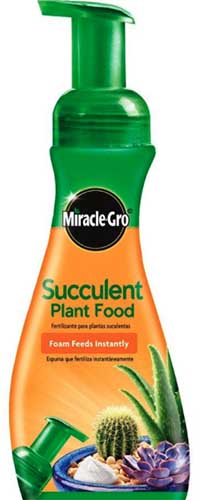
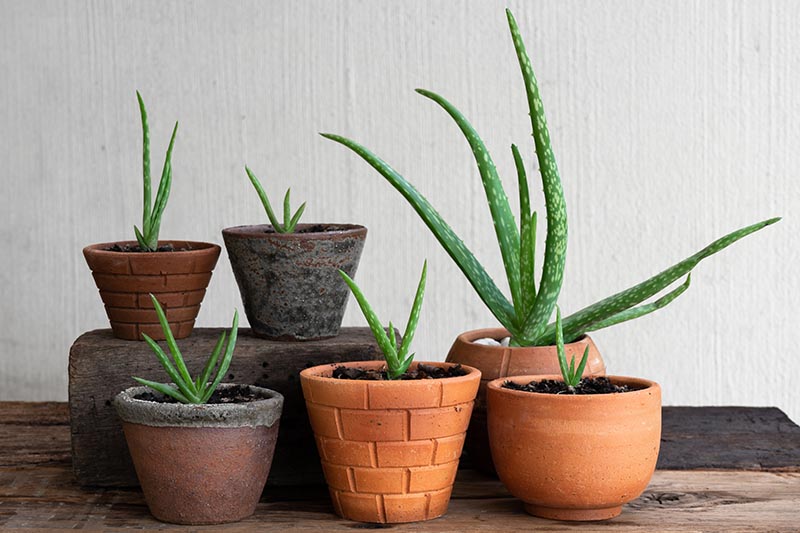
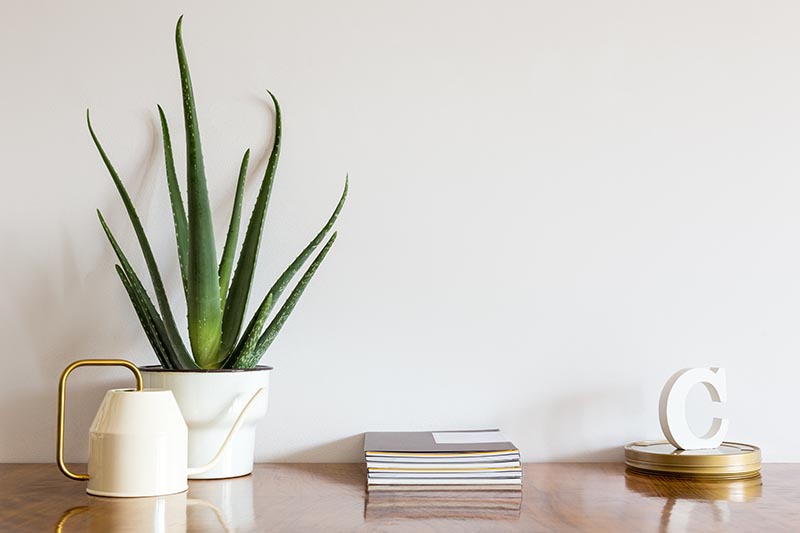
Whether you purchase a plant at a nursery or propagate one from a pup, with the right care you can ensure it grows into a healthy, long-living plant. If you’re growing aloe vera as a houseplant, make sure you transplant it into an eight- to 12-inch container so that it’s got room to spread out a little bit. Keep in mind that plastic pots work fine, but terra cotta is ideal thanks to its porous clay material, which allows the soil to dry out a bit quicker so that it doesn’t stay waterlogged. A heavier pot can also help keep the weighty leaves from tipping the container over. Lack of adequate sunlight will weaken the plant and cause the leaves to turn pale. They may appear somewhat “leggy” and elongated as they try to stretch towards the light source. Use potting mix specifically meant for cacti and succulents which will provide adequate drainage and avoid oversaturation which can lead to root rot. Dr. Earth Cactus and Succulent Potting Mix Avoid using regular houseplant potting mix or garden soil, as it will be too heavy, and retain far too much moisture. Aloe plants will thrive indoors in a bright, sunny location: a south- or west-facing window is an ideal choice. In the summer months, if the plant starts to develop brown or reddish patches on the leaves, this can be a sign that it’s getting too much light. Plants enjoy temperatures that remain between 55 and 80°F, and during the summer months you can take the container outdoors – but remember to bring it in at night if the temperature is forecast to drop below 50°F. As far as watering is concerned, water deeply when the top two inches of potting medium are completely dry during the summer months. In winter, you can allow the top three inches to dry before it needs another drink. Water at the base of the plant, at the soil level. And it’s rewarding, because it gives you extra plants: you’ll want to remove pups, as described in the propagation section above, and repot the mother plant in a pot that’s two sizes larger than the old one and give her some fresh potting mix. Miracle-Gro Succulent Plant Food You can add succulent fertilizer, like this plant food from Miracle-Gro, available from the Home Depot, every month or two during the growing season, typically from April to September, according to package instructions. Every two to three years, you may need to repot your plant, particularly if it’s becoming a little top-heavy. You can repot the offsets and give them away to your friends for a quick, simple, and valuable gift or expand your own aloe collection.
Growing Tips
Choose a bright, sunny location such as a south- or west-facing windowsill.Plant in a well-draining, succulent-specific potting mix.Allow the top two inches of soil to dry out between waterings.
Insects
Meet aloe’s most common insect foes. By knowing what they are and how they can damage your plant, you’ll be ready to act at the first sign of infestation. Before bringing your plant home, inspect it carefully for signs of insect damage, or yellowing or brownish leaves. Always choose the healthiest looking plants. Aloe Vera Plant Pure Beauty Farms supplies live plants in eight-inch pots that are grown in Florida, and you can purchase them online from Home Depot.
Managing Pests and Disease
When grown indoors as a houseplant, the main problems you’ll face are typically as a result of oversaturated, damp conditions that lead to root rot. There are just a few pests that can spell trouble for your plant, we’ll briefly cover the most common ones so that you know what to watch out for.
Aphids
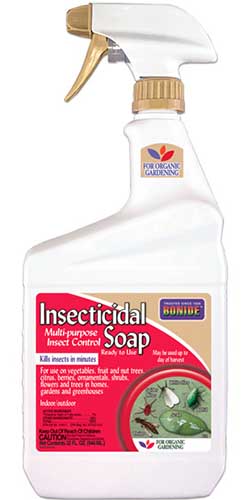
Because, of course. Is a plant really a plant if aphids don’t love to feast on it? Aloe aphids (Aloephagus myersi), as well as other species of the tiny creatures, adore that gooey sap inside the leaves. The one- to four-millimeter, yellowish insects feed along the inner curl of the leaf, puncturing it and sucking out the juices. This can cause the leaf, and potentially the entire plant, to rot and even die. While feeding, the mites inject a tumor-forming chemical into the leaves. This results in warty-looking deformities on the plant’s flowers, leaves, and stem. Bonide Insecticidal Soap If you see aphids, wash them off with water, dry the leaves, and spray the area with insecticidal soap, like this one from Bonide, available at Arbico Organics.
Gall Mites
Also called aloe mites, gall mites (Aceria aloinis) literally give these plants a disease that so resembles cancerous tumors that it’s known as “gall cancer” or “aloe cancer.” Since the mites are microscopic, you can’t see the damage until it’s done. If your plant is growing indoors year-round, you likely won’t have to contend with this pernicious pest unless you bring your plant outdoors during the warmer months. You’ll need to prune affected leaves, but in the case of a severe infection, remove the plant and dispose of it in the trash.
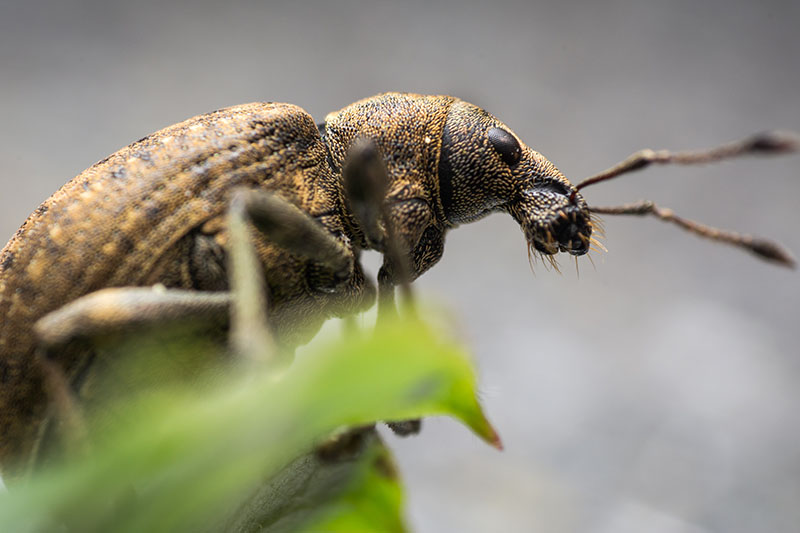
Snout Weevil
Also known as a “snout beetle,” this grayish, three-quarter-inch-long weevil (Lepidophorus inquinatus) of the family Curculionidae is one of the greatest threats to your aloe plant’s life. With its downward-curving proboscis, the weevil sucks sap out of the plant – much more quickly than an aphid does. Thankfully, it’s rare and mostly bothers the succulent when it’s grown outside, whether in pots or in the ground. The injury to the leaf leaves behind a small, darkish spot with a mark in the center. The weevils then mate, depositing eggs at the base of a leaf – right by the stem. When the larvae hatch, they drill straight into the aloe stem, feeding from it and rotting it from the inside. If you see any of these pernicious beetles on your aloe leaves, remove and destroy them immediately.
Disease
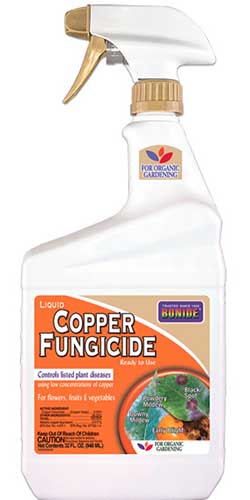
When you grow aloe indoors in the right conditions: adequate light, well-draining soil, and proper watering habits, you’ll likely never encounter any problems with disease. I know several people who keep a small, potted aloe vera plant on the kitchen windowsill so that they can snap a leaf in two to squeeze out that healing gel during minor kitchen mishaps. While this disease isn’t life-threatening, it can be unsightly and can weaken the plant, leaving it vulnerable to other diseases or infestations. Bonide Liquid Copper Fungicide To treat it, remove any affected leaves and spray the remaining ones with liquid copper spray, available at Arbico Organics.
Best Uses
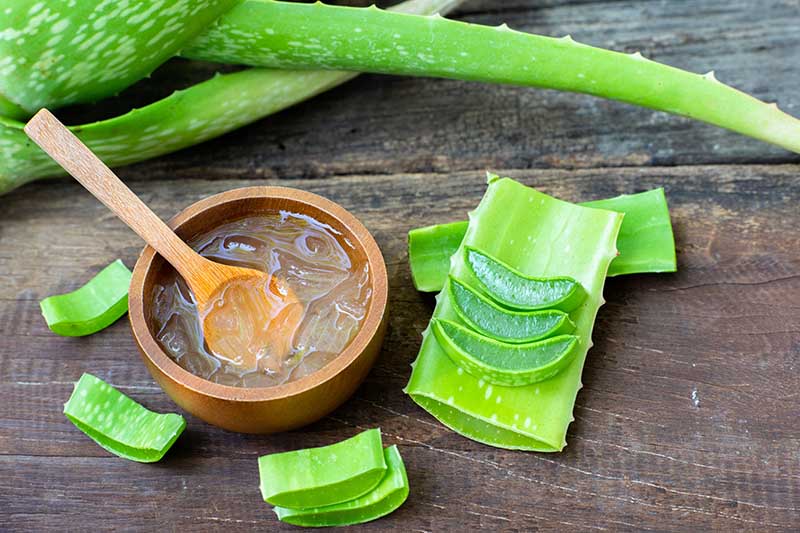
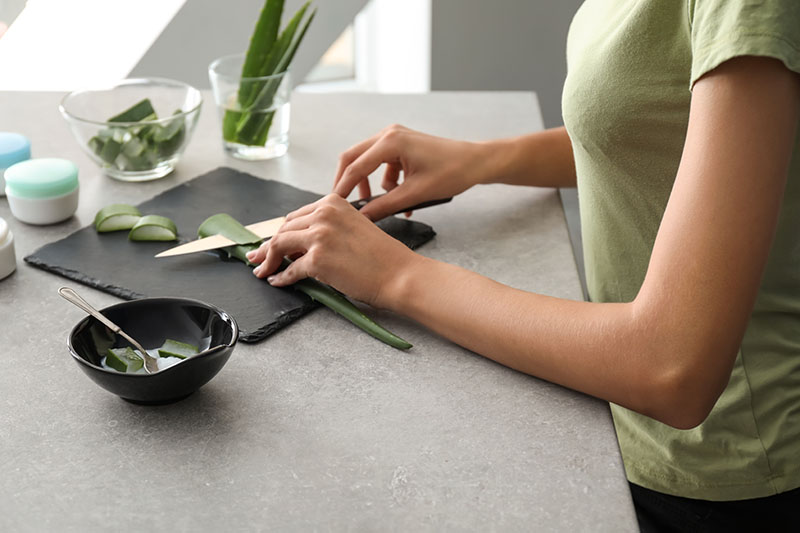
Aloe is an easy-care houseplant that’s both useful and ornamental. You can create an indoor collection of succulents for interest and diversity, and in the summer months bring it out on the patio or deck as part of your container garden. For those of us who, ahem, have been known to start small fires in the kitchen from time to time, aloe is there to tend to the minor burns we may get when putting said fires out. To harvest the gel when you’re not in the middle of a crisis moment, cut one of the outer leaves off the plant at the base. Cut off the bottom inch of the leaf and then stand it upright in the sink, pointy-side facing up, to let the yellowish latex drain out. This’ll take about 10-15 minutes. When no more latex is draining from the bottom of the leaf, cut off the top, narrow part so you are left with a length four to eight inches long, depending on the size of the leaf. Place it on a cutting board and cut off the spiny edges. Using a knife, carefully slice off the top layer of skin from the leaf lengthwise. The top of the leaf will be very slimy and slippery, so go slowly and always cut away from your body. You’ll be left with the bottom part of the leaf, covered in a jelly-like layer of aloe gel. Spoon the gel into an ice cube tray to freeze for future burns, or store it in an airtight container in the refrigerator for five to seven days. Just remember not to eat it. When you get a minor burn, simply remove an ice cube or some fresh gel and put it directly on the injured area. However, if you have a latex allergy, remember it is not recommended that you use home-harvested aloe gel on your skin, as it may contain traces of latex, even after you have processed it. In storage, if you see any mold growing on the gel, toss it. With very little effort, you’ll have an attractive addition to your indoor garden as well as that soothing gel to use on those pesky minor burns you get while cooking or styling your hair. By following the tips outlined in this guide, you’ll be able to enjoy happy, healthy aloe plants for many years. Tell me, have you ever grown aloe vera? What’s your favorite use for that amazing gel inside the leaves? Please feel free to ask questions or share your stories in the comments section below. And for more information about how to grow succulents, check out these guides next:
Agave or Aloe? How To Tell These Plants ApartHow to Grow Christmas Carol Aloe: Anti-Sting and Makes You SingHow to Become a Succulent Pro: Tips for Home GrowersHow to Grow and Care for Christmas Cactus