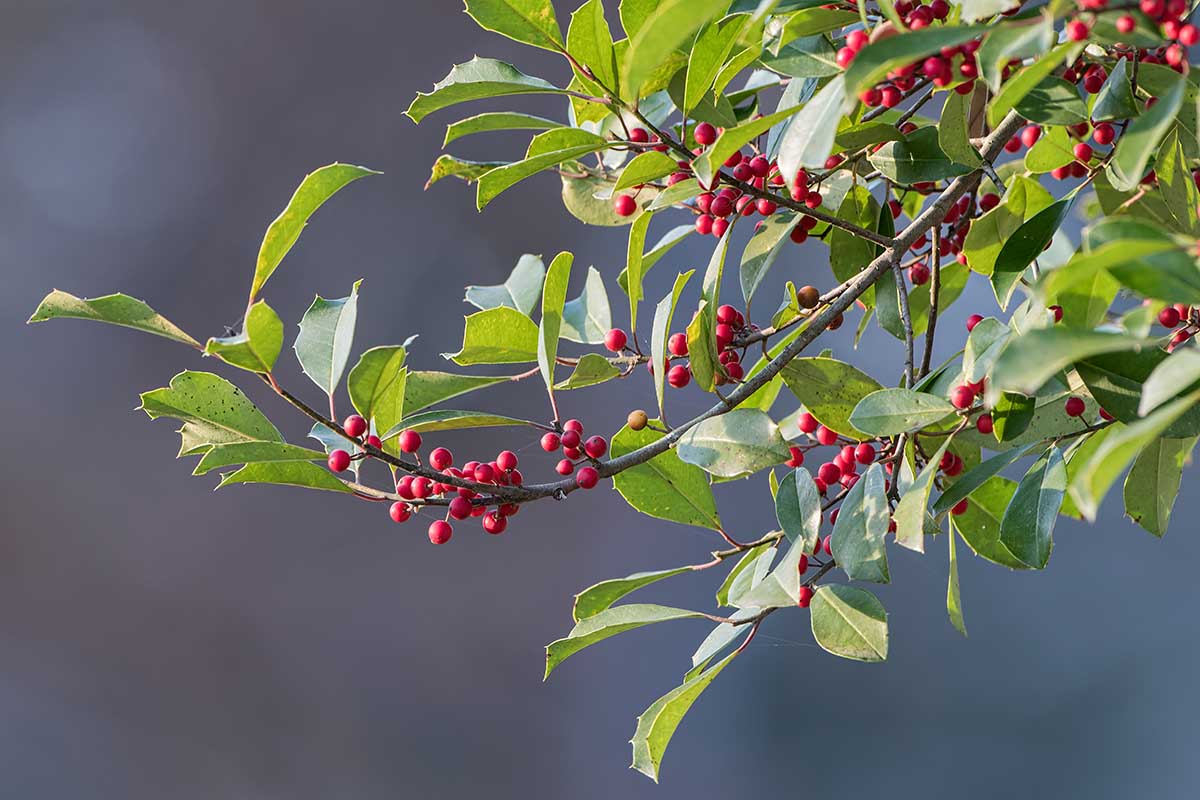
I know I do. And if you’ve ever wondered if you could grow this festive shrub at home, I’m here to tell you that you absolutely can. American holly, or Ilex opaca, adds a bright pop of color to your yard or garden in the wintertime – and you can take clippings from it to decorate your home for the holidays. We link to vendors to help you find relevant products. If you buy from one of our links, we may earn a commission. Here’s what we’ll cover:
What Is American Holly?
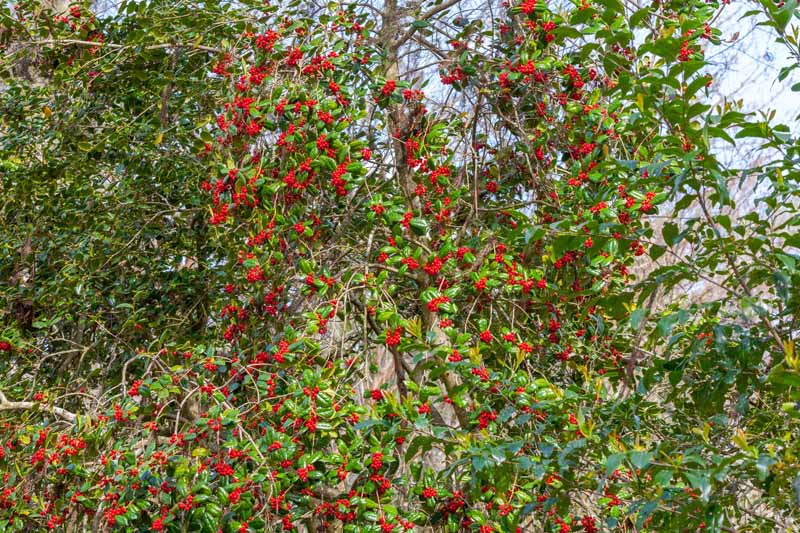
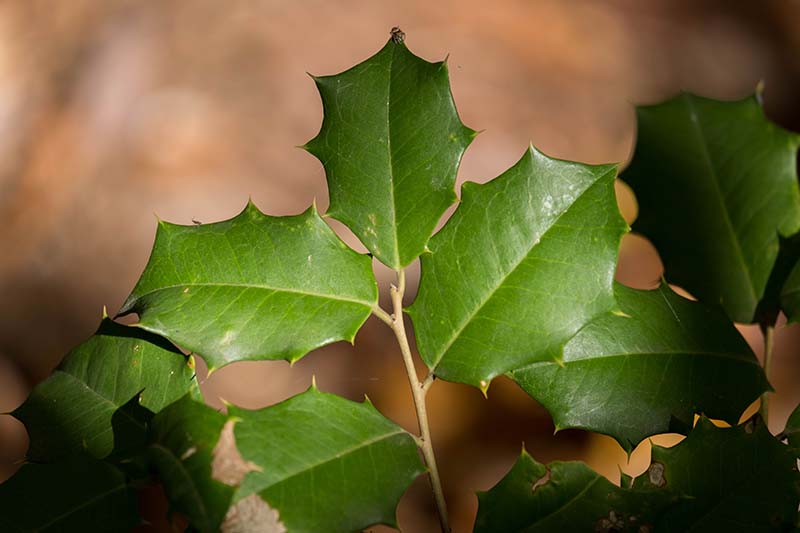
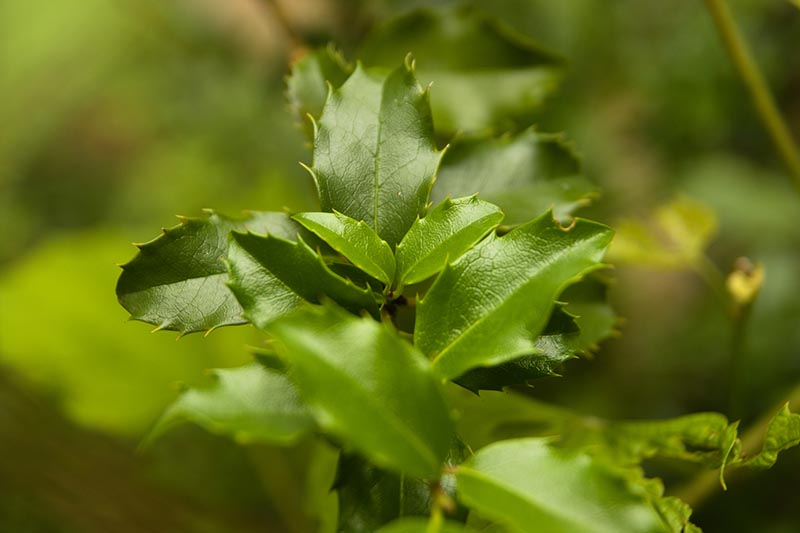
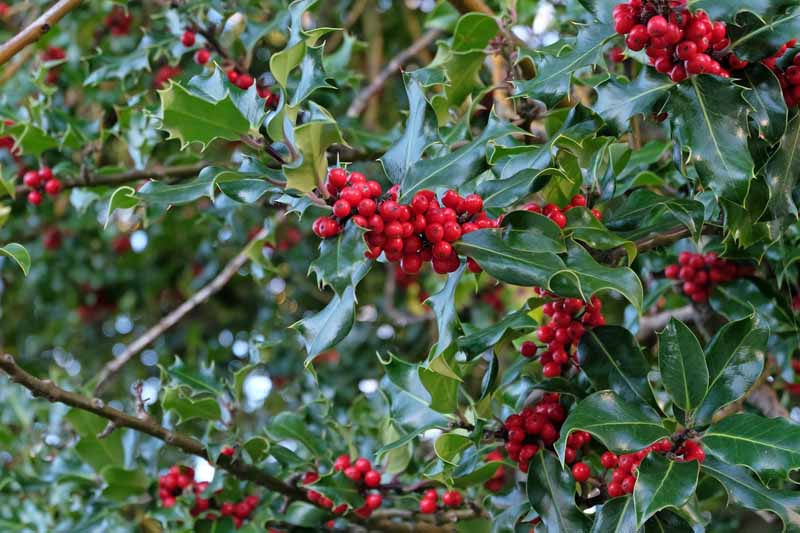
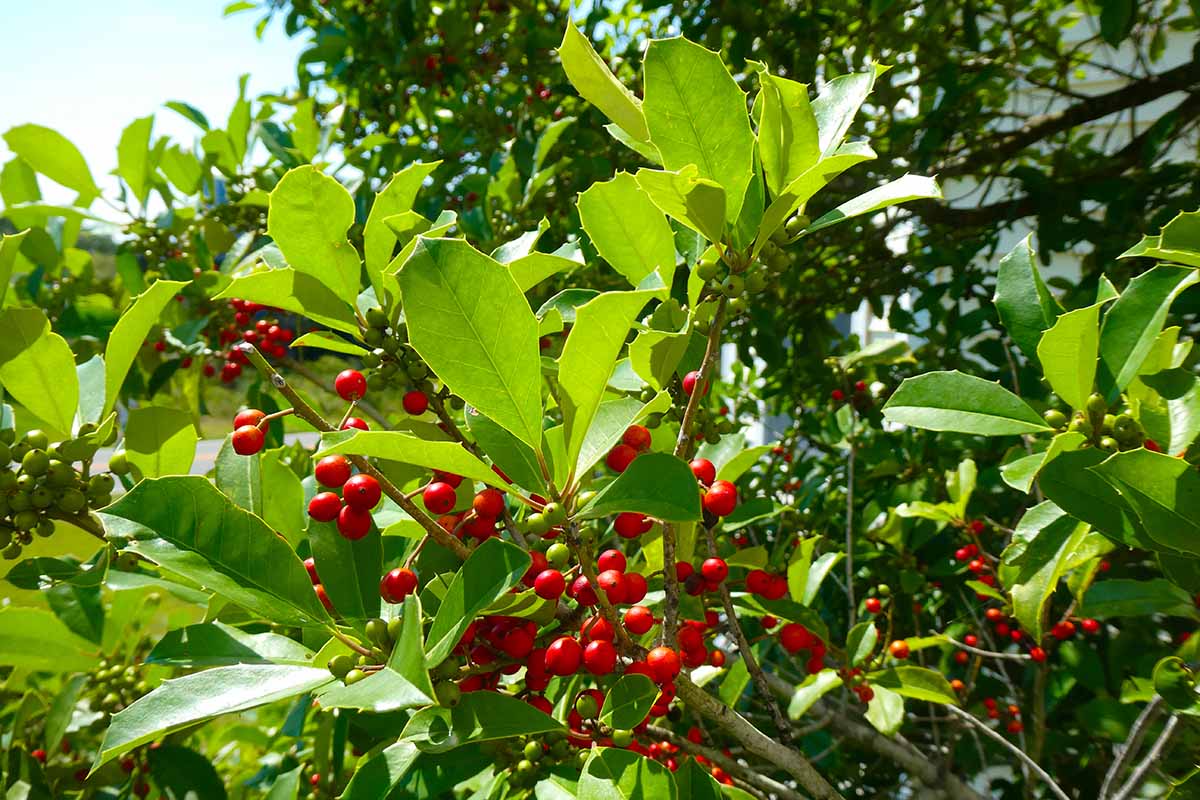
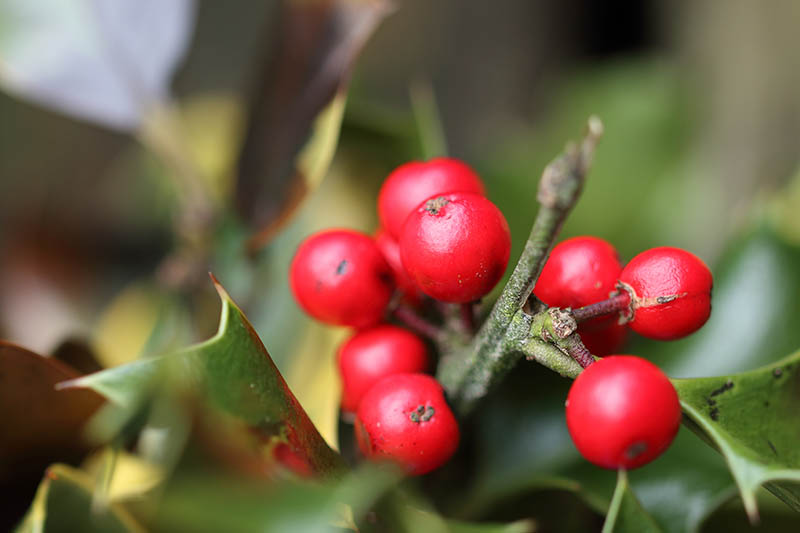
I. opaca is an evergreen tree that’s often grown as a shrub. Ilex, or the holly genus, is the only accepted genus in the Aquifoliaceae family, and it contains over 560 species! Also known as “Christmas holly,” American holly can grow anywhere from 15 to 30 feet tall and 10 to 20 feet wide in the garden, although you can find cultivars that are more compact as well. In the wild, however, it can grow up to 60 feet tall and 40 feet wide! This plant bears pointy leaves that stay green all year long. New leaves have a glossy sheen, but older leaves fade to take on a more matte appearance – unlike English holly, I. aquifolium, whose leaves are glossy all the time. Both male and female shrubs bear fragrant flowers, and the plants are dioecious, meaning the male and female reproductive parts are found on different plants. You need a male to help fertilize one or more females, so be sure to plant them together. Female hollies go on to produce berries that turn bright red – or sometimes orange or yellow – in October and they last throughout the winter, serving as a perfect decoration for the fall and winter holidays. American holly grows best in USDA Hardiness Zones 5 through 9. A low-maintenance plant, it does well in partial to full sun and likes loose, moist, acidic soil with a pH between 3.5 and 6.5.
Cultivation and History
True to its name, American holly is native to the central and eastern United States. Its native range stretches from Massachusetts down to Florida, and west through Missouri and Texas, according to experts at the University of Kentucky College of Agriculture, Food, and Environment. Indigenous peoples in this region of the country traditionally used the berries as buttons, or traded them for goods. In order to make sure the trees produce these lovely berries, you have to plant at least one male and one female of the same species that bloom at the same time. The experts at the University of Kentucky recommend planting three females for every male. There are dozens of cultivars available, so take care to choose ones that bloom simultaneously when you’re planting. The tiny white flowers with green centers typically bloom in May and produce berries in the fall. Whatever you do, don’t eat these berries. Wild animals, especially birds and squirrels, love to eat them, but they are poisonous to humans and pets if ingested.
Propagation
Fun fact: American holly seeds can take up to a year to germinate. That’s right, a year, just to produce tiny seedlings. Imagine how much patience you’d need to grow it from seed! That’s why most gardeners take cuttings from an existing plant to propagate new ones, or simply purchase young shrubs at a nursery. We’ll cover this propagation method below, as well as transplanting nursery starts and shrubs.
From Cuttings
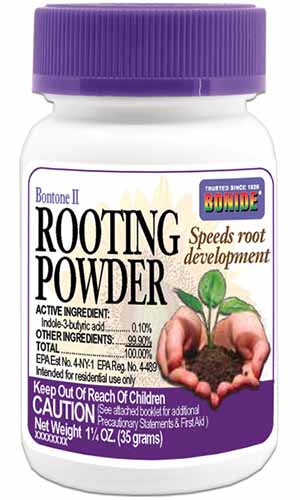
Since I. opaca is a broadleaf evergreen, the best time to take a cutting is in the late summer or early fall, just after a burst of growth, say the experts at Washington State University. You can also take cuttings during the dormant season. Regardless of which time of year you choose to take cuttings, you’ll want to select new growth. You’ll also want to be sure to take cuttings from a male shrub as well as a female to make sure you’re able to encourage pollination, if you don’t already have one or the other growing in your garden and you wish to see those vibrant red berries once your shrubs mature. Remember, only females produce berries, so if there’s a mature American holly near the one you’re taking cuttings from and it doesn’t have any berries forming, it’s probably male. First, prepare your rooting medium. For the best chances of success, you’ll want to take at least two or three cuttings. Grab two or three clear disposable plastic cups, like those you’d find at a grocery store, and poke holes in the bottom of each. Remove the leaves from the bottom two to four inches of each cutting. You’ll also want to have a rooting hormone product on hand to encourage your little cuttings to take root. I like to use Bontone II Rooting Powder, which is available from Arbico Organics. Bonide Bontone II Rooting Powder Now, it’s time to take the cuttings! First, put gloves on and a long-sleeved shirt. Those spiky leaves can be painful to touch. Using a pair of pruners, cut a tip of new growth that’s at least six to eight inches long. Repeat until you have as many cuttings as you want. The experts at the University of Washington recommend wounding the cuttings by removing the outer layer of bark from the bottom inch or two of the wood. Apply some rooting hormone to this exposed area, and then stick each cutting in a cup of moist rooting medium. Cover the cuttings by placing a humidity dome over the top. This will help them to stay moist, which is essential, since they don’t have any roots to soak up water from the potting mix. You’ll also want to spray the leaves, stems, and soil any time they start to look or feel dry, usually once every two days or so. Keep the cuttings in a room indoors that’s at least 60 to 65°F, in a location that receives indirect sunlight through a window. In one to two months, you should begin to see root systems forming through the clear plastic cups. If you gently tug on a plant, it should resist being pulled out, anchored by its brand new root system! At this point, fill eight- to twelve-inch containers that have drainage holes with fresh potting mix, filling one for each rooted cutting. Make a hole in each that’s the depth and width of a plastic cup that you used for rooting. Carefully transplant your cuttings by easing them out of the plastic cups one at a time, and setting them in the new soil. Backfill and irrigate slowly, until water runs out of the drainage holes. Place in a sunny windowsill or in a warm greenhouse. The new plants need six to eight hours of indirect sunlight every day, or eight to ten hours from a grow light. Make sure to position the grow light just an inch or two above the leaves and adjust it as the plants grow. After about 12 months, you can begin to harden off your young shrubs by putting them outside for increasing amounts of time every day, starting with an hour. Once they’re used to being out for at least eight hours a day, you can transplant them to your garden or wherever you want to grow them.
Transplanting
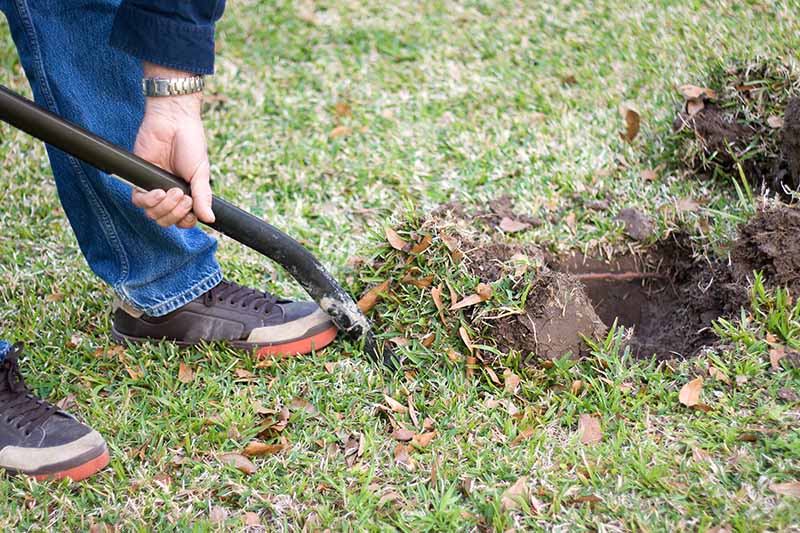
If you don’t have any friends with I. opaca in their yard, or you can’t find a few wild shrubs to take cuttings from, you can purchase a young plant from a nursery – or two, if you’re looking for a male and at least one female. Here’s how to transplant holly into the yard or garden after you’ve picked it up at a nursery or had a plant mailed to you. Once you’ve found the perfect spot, as described below in the How to Grow section, dig a hole that’s as deep and wide as the nursery container that’s holding your holly plant. Use a gardening spade to loosen the root ball inside the pot, separating it from the sides of the container. Gently remove the plant from the pot, loosen the roots with your fingers, and set it inside the waiting hole. Backfill with soil and water thoroughly.
How to Grow
American holly likes a location that receives six to eight hours of full sun, but it can tolerate partial shade. If berries are your end goal, keep in mind that females tend to produce better fruit if planted in full sun. Choose a location with soil that’s loamy, acidic, moist, and well-draining. If you want to know the pH of your soil, consider conducting a soil test so you can make sure it’s in the 3.5 to 6.5 range. Amend your soil to be more acidic if needed, by working a two-inch layer of peat moss into the top eight to 12 inches of the planting site. To add extra nutrients to the planting area, mix in well-rotted manure or compost, or 10-10-10 NPK fertilizer according to package instructions. To form a hedge, plant the shrubs about five feet apart. Otherwise, you’ll want to give each shrub or tree about 20 feet of space on all sides. For smaller cultivars, you can check the mature height and spread for your selected variety, and adjust your spacing accordingly. Above all, if you want to see those lovely red berries, make sure you plant a male within 50 feet of your females. Water your newly planted shrubs twice a week, making sure to water when the top inch of soil has dried out. Check the soil daily until your new plants are established to make sure you don’t accidentally allow them to dry out too much! To help preserve moisture, add a one- to two-inch layer of mulch made with organic material around the plants, being careful to avoid applying it directly around the trunks. I prefer to use bark chips, but you could also choose leaves or straw.
Growing Tips
Plant in a full sun location to promote healthy berry production.Ensure that the soil has a pH between 3.5 and 6.5.Water twice a week, or when the top inch of soil dries out.Mulch with organic material to help retain moisture.
Pruning and Maintenance
Pruning your I. opaca will help it to stay healthy, and if you’re trying to achieve a specific shape, pruning is essential to make that happen. This tree produces a pyramid shape naturally, but if you want it to look more sharply pyramidal or shape it in a different way, you’ll need to prune it. The best time to prune is in late winter, when the tree is dormant but springtime is near. This allows the cuts to heal as the tree begins to grow again, but doesn’t sacrifice any established flowers or berries like a summer or fall pruning would. Put on a long-sleeved shirt or jacket and a pair of gardening gloves to protect your skin from the poky leaves. Using a sharp pair of pruners – and a longer bypass pruner if needed – first remove any dead, broken, or diseased branches. Then, shape the tree by making cuts just above new leaf buds. Cut away branches or portions of branches that are sticking out, crossing with other branches, and growing inward. Do any additional shaping as you desire. Prune your plants once a year in late winter and you’ll keep your American holly bushes happy and healthy.
Cultivars to Select
Jersey Knight
This male American holly cultivar is a pollination workhorse. Capable of providing pollination for both ‘Jersey Princess’ and ‘Satyr Hill,’ this beauty thrives in Zones 5 through 9, grows 20 to 30 feet tall, and spreads eight to 20 feet. You can also order a species plant from Fast Growing Trees. This American holly grows 15 to 20 feet tall and spreads 12 to 15 feet wide. American Holly [Editor’s Note: Please keep this caveat in mind: The customer service rep that I spoke with assured me that only one plant is required to produce berries. Though I wasn’t able to determine whether this is actually an American holly hybrid, or if pots contain both male and female holly plants when they’re shipped – a common practice among some nursery growers – it’s sure to add a bright spot of color to the garden throughout the winter.] Get your own shrub in a three-gallon container from FastGrowingTrees.com. Like its pollination partner ‘Jersey Princess,’ ‘Jersey Knight’ produces greenish-white flowers in May or June. It may not produce berries, but ‘Jersey Knight’ has dark, glossy green leaves that add flair to any yard or garden. This cultivar was discovered, named, and registered in 1965 by Dr. Elwin Orton, renowned Rutgers University plant biologist.
Jersey Princess
This popular female I. opaca cultivar is known for its leaves, which boast a rich, green sheen comparable to that of English holly. It’s an ideal choice for hedges, borders, and other landscaping needs that are significant in size and scale. Hardy in Zones 5 through 9, ‘Jersey Princess’ grows 20 to 30 feet tall and spreads 15 to 20 feet. ‘Jersey Princess’ blooms in May or June and pairs well with pollinator ‘Jersey Knight.’ Bred by Dr. Elwin Orton in the 1970s, this cultivar fruits heavily with bright red berries that will warm your soul in wintertime.
Satyr Hill
For a tree that’s famous for its evenly distributed clusters of red berries and its wide, olive green leaves, plant ‘Satyr Hill.’ Holly breeder Stewart McLean of McLean Nurseries in Maryland discovered and developed this cultivar in the 1970s and named it after the road the nursery is on. Hardy in Zones 5 through 9, ‘Satyr Hill’ grows up to 30 feet tall and spreads 20 feet wide at maturity. It blooms in the spring, around the same time as ‘Jersey Knight,’ which serves as a suitable pollinating partner. ‘Satyr Hill’ won the Holly Society of America’s “Holly of the Year” award in 2003.
Managing Pests and Disease
There are a handful of issues that can plague your I. opaca plants. If you keep your shrubs healthy, these problems aren’t likely to take down your holly, but they’re worth knowing about nonetheless.
Pests
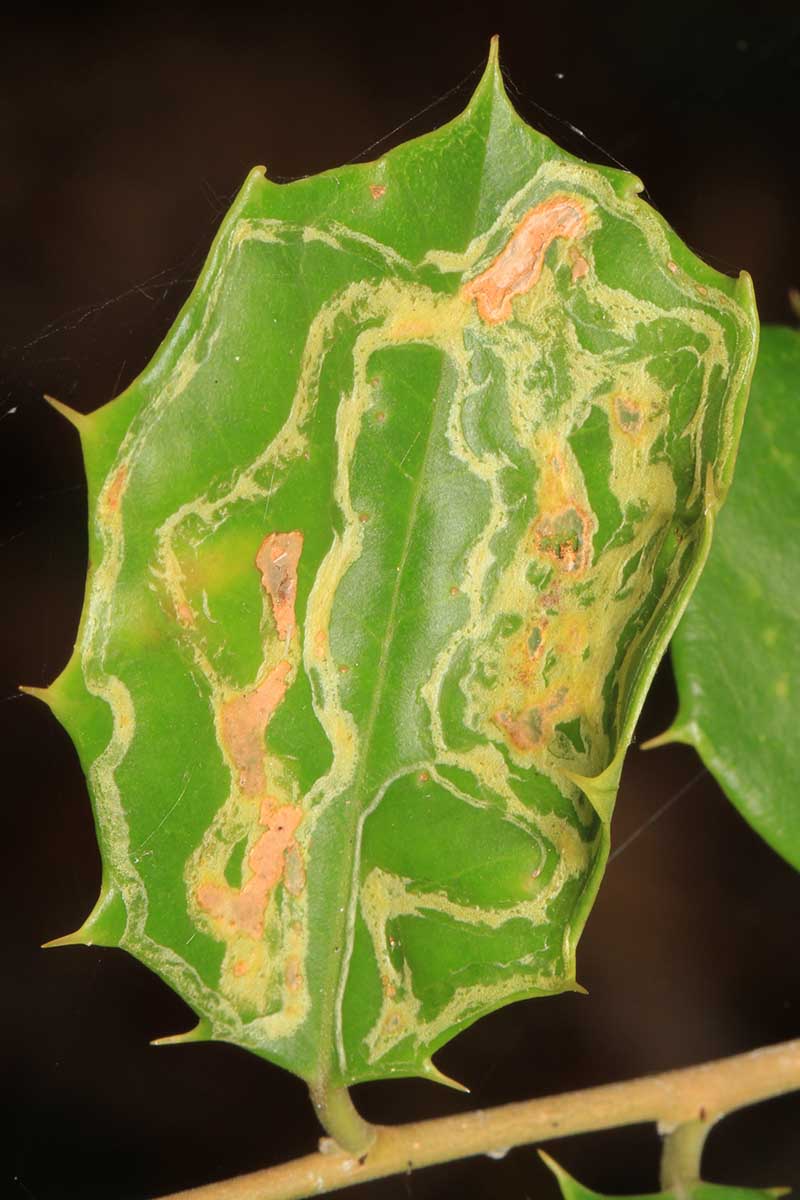
The native holly leaf miner, Phytomyza ilicicola, is one of the most notable pests to watch out for. Adult leaf miners are tiny black flies only one-eighth of an inch long. Females deposit eggs inside the leaves, causing affected foliage to look bumpy. Adult flies also puncture the leaves to eat the sap inside.
Diseases
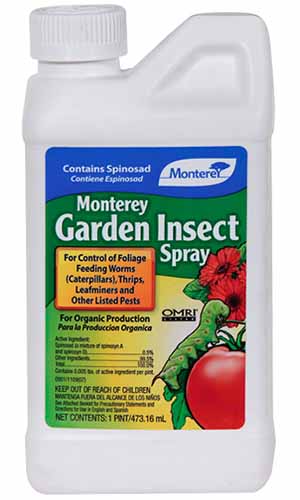
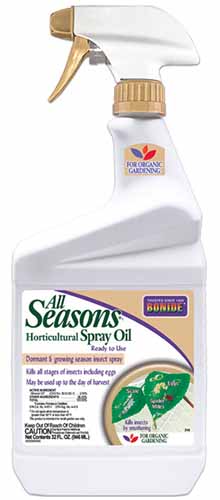
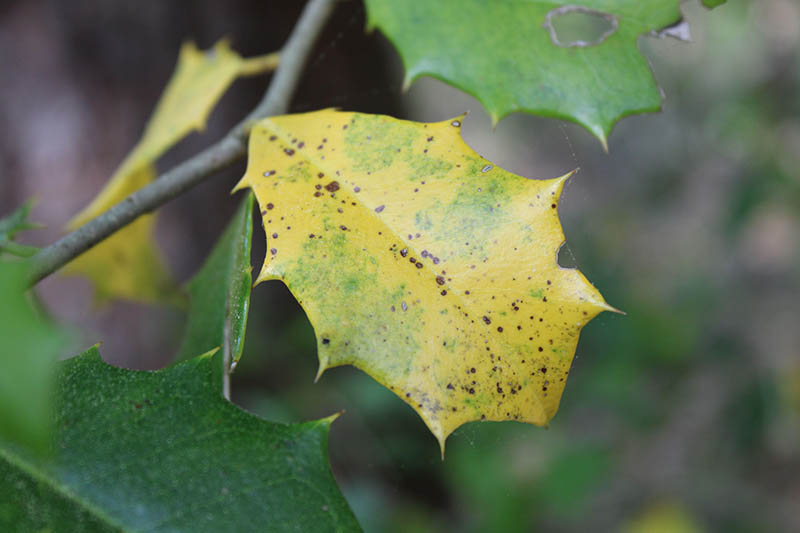
When it comes to diseases, be on the lookout for leaf spot and powdery mildew. If you notice the telltale discolored squiggly trails on your I. opaca, apply a spinosad-based spray to both sides of the leaves to kill the larvae and prevent the flies from attacking again. Monterey Garden Insect Spray I use this spray from Monterey, which is available from Arbico Organics. Learn more about how to manage leaf miners in our guide. Spider mites – especially the southern red mite, or Oligonychus ilicis – feed on the undersides of holly leaves and they can also pose a problem. Thankfully, they’re easy to spot once they spin that telltale webbing in the foliage. Remove affected leaves, and spray the entire shrub with neem oil every five to seven days to keep the mites from returning. Finally, keep an eye out for scale. Holly pit scale, or Asterolecanium puteanum, targets American holly in particular. Watch out for small, round, grayish-white or brown dots on the leaves. Affected plants can look like they’re not getting enough water, and they may have yellow leaves that proceed to die and fall off. If you notice scale insects on your plant, prune away the infested branches. Check your tree and any surrounding hollies every day to make sure you didn’t miss any of the immobile insects. Bonide All Seasons Horticultural Oil You can try spraying plants with a horticultural oil to keep scale away, like this one from Bonide that’s available from Arbico Organics. Learn more about how to deal with scale in our guide. Also known as tar spot, leaf spot is caused by the fungus Coniothyrium ilicinum. Infection results in small yellowish-brown spots that develop on the surface of leaves in the winter or early spring. By summertime, the spots turn reddish-brown, and in the fall they develop the tarry black spots that this disease is known for. Leaf spot isn’t dangerous to the plant, but it is unsightly. Remove affected leaves and spray emerging foliage with copper fungicide to help prevent infection. Powdery mildew can affect holly, too, leaving that telltale, fine white fuzz all over the foliage. Remove affected leaves and spray with copper fungicide to help get rid of powdery mildew.
Best Uses
One of the best ways to use American holly is to plant it as a hedge, border, or natural fence around your house. Not only will you have privacy – and a bit of protection from intruders, thanks to those spiny leaves – but you’ll also get to look at the bright clusters of berries every fall and winter. What a treat! You can also plant smaller cultivars in your flower garden to create a year-round backdrop against which your other perennials and annuals can shine. Once the berries come, you can cut sprigs from your plants and put them in a vase full of water. The berries will last for about two weeks. Just be sure to keep them out of reach of children or pets who might be tempted to eat the poisonous fruits. To weave the berries and sprigs of foliage into a holiday wreath, snip off three- to four-inch sections and affix them onto a wreath form with twine or floral wire. You can purchase a wire form from Walmart, like this one. Or, make a Christmas swag! Remove the berries when they dry out, and then head out to the garden for more cuttings. Try to limit yourself to taking three to five sprigs at a time from young shrubs, to avoid putting too much stress on the plants. Older, more mature plants can handle a larger harvest. If you have any questions or stories about raising I. opaca shrubs, drop us a line in the comments below. We love to hear from you! And remember to check out these articles on growing other types of holly in your garden next:
How to Plant and Grow Oak Leaf HollyHow to Grow and Care for Winterberry HollyMust-Have Tips for Growing Inkberry Holly

