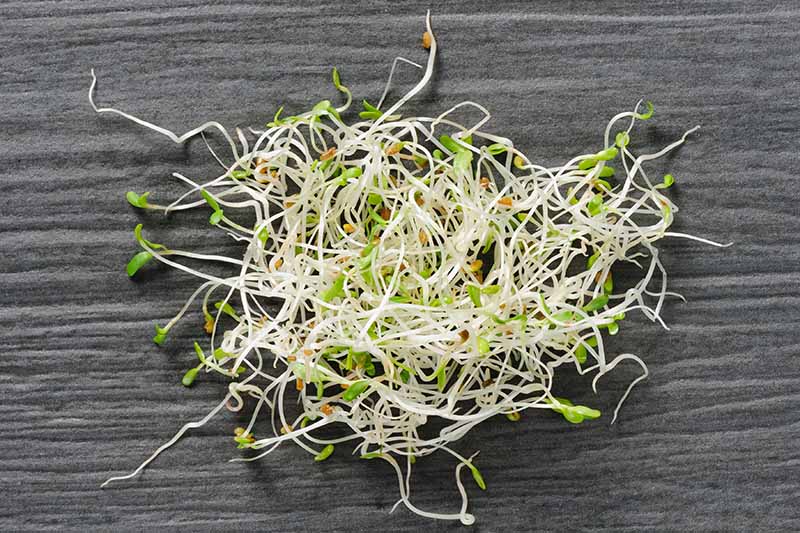
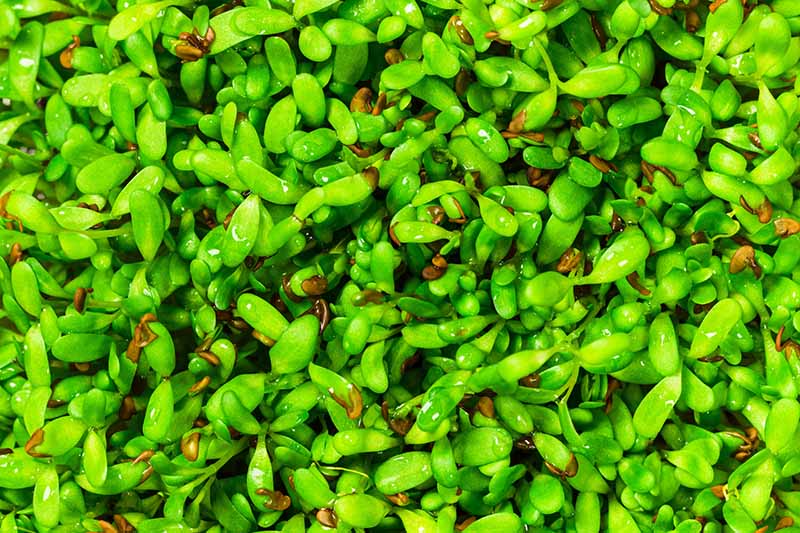
It’s an impressive cover and forage crop, but it’s important to remember that the fall-planted alfalfa that nurtures your soil or provides mulch for the veggie garden is nothing you’d want to eat. Once stalks start to form, it’s far too bitter for the human palate. M. sativa sprouts, which are newly germinated seeds, and microgreens, which are the tiny stems and cotyledon leaves (without the roots or seed coats), are an entirely different story. Both can be grown indoors in a matter of days or weeks, and they make a tasty addition to the salad bowl. They’re also delicious as sandwich or pizza toppers. We link to vendors to help you find relevant products. If you buy from one of our links, we may earn a commission. You can start a batch this afternoon and have sprouts in a few days, or microgreens in a few weeks. Find all the directions you need here. Here’s what I’ll cover:
Alfalfa Sprout Food Safety
You may have read the many cautions about alfalfa sprouts carrying salmonella bacteria, and the CDC has indeed advised that all alfalfa sprouts be cooked before consuming or avoided altogether to eliminate all risk of salmonella poisoning. According to Clemson University Food Systems and Safety Program Team Leader Kimberly A. Baker, a registered dietitian, while growing sprouts at home doesn’t necessarily make them any safer than the ones produced commercially, you can minimize the risk of microorganisms that cause illness making their way into your sprouts. To begin with, purchase the seeds from a reliable commercial source, where they’ve been tested already for the presence of microorganisms. Make sure any tools you use for cultivating sprouts are clean, along with any surfaces they’ll come into contact with, like sinks or counters. Wash your hands before touching the seeds, sprouts, containers, or water they’re growing in. Also make sure to refrigerate the harvested sprouts at 40°F or below, whether you grow them yourself or buy them at a store. And don’t eat any that are limp, smell funky, or look slimy. They may make you sick!
How to Sprout
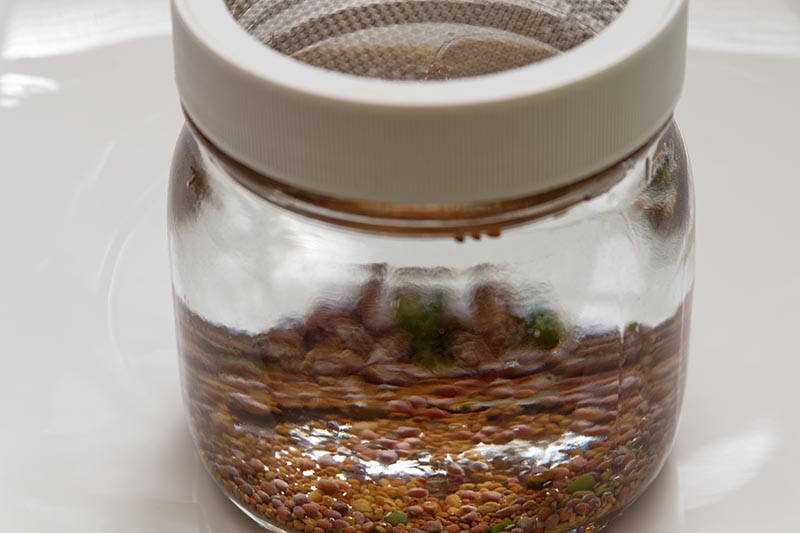
For beginners, I heartily recommend starting your first batch of sprouts in a clean, wide-mouth pint- or quart-size mason jar with a sprouting lid made of durable plastic or stainless steel. Be sure to avoid purchasing or using cover crop seeds for growing your own microgreens or sprouts for humans to eat. Since the sprouts often retain the seed coating, you’d be consuming low levels of potentially toxic fungicides along with them. While you probably wouldn’t have an acute reaction the first time you eat a tiny bit of fungicide, it might irritate your stomach or cause other symptoms of poisoning over time. Instead, start with seeds that specify they’re to be used for sprouting.
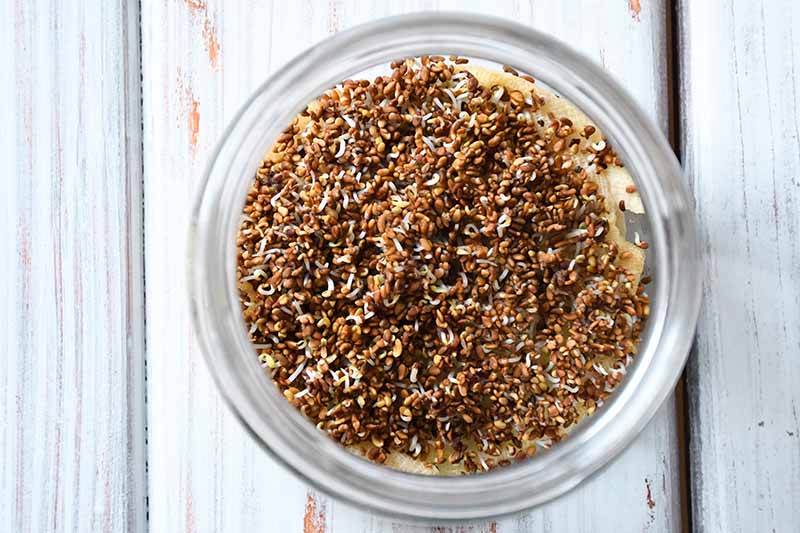
The lid should have mesh holes that are big enough so that water can drain readily, but not so large that the tiny alfalfa seeds will fall through when you rinse. You can also use a double layer of cheesecloth fastened over the top with a loop of sisal kitchen twine. But if you find you like growing your own sprouts and want to do it regularly, you’ll probably want a more permanent, reusable sprouting lid to use rather than cheesecloth. Make sure any lids you purchase are both food grade and dishwasher safe, to keep your tools clean and safe, and that they’ll fit a wide-mouth mason jar. For alfalfa seeds, you’ll want to rinse them in the jar with the lid on, drain the rinse water, and then refill it to about three times the depth of the seed layer, put it in a dark place, and let the seeds soak for about eight hours or overnight. Plastic Sprouting Lid A sprouting lid made of food-grade plastic is available inexpensively from True Leaf Market, and the company also carries a stainless steel type that curves at the top to provide maximum ventilation. Stainless Steel Wide Mouth Sprouting Lid You’ll have a batch of sandwich toppers ready in a matter of days, just by adding one and a half tablespoons of seeds to the bottom of a quart-size jar, screwing on the lid (or fastening the cheesecloth to the top), and soaking, rinsing, and draining the seeds a few times. After that, follow the instructions outlined in the Sprouting 101 compendium on our sister site, Foodal. As you gain experience, you may want to start sprouting other types of seeds, or mixes that contain alfalfa. You may also want to invest in more extensive kits, or grow lights and heat pads. Before you consider the many ways to grow pounds of the stuff each week, though, try a more manageable project to start. Instructions for growing the microgreen version are coming right up.
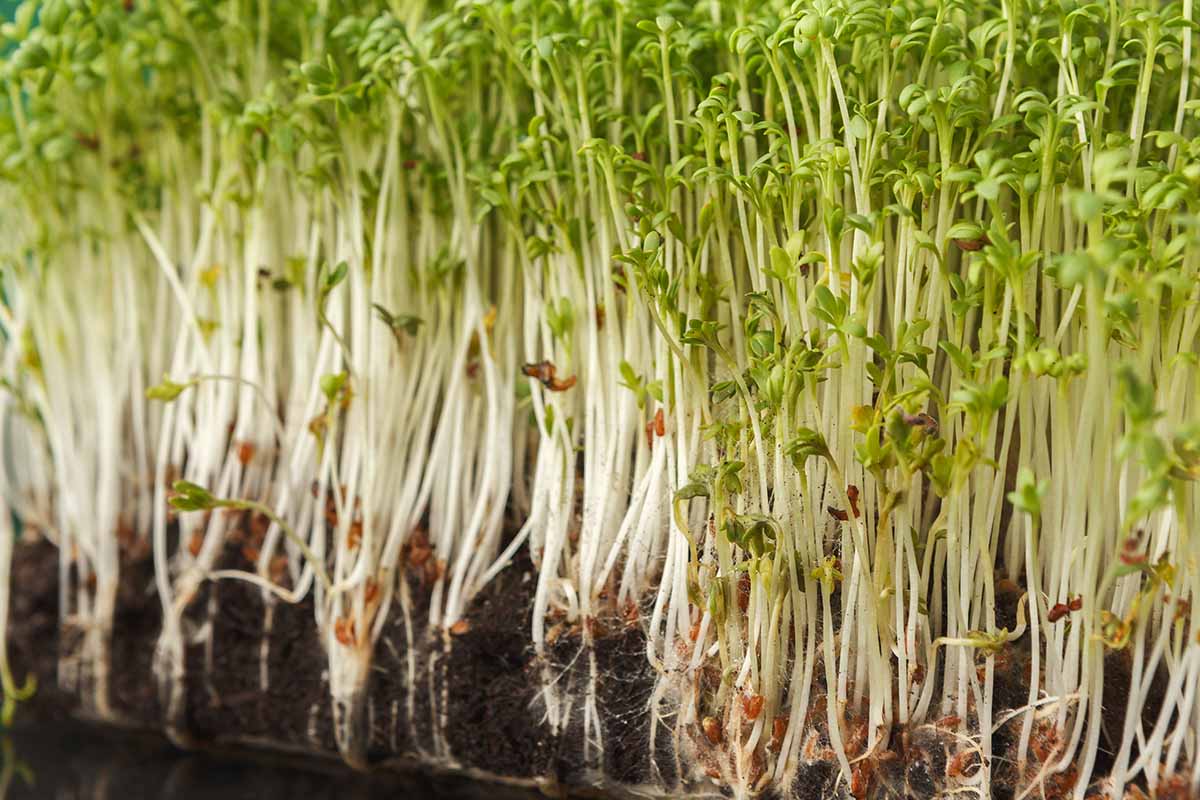
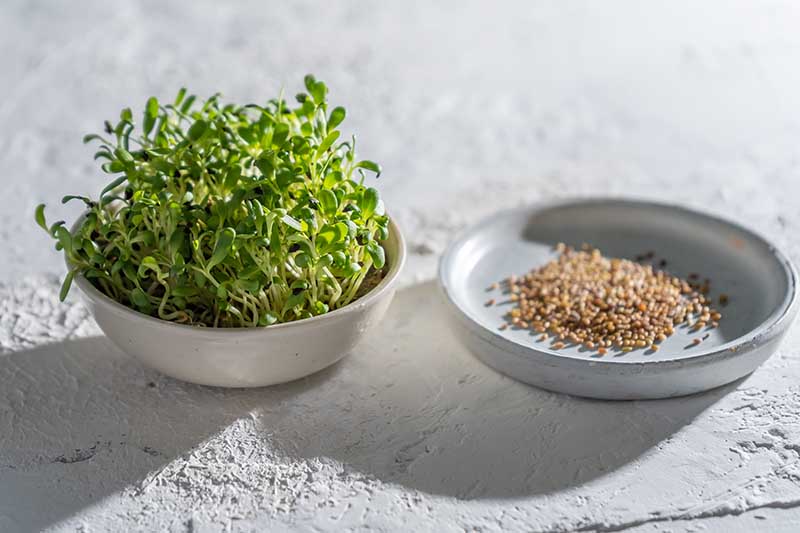
Grow Alfalfa Microgreens
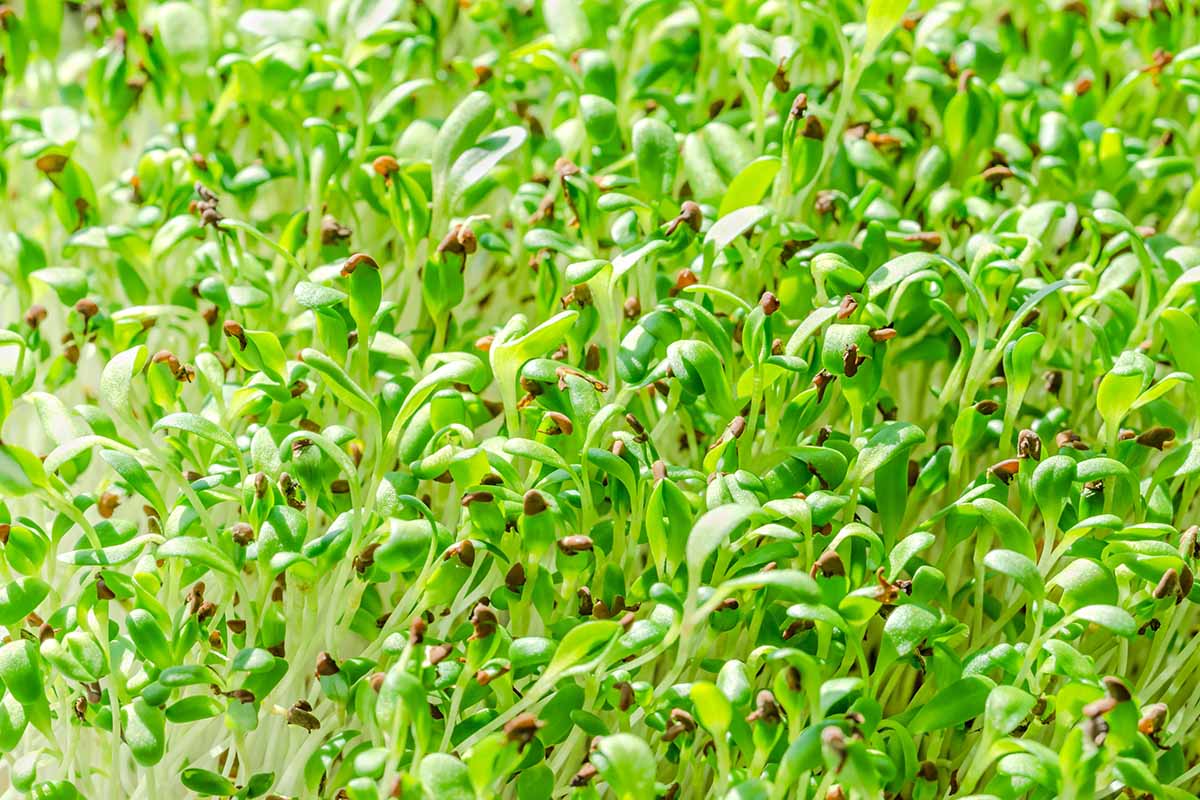
While many chefs and cafes use alfalfa microgreens in elaborate salads or sandwiches, the process for growing them is quite simple. You’ll be harvesting the greens with scissors above the soil line, versus eating the whole sprout. All you need is a shallow plastic tray filled with half an inch of soilless growing medium that you’ve moistened ahead of time. Never use plain garden soil or any mix that includes compost or dirt to grow microgreens, because that will increase the risk of soilborne diseases. Keep the soil moistened until the seeds sprout, which may take only a couple of days, but could take as long as five days if the temperature is a bit cooler than 65°F. The best types will contain peat moss or coconut coir to retain moisture, as well as vermiculite, sand, or perlite to keep the mix light enough to drain easily and provide aeration. Mother Earth Coco Plus Perlite Mix Spread the seeds on top of the soilless mix, using about a teaspoon of seeds for a three-by-six-inch tray, and press them into the mix using your fingertips. Spritz water on top using a spray bottle, and then cover the tray with clear plastic wrap. Poke a couple of holes in the plastic for ventilation. Place the tray in a warm spot, ideally between 65 and 75°F. After germination occurs, take off the plastic and place the container where it will get at least four hours of sun each day. Be sure to rotate the container every couple of days so different sections of the sprouts will receive the most light.
Recipes and Cooking Ideas
Once you produce your first batch of sprouts, eat them quickly! They will technically last in the fridge for up to six weeks, but only if you dry them well using a salad spinner or by letting them drain on a clean tea towel. You can also opt for Micro Mats made of sustainably harvested wood, placing them in trays to grow the microgreens hydroponically. Micro Mats Packs of 10, 25, 50, or 100 two-by-three-inch Micro Mats are available from True Leaf Market. The only change to the process compared with growing in a soilless mix is the added step of soaking the mats ahead of time in the tray, allowing them to absorb water for an hour or so. You then gently tilt the tray to drain the excess water, and spread the seeds over the hydrated mat instead of pressing them lightly into the soilless mix. Some hydroponic mats are made of jute, which needs to be soaked overnight and rinsed twice afterwards to remove most of its distinctly motor oil-like scent. These mats are then used in trays the same way you’d employ the Micro Mat versions. Microgreen Hydroponic Grow Pads
Where to Buy Seeds
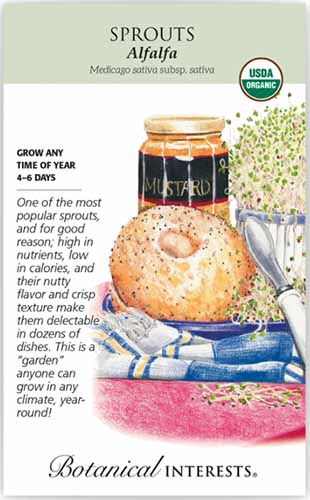
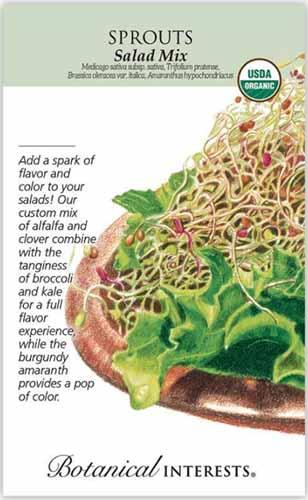
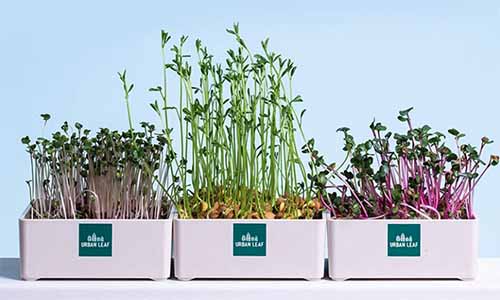
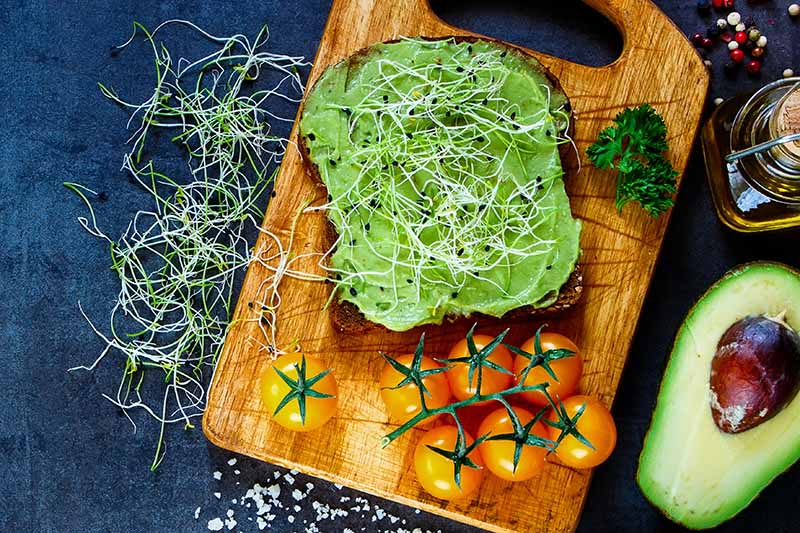
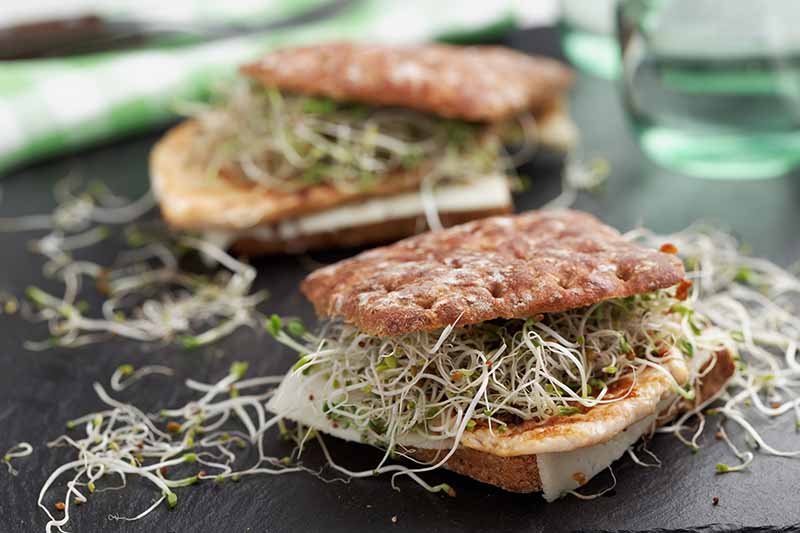
All this advice is nothing without seeds, right? Here is where I caution you one more time about the alfalfa seeds grown as a cover crop that are coated with fungicide – avoid these. They may also be inoculated with rhizobium bacteria that jump-starts their ability to fix nitrogen in the soil, and you don’t want to eat this either. For sprouting, you typically eat the hulls, so it’s important to avoid seeds that are pretreated in any way. (Even if you rub the hulls off at harvest, a few will stick around.) Farm or cover crop seeds should include a warning on the package that they’re not to be used as food or feed, but you should still double check that you didn’t mistakenly buy treated seed. Happily, there are readily available seeds for sprouting that haven’t been treated. Here are a few options: Botanical Interests offers organic M. sativa seeds specifically for sprouting in 30-gram packets. M. sativa Seeds This company also sells the seeds as part of a mix with red clover, which is also a legume, as well as broccoli, kale, and burgundy amaranth. All are germinated together, taking five to seven days to harvest. Salad Mix Sprouts Seeds The brassicas add complementary flavors and the amaranth contributes a splash of red color. This mix is available from Botanical Interests in 30-gram packets as well. Zesty Collection Burpee has one-ounce packets of alfalfa available as part of its “Zesty” collection of seeds for sprouting. The mix also includes broccoli, radish, and curly cress seed packets that each weigh an ounce. Organic Alfalfa Seeds True Leaf Market sells organic versions in sizes that start at four ounces, and range up to 35-pound buckets for true sprout devotees. Sprouting Health Mix Alfalfa is also included in their four-ounce sacks of Sprouting Health Mix, along with broccoli, radish, and clover to deliver a blast of antioxidants, sulforaphane, amino acids, and plant-based protein. Microgreen Seeds Alfalfa microgreen seeds are also available from Urban Leaf in 15-milligram packages. Microgreens Growing Kit They say this is enough for three harvests, using their Microgreens Growing Kit with jute mats. Still, the rule of thumb is this: “The fresher, the better.” Older sprouts tend to lose their delicate flavor and crispy texture. And that would be a shame, since there are so many ways to enjoy them. You can add them to salads, use them to garnish savory cream soups, put them on burgers in lieu of lettuce, tuck a few into a cheddar cheese omelette, or snip a few to sprinkle on pizza after it comes out of the oven. You may want to toss a handful into your favorite stir fry, too, but be certain to do this in the last minute of cooking. And consider them as a flavor accent, not a stir fry base. Unlike bean sprouts, which are bland and have a high water content, alfalfa doesn’t always meld well with all vegetables or spices in the wok. For inspiration, try this leafy sprouts salad with sorghum chili vinaigrette recipe from Foodal first. Then use your sprouts in place of both the microgreens and lettuce featured in Foodal’s toasted sandwich recipe. For maximum enjoyment of the microgreens, keep in mind that the flavor is a bit more intense since they’re more mature than sprouts. Use fewer of them to top pizza, or in salad recipes like this one from Foodal for a Sunday salad with einkorn and honey-lemon dressing. That extra bite also adds zip to savory stews, soups, and stir fries. But alfalfa loses its flavor and crispy texture quickly when it’s heated, so be sure to stir a handful of chopped microgreens into whatever you’re making only after it’s finished cooking, or use it as a garnish on top. Plant accordingly, based on how quickly you’ll be able to eat this healthy homegrown greenery, so you won’t let any go to waste. If you’re already knowledgeable about the process and have tips of your own to share, we welcome your input in the comments section below. Let us know if you have any questions as well! And if you’d like to learn more about other options for growing leafy greens indoors, read these guides next:
Plant Your Salad Greens Early: Tips for Growing Lettuce and MicrogreensHow to Grow Swiss Chard in ContainersHow to Regrow Lettuce from Kitchen Scraps