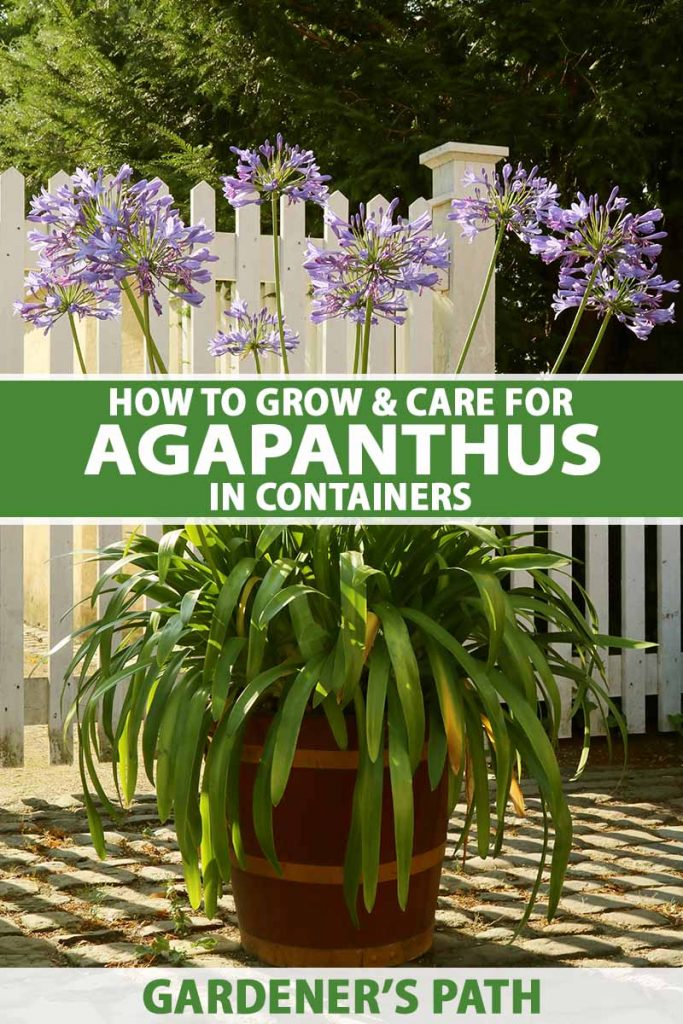
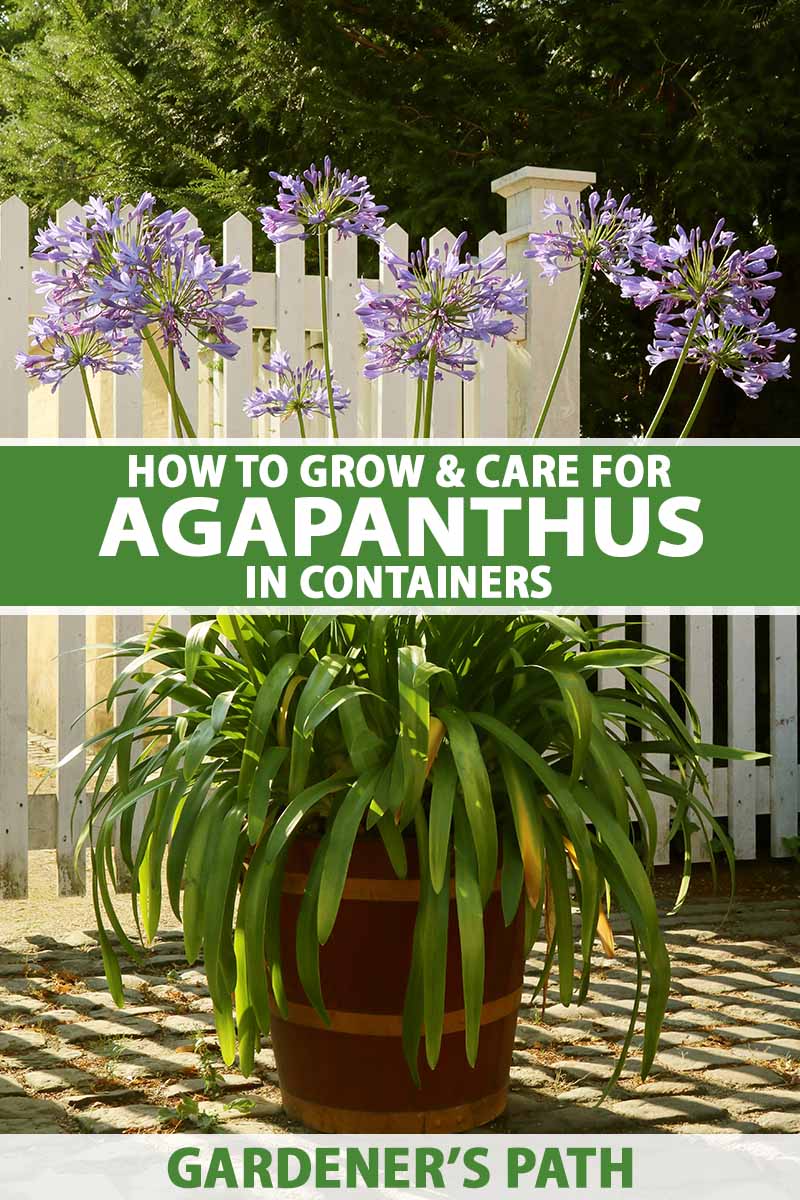
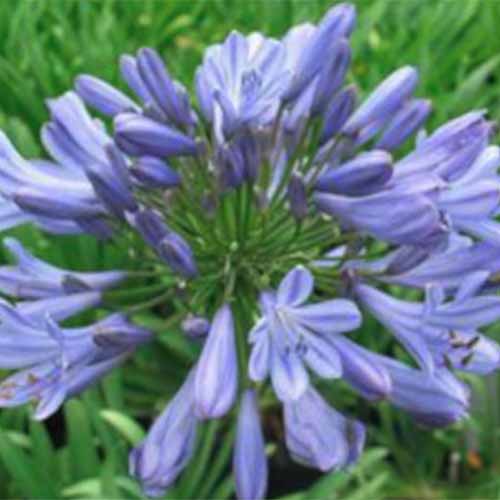
The blue, purple, white, or bicolored blooms grow on three-feet-tall stems above the lance-like leaves, and these plants a garden fixture in places like Mexico, Jamaica, and warm parts of the United States – though they’re native to South Africa. Also commonly known as “African lily” or “lily of the Nile,” agapanthus plants aren’t lilies at all but are tall perennial flowers in the Agapanthus genus. We link to vendors to help you find relevant products. If you buy from one of our links, we may earn a commission. In this article, I’ll cover how to care for these colorful blooms in pots and containers, so you can bring a tropical feel to your patio, deck, or courtyard garden. Here’s the lineup:
Getting Started
Before we get planting, here are a few things to know about agapanthus. They’re part of the Amaryllidaceae family, which includes daffodils, ornamental alliums, and amaryllis.
This family has three subfamilies: Allioideae, Amaryllidoideae, and Agapanthoideae. Can you guess which one our lovely plant belongs to? That’s right: the subfamily Agapanthoideae, which has just one genus – Agapanthus. Within this genus there are six to 10 different species, and the most popular and widely grown are: A. africanus, A. praecox, A. orientalis, and A. inapertus. Dozens of cultivars and hybrids in shades of blue, violet, and white have been cultivated by plant breeders from these four species, providing plenty of choice for the home gardener. Some species and cultivars are evergreen and are suitable for growing in USDA Hardiness Zones 8-10, while others are deciduous and hardy to Zone 6. Others are semi-evergreen which means they can be either evergreen or deciduous based on the Zone they are grown in. They may be evergreen in evergreen in Zones 8-10 but deciduous in Zones 6-7. We’ll make sure to point out which is which when we list a couple of our favorite cultivars for container-growing below. This tenacious plant spreads easily via fleshy rhizomes in ideal conditions and is extra-resistant to pests and disease, which leads some gardeners to consider it a weed. But on the flip side, it’s extremely fire-resistant, so it’s an ideal plant for those in fire-prone areas.
Why Grow in a Container?
Aside from lack of space, one reason to grow this easily naturalized plant is that when it’s in a pot, you don’t have to worry about it spreading and taking over your garden.
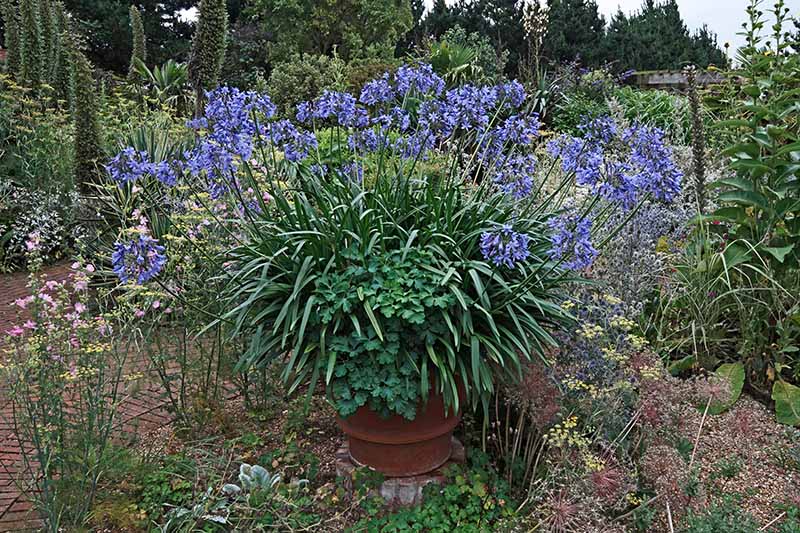
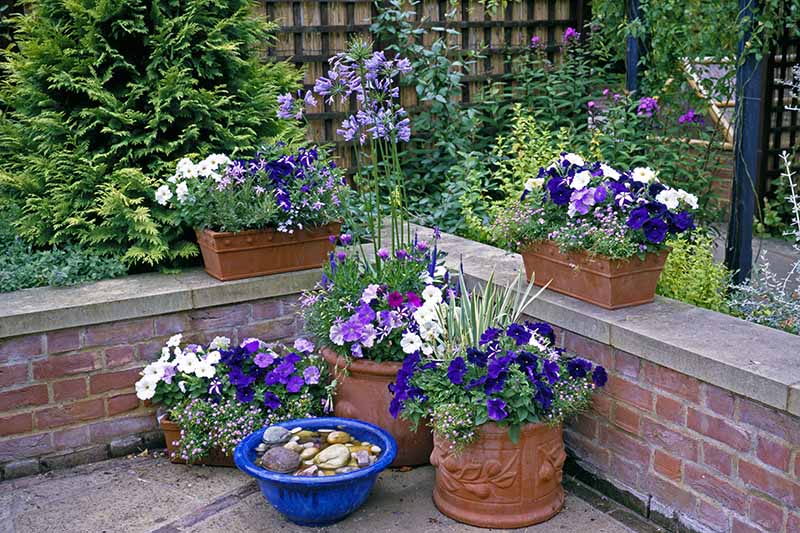
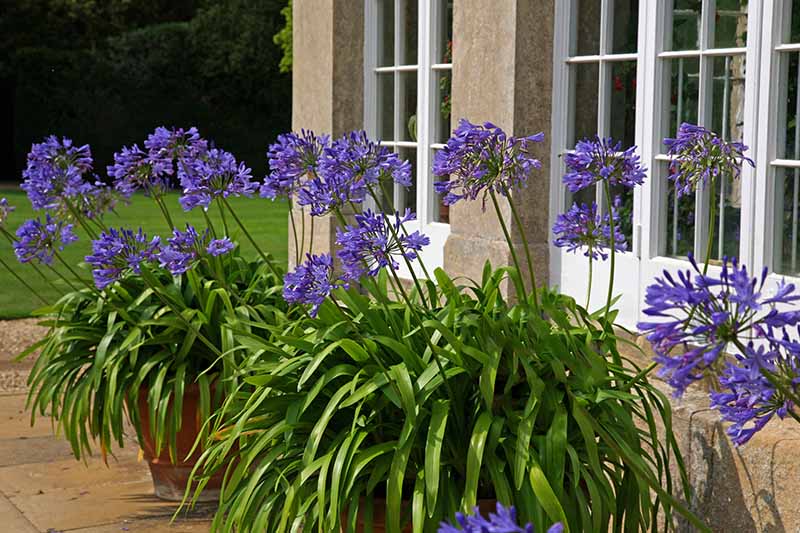
Plus, if you live in Zones 5 or 6, you can easily bring your agapanthus inside for the winter or into a sheltered area where they’ll be protected from the elements. Agapanthus makes a delightful addition to a colorful container garden, with its lance-like foliage and tall, globe-like blooms.
Choosing the Right Container
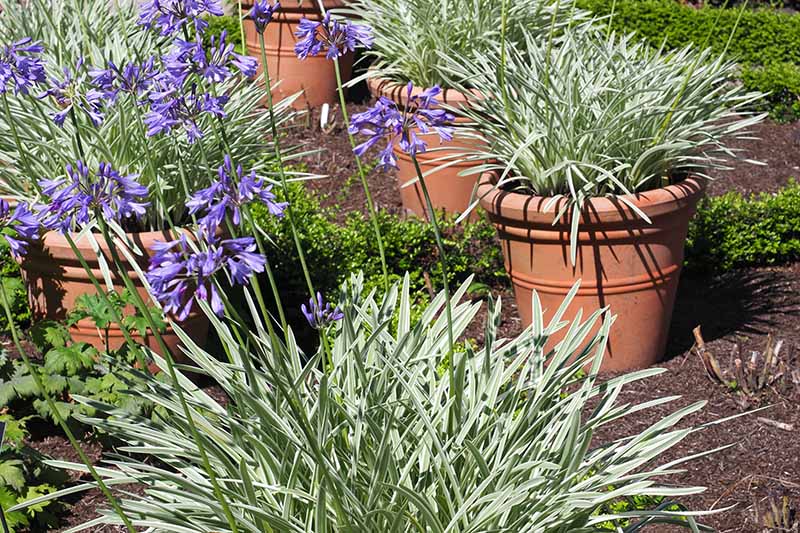
Agapanthus generally grows to between 18 inches to four feet tall and one to three feet wide, depending on the cultivar. For a single, large plant, or two to three smaller, younger ones, choose a container that’s at least 12 inches in diameter and eight to 12 inches deep.
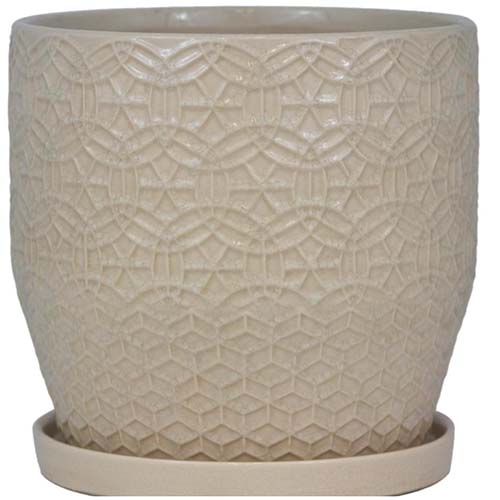
Agapanthus produces more blooms if it’s a little bit root bound, so don’t worry too much about the size. Even if you put them in a slightly large pot, they’ll grow into it (remember how I mentioned that they love to spread?) and produce blooms. However, if the pot is too big, they may produce an abundance of foliage and fewer flowers in the first year, before the roots have had a chance to fill the space. Agapanthus are most commonly sold as young plants in small pots from a nursery or garden center. Let the current pot your agapanthus is growing in be your guide: If you purchase a three-gallon potted plant, choose a container that’s four to five gallons, alternatively, place more than one plant in a larger pot. These plants look lovely in terra cotta pots, but these can be heavy to move. If you want to use terra cotta, consider investing in a rolling cart to help move the containers from place to place. This container has drainage holes and an attached drainage dish so that water doesn’t leak all over your floor should you choose to bring the plant indoors in the cooler months.
Rivage 12-inch Ceramic Pot Any plastic, metal, or stone container can work for your agapanthus as long as it’s got drainage holes. I prefer not to use pots that taper too much towards the base, so that it doesn’t fall over in windy conditions. Combined with a wide base, the thick, low-growing foliage tends to help balance the container and keep it from toppling over.
Preparing Your Container
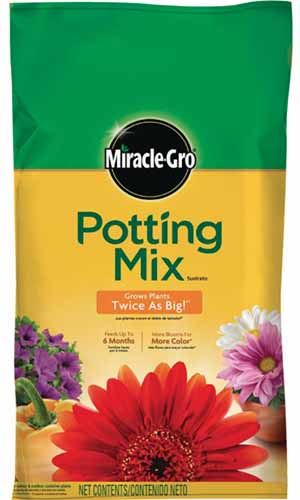
Even though agapanthus plants aren’t terribly picky about the soil they are growing in, ideally it should be loose, organically-rich, and well-draining with a pH of between 5.5-7.0. Well-draining soil is important, as these plants can’t stand wet feet. You can use a mixture of loamy soil and compost, or commercial potting soil with the addition of some builder’s sand to improve the drainage as needed. When you receive your plant in the mail or bring it home from the store, dig a hole as deep and wide as the original pot, remove the plant, and place it inside.
Miracle-Grow Potting Mix Before you fill your container, make sure you clean and disinfect it if it’s been used before to prevent the spread of disease. Leave an inch or so of space between the top of the soil and the rim of your container, to prevent water running off the surface. Backfill with your selected potting mix, tamp it down to remove pockets of air, then water thoroughly.
How to Grow
For an abundance of blooms, agapanthus prefers a full sun location. The plants will tolerate part shade, but may not flower quite so prolifically.
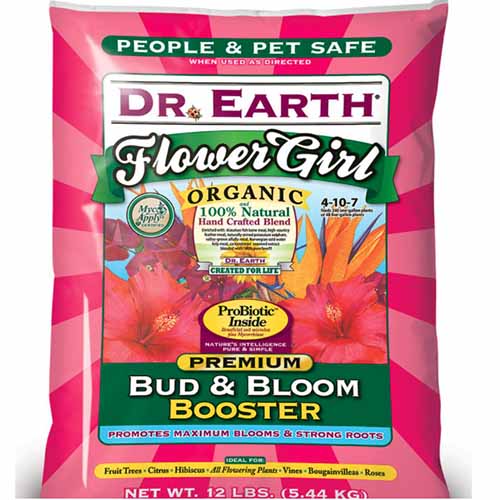
Place the container in an area that receives six to eight hours of sunlight every day. If you live in a hot, dry area in Zone 9 or 10, consider a spot that gets a bit of light afternoon shade to help prevent the plants from overheating. Mulch with straw or bark chips to help lock moisture in and keep the container’s temperature consistent. During the first year, allow just the top inch of soil to dry out between waterings. Check the soil with your finger every two to three days to ensure you don’t let it get too dry. Remember that soil in containers typically dries out faster than soil in the garden, particularly if you are using a pot made from a porous material such as terra cotta. When the plant is established, it’s pretty drought tolerant, so you can let the top three inches dry out between waterings. In general, try to avoid overhead irrigation and water at the base of the plant to avoid damp conditions that can lead to fungal infections. To encourage more blooms, apply a high-phosphorus fertilizer once in the spring and again in midsummer according to package instructions. These plants don’t need much in the way of pruning. Simply cut off the spent flowers at the base of the stalks during the growing season.
Dr. Earth Flower Girl Fertilizer Avoid using fertilizer that’s high in nitrogen, as this will promote the growth of lots of foliage and few flowers. If you are growing deciduous varieties, you’ll need to cut them back to about four inches above the ground after the blooming season, when the foliage has died back. In the case of evergreen types, all you need to do is remove any broken or dead leaves, and spent flower stems. Evergreen species and cultivars are tender, so you’ll need to move your plant to a frost-free location during the winter months. You can consider moving it to a sunny spot in the greenhouse or indoors next to a bright window. The temperature in the room or greenhouse shouldn’t drop below 50°F. Water lightly once a week or so, or when the top three inches of soil dry out. You can move the plant back outside when temperatures remain consistently above 50°F. In the case of the more hardy deciduous varieties that go dormant during the winter months, you can leave them outdoors. In Zones 6-7, mulch with straw to protect them from sudden temperature changes, or consider moving your plants into a garage or shed to keep them safe from the elements. Water them just often enough to keep the soil from becoming completely dried out – once every two weeks or so. Every two to three years, you may need to repot your plants into slightly larger containers because although they like being a bit root bound, they’ll appreciate a fresh potting mix and a bit more room to grow. As a rule of thumb, aim to repot into a container that’s two inches larger in diameter than the existing pot. Fall is a good time to divide larger specimens. To learn how to do this, check out our guide to dividing perennials.
Growing Tips
Place your container in a full-sun or part-shade location. Water when the top inch of soil dries out in the first year, or the top three inches thereafter. Fertilize twice a year: once in early spring and again in midsummer.
Cultivars to Select
Thanks to their compact size, here are two of my favorite cultivars for container-growing.
Managing Pests and Disease
You really don’t have to worry about pests and disease with these tough plants. They’re poisonous to rabbits and highly unattractive to deer.
Indigo Frost
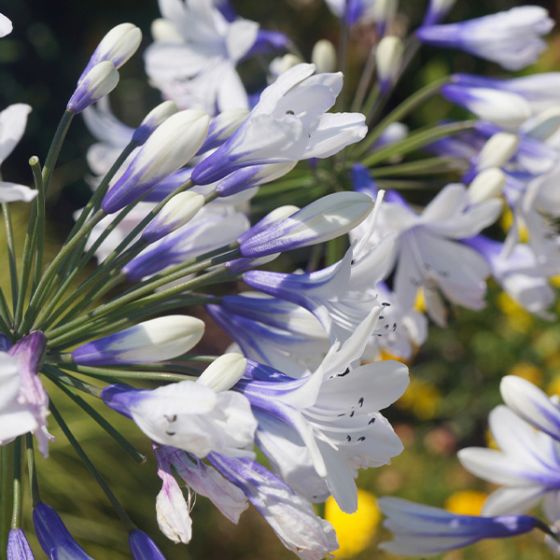
Do you dream of an agapanthus that delights the eye with not just one color, but two? Then ‘Indigo Frost’ is the cultivar for you. This cultivated hybrid is a cross between A. praecox and A. campanulatus. The delicate white flower petals give way to lavender throats, creating a dazzling effect in your container garden.
‘Indigo Frost’ Even better, it blooms throughout the summer. ‘Indigo Frost’ grows just 18-24 inches tall and wide – a perfect fit for smaller pots. This cultivar is evergreen in Zones 8-10 and deciduous in Zones 6 and 7. You can find one-gallon potted plants for sale online at Nature Hills Nursery.
Lily of the Nile
This A. africanus cultivar boasts glossy, dark-green leaves and violet flowers that rebloom profusely throughout the summer. To encourage reblooming, make sure you deadhead spent blooms regularly. Like ‘Indigo Frost,’ ‘Lily of the Nile’ is a compact variety that grows just 18-24 inches tall and wide.
‘Lily of the Nile’ This evergreen cultivar is hardy to Zones 8-10. Find plants in three-gallon pots available at the Home Depot. As long as you avoid watering the leaves or letting the container sit out in the rain for days on end, you can skirt common fungal problems like powdery mildew, botrytis, and anthracnose. Slugs and snails might find your plants attractive, but they’ll have a slightly harder time climbing into a container.
Best Uses
What I love about growing these perennials in containers is that they are so versatile.
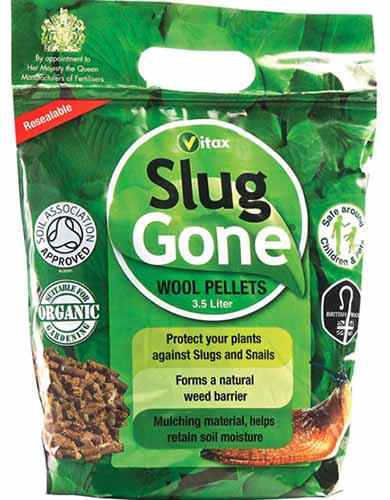
Slug Gone Wool Pellets These pellets just slow the slugs down and deter them from coming to your container – they don’t actually kill the pests. Plus, they’re safe to use around children and pets. You can find Slug Gone available at Arbico Organics. If your plants do develop problems, you can read about identifying and treating agapanthus disease here. You can line a sunny walkway with several potted, nodding agapanthus, or put them on a bright porch, like I do. Why not create a colorful display on your patio with a combination of annual and perennial flowers in complementary or contrasting colors?
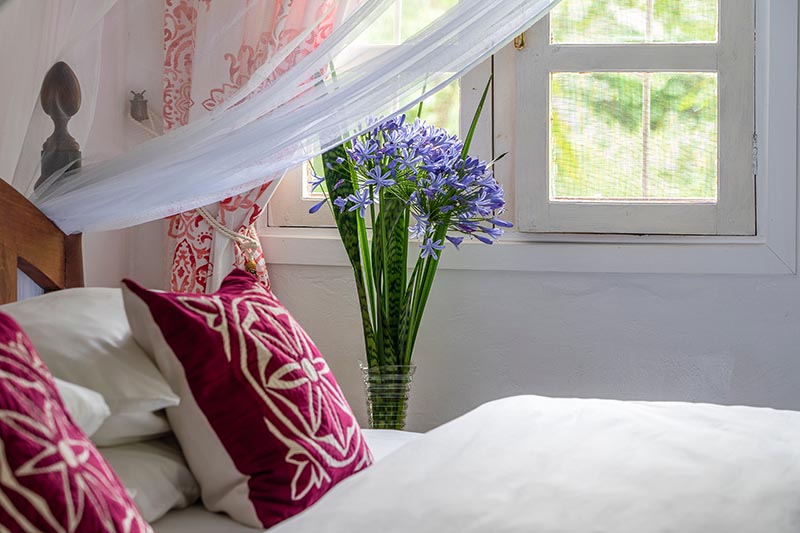
The tall stems of agapanthus create an ideal focal point in sunny corners in a courtyard garden or the corner of an apartment balcony. If you’ve got a pot that puts out plenty of flowers, they make great cut flowers as well. Simply cut the long stems at an angle and bring them indoors to brighten your living space.
Add some homemade flower food and enjoy the blooms for six to 12 days. To keep them fresh longer, trim the ends, add more food, and refill the vase with fresh water every few days.
Make sure you provide them with plenty of sunshine, well-draining soil, and protect evergreen types from winter’s chill and you’ll enjoy their globe-like blossoms year after year. What’s not to like? Have you ever grown these beauties in a container? Drop your questions and stories in the comments section below, and feel free to share a picture! And for more colorful flowers to add to your container garden, check out these guides next:
Tips for Growing Violets in Containers How to Grow and Care for Azaleas in Containers How to Grow Hydrangea Flowers in Containers
© Ask the Experts, LLC. ALL RIGHTS RESERVED. See our TOS for more details. Product photos via Arbico Organics, Dr. Earth, Miracle-Gro, and Nature Hills Nursery. Uncredited photos: Shutterstock. With additional writing and editing by Clare Groom.