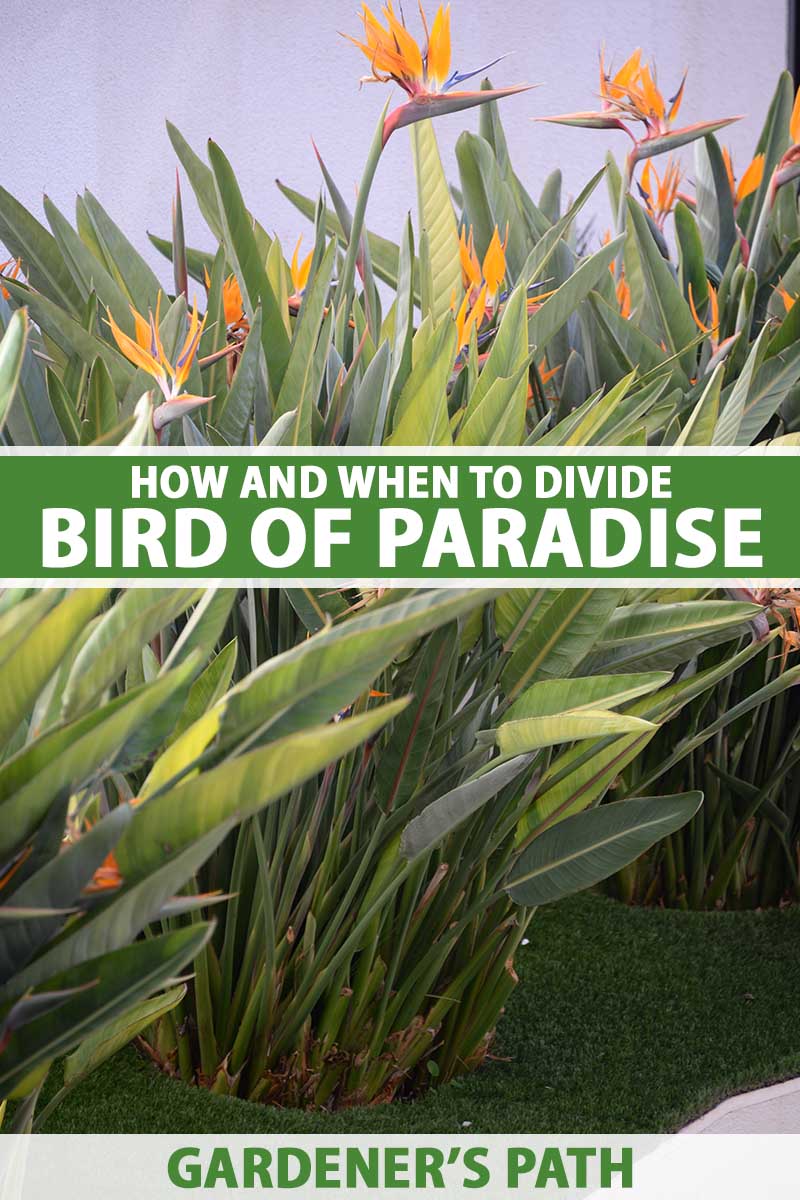
We link to vendors to help you find relevant products. If you buy from one of our links, we may earn a commission. While these tasks are necessary, and oftentimes satisfying, it’s a wee bit sad to think that so many gardening chores revolve around eliminating things we don’t want. Can’t our yardwork provide a positive reward for a change? Oh, but it can. Enter division: an ingenious way of solving a garden problem, while simultaneously gaining additional plants! How cool is that? And when the divided plant is none other than a bird of paradise… Well, now you’re just treating yourself. But hey, you deserve it! Dividing a bird of paradise renews its vigor and keeps it properly sized, all while increasing the total number of Strelitzia plants in the garden. With the right tools and the proper know-how, you too can utilize this propagation technique for yourself. In this guide, we’ll cover the why, what, when, and how of Strelitzia division. And if you don’t have the extra space, divisions make excellent gifts to share as well. Here’s everything we’ll go over:
Why Divide?
This is a common ask, especially among propagation newbies. Why would we deliberately separate a plant – especially a beaut like a bird of paradise – into smaller pieces? Well, we do this for a few reasons:
Increase Number of Plants
Ask any green thumb with loads of flora and a light wallet, and they’ll tell you that plants can be expensive. This becomes especially obvious when Strelitzia shopping: one or two might fit your budget, but a grouping of them? Kiss that nest egg goodbye. At least that would be the case, if it weren’t for division. When you divide a large Strelitzia into multiple parts, each one will grow on to become a newly thriving bird of paradise plant. Divide again and again once plants mature enough to sustain it, and after several years you’ll have more Strelitzia than you’ll know what to do with, all for the price of zero dollars and zero cents.
Control Plant Size
Sometimes, when a bird of paradise becomes too large, it needs to be downsized. While you could give its greenery a buzz cut down to the ground, this would just be a temporary solution. The roots would be untouched and way out of proportion with the shoots, which would result in the aboveground vegetation growing back with a vengeance. Division, on the other hand, entails digging up the entire Strelitzia and separating it into smaller daughter plants. Afterwards, the remaining parent plant that stays in its original spot will be smaller and more controlled, and its roots and shoots will grow in balance with each other. Any of the baby divisions you utilize in the landscape will do the exact same thing wherever you choose to put them, given the conditions that they prefer.
Rejuvenate Health and Vigor
When a plant is in need of division, it’s usually a bit overcrowded with roots and shoots. In addition to competing with each other for resources, these jam-packed structures don’t usually have a ton of intra-plant airflow, which is necessary for avoiding disease. By dividing an excessively clumped-up bird of paradise, you enable it to harvest nutrients, water, and sunlight from the environment more readily, while also lowering its risk of disease. Plus, the stress of division spurs renewed growth and development, much like pruning does.
What You’ll Need
Having the proper tools is a must when dividing Strelitzia. Here’s everything you’ll need:
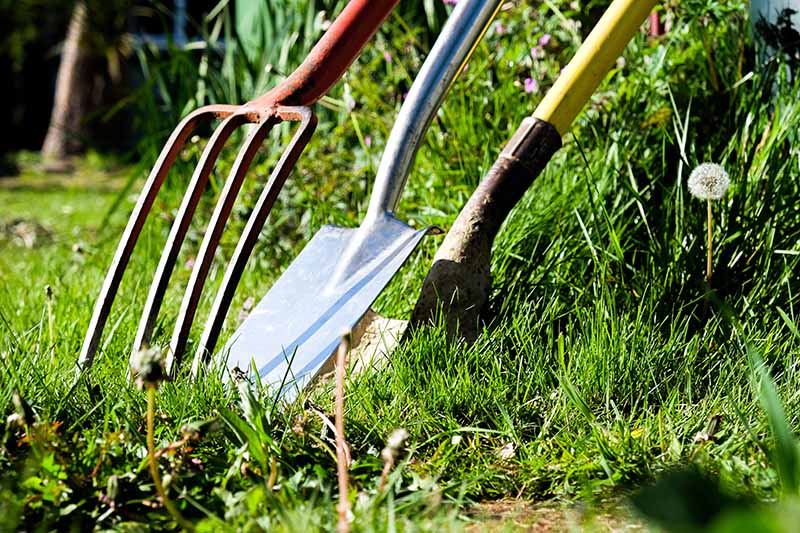
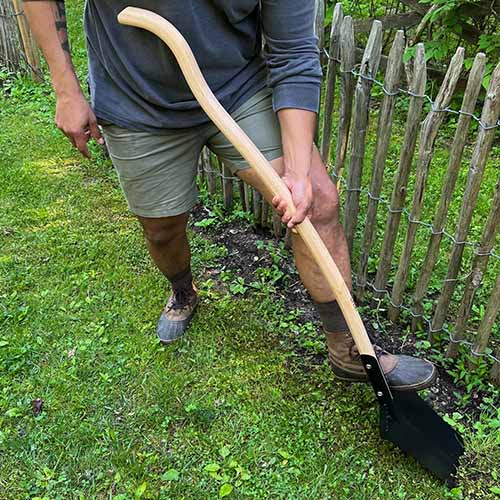
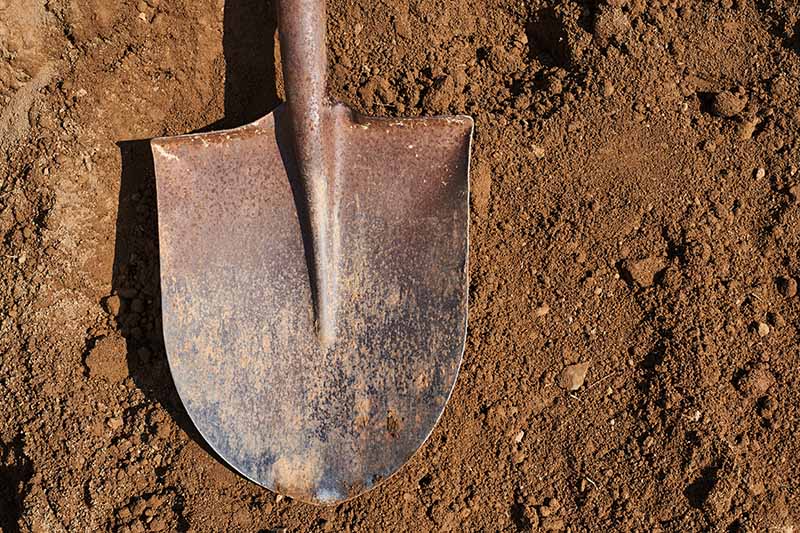
A Digging Tool
There are many different ways to lift a bird of paradise out of the ground. Shovels, spades, and garden forks all work. A shovel is better for digging, a spade comes in handy for slicing any anchoring roots, and a garden fork is ideal for leaving the majority of the root system intact. Splitting a Strelitzia right before blooming occurs instead means the transplants won’t become established as effectively. By dividing in summer, you’ll provide ample time and resources for it to grow strong roots and shoots. In fact, this may be ideal, as I’ll explain later in the guide. Ergonomic Garden Shovel For an ergonomic garden shovel with a uniquely curved wooden handle, visit Garrett Wade. They also offer a top-tier, heavy-duty, self-sharpening digger, their “King of Spades”. King of Spades For ease of use, a rubber foot pad attachment is available separately from Garrett Wade. Gardening Fork To purchase a chrome molybdenum steel alloy garden fork with rust-resistant tines, Garrett Wade can help you out there as well.
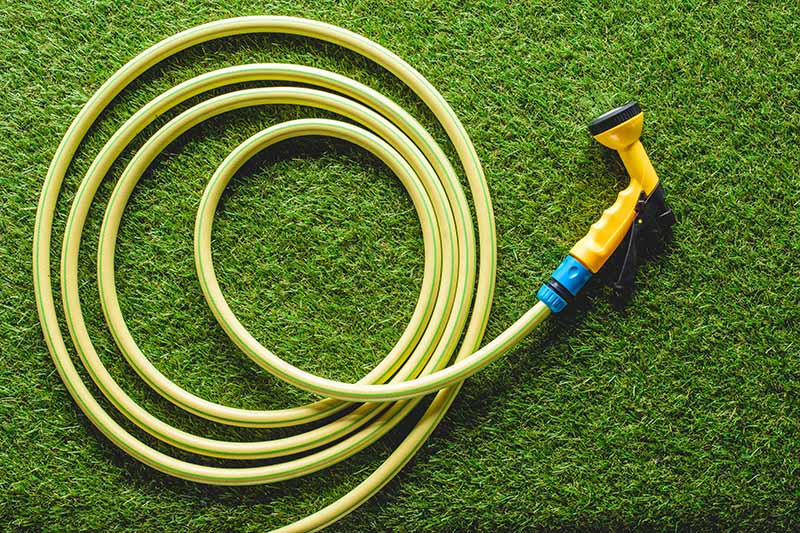
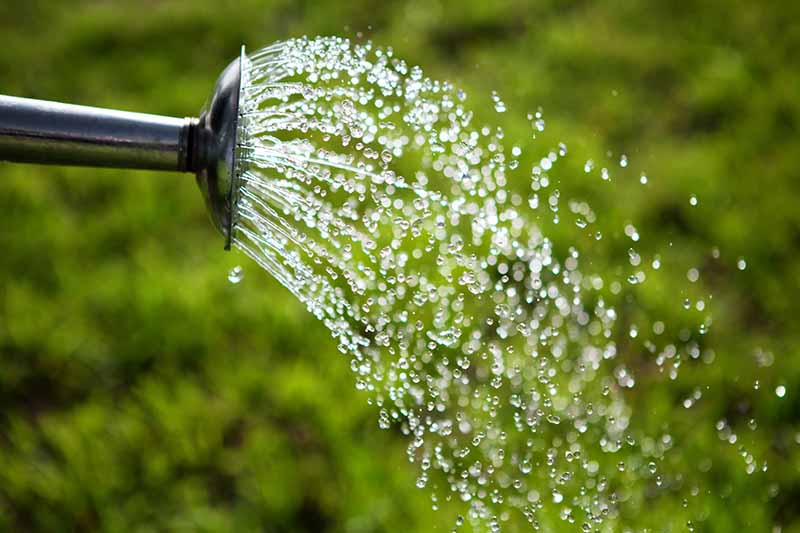
A Watering Can or Hose with Spray Nozzle
A means of watering is technically required for division preparation, not the actual dividing process. Prior to division, you’ll want to deeply water the bird of paradise that you’ll be dividing. The tool to use here is also up to personal preference: watering cans are more easily portable and maneuverable, while nozzled hoses offer various spray settings and don’t require multiple trips back to the spigot or sink for refilling. Plastic Watering Can For a three-gallon watering can made of BPA-free plastic, head on over to Gardener’s Supply Company. If your garden hose is in need of our upgrade, read our review to discover some of the best options. And if you go the hose route, you’ll also need an easy-squeeze spray nozzle. Easy-Squeeze Hose Nozzle Visit Gardener’s Supply Co. to check out their exclusive stainless steel model with seven spray options. It’s available in black and purple, or gray and green.
Soil Knife
When it’s time to actually divide your bird of paradise after it’s been lifted, you’ll need a blade to sever the rhizomatous root system into different sections. Read our guide to the best hori-hori garden knives if you’re looking for one to add to your collection. Farmer’s Dagger I like this 13-inch Dutch farmer’s dagger from Garrett Wade. With an oiled ash handle, the seven-inch hardened boron steel blade is straight on one side, and serrated on the other.
Tarp
Throughout the whole dividing process, you’ll need to keep your various Strelitzia parts organized. You’ll also want to make sure any soil you’ve dug up doesn’t end up in undesired places. A tarp is a lightweight, durable, and portable means of doing all that. Waterproof Tarp
When to Divide Strelitzia
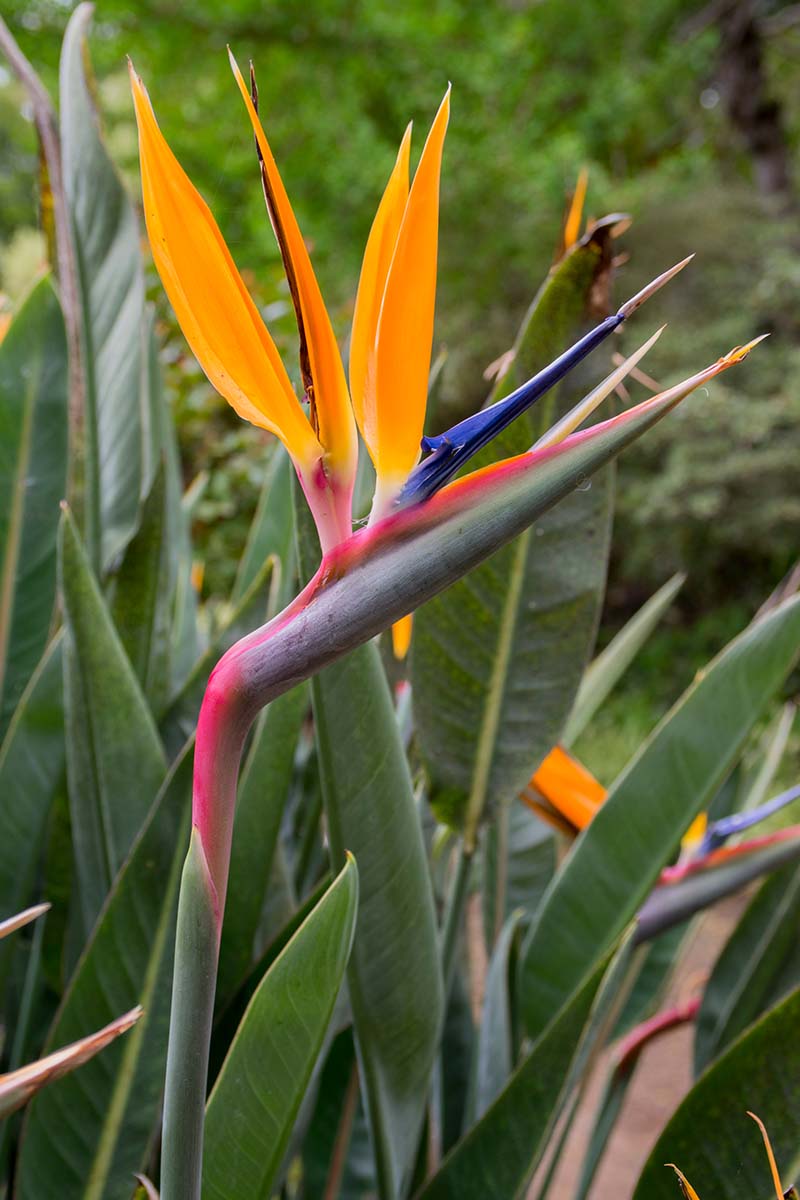
Since Strelitzia flowers typically open in late winter or early spring, the ideal division time is in late spring or summer. A plant requires energy to recuperate and reestablish itself after being divided. For successful division, choose healthy and well-established specimens. Dividing an infested, infected, or recently transplanted Strelitzia would just add another stressor to an already stressed-out plant.
How to Divide Bird of Paradise
Now that you’ve got your tools and reserved a late spring or summer day for dividing a healthy bird of paradise plant you’ve selected, it’s time to begin.
Preparation
Before you even touch an established bird of paradise, you’ll want to dig holes where you intend to transplant the daughter plants, and prep the new planting areas as needed. For optimal reestablishment, make sure the surrounding soil is fertile and well-draining, with a pH level of 5.5 to 7.5. Learn more about providing the best location for your transplants in our guide to growing Strelitzia. And hold onto the dug-out soil so you can use it later for backfilling. Anywhere from a full day to an hour before digging up a mass of Strelitzia, deeply irrigate the root zone. This will hydrate the plant, make digging easier, and keep the root ball in one piece as you lift it out of the ground. Sterilize all of your tools before you begin. A mix of isopropyl alcohol and water – with at least 70 percent of the solution being alcohol – sprayed on your tools should kill any lingering pathogens. Wipe off the solution with a clean rag, and you’re ready to go.
Removal
Using your choice of digging tool, begin to dig in a circle around the plant. Leave several inches to a foot of distance between the perimeter line where you dig and the crown where the stems meet the soil, to keep as many of the rhizomes intact as possible. Root depth depends on the variety, but again, you want to avoid slicing through the rhizomes. Being able to lift the Strelitzia out of the hole with your bare hands is the goal, so if you can’t pull yours out under your own unequipped manpower, then there’s more work to do. For particularly large specimens, you might even want to call in a friend to assist you. At this point, a sharp spade will come in handy for slicing any roots that are anchoring the ball of rhizomes to the soil. Once the hole is sufficiently deep and wide around the root ball, grip the mass of rhizomes, and haul out the plant onto your tarp. Depending on its size, you might want to get under the root ball with a large spade for leverage. Now, it’s division time!
Division
Using your hands to tease the clumps apart, divide the plants into single-shoot units. You may need to use your soil knife to sever the rhizomatous roots and separate them, being sure to keep as much of the healthy rhizomes as possible intact with one connected to each shoot. Cut away and dispose of any unhealthy-looking rhizomes, roots, or stems. It might also be necessary to gently tease soil clumps off the rhizomes so you can see what you’re doing while you work. Try to avoid creating any accidental nicks or cuts, as these wounds may leave transplanted divisions prone to disease. Leave the soil in a pile on your tarp so it can be reused later for backfilling.
Transplanting and Reestablishment
Now that you have your divisions, it’s time to replant the parent and transplant the daughter plants. You’ll want to do this as soon as possible so they don’t dry out. If they’re at risk of dehydration, keep the roots of your divisions moist in the shade by irrigating them with a watering can or a hose. For the divisions that you want to transplant into your garden, make sure you have prepared holes large enough to accommodate their root systems. Plant the divisions as deep as they were prior to being divided, then backfill the holes with soil that you dug out earlier. Water in the divisions, and keep the soil moist until they become reestablished – this will take at least three months. The parent should be replanted in the hole from whence it came. Now that it’s separated from the daughter plants, you’ll have a lot of empty space in the hole that will need to be backfilled with the soil that you’ve kept on your tarp. Once the divisions are established, you’re free to begin fertilizing them every three months with organic material such as rotted manure or blood meal, in order to encourage vibrant blooms. Expect to see divisions of this size flower for the first time in one to two years. For more fertilization know-how, read our guide to fertilizing bird of paradise. (coming soon)!
Tips for Dividing Potted Plants
The above information is geared towards dividing birds of paradise that are planted directly in the ground. But for potted specimens, there are a few things you’ll need to do differently. First, you’ll need more pots! Ensure that they have good drainage and fill them with an appropriate potting mix. Birds of paradise prefer being slightly root-bound for optimal blooming, so make sure their new containers aren’t too roomy. When selecting your specimen, you’ll know a potted Strelitzia is ready to divide when the roots start to emerge from – or even start to crack – the container. This is an obvious sign that the plant has gone from slight to severely root bound and needs immediate relief. Root bound plants become more difficult to water as well and they may begin to show signs of dehydration when it’s time to divide. You don’t need any digging implements to split container-grown plants. Instead, combine running a knife or small finger around the inner rim of the container with wiggling the pot to loosen the plant a bit for easy release. You may have to tip the pot on its side on your tarp if the plant is too heavy to remove it vertically. Once the plant is sufficiently loose, pull it from its container, being careful not to yank too hard to avoid damaging the rhizomes. Hopefully, you’ve laid out some newspaper or small tarp to contain the mess. Divide the Strelitzia the same way you would if it had been growing in the ground. Once that’s done, transplant individually into their new containers planted to the same depth as before, backfill, and water to settle in. Add more soil if you need to. The parent plant can benefit from a soil refresh as well. Now that you can divide a bird of paradise, there’s nothing stopping you from creating an army of Strelitzia clones. You can keep them for yourself, give them away, or prank folks by secretly planting your divisions in their yards! Scratch that last one, actually – it may not be entirely legal. But it would be funny, in a botanical sort of way. Any remarks, questions, or anecdotes you wish to share can go in the comments section below. I’ll be sure to read and respond to what you have to say! For more information on bird of paradise care and maintenance, check out these guides next:
How to Overwinter Bird of Paradise PlantsHow and When to Prune Bird of Paradise PlantsDeadheading Bird of Paradise: How to Remove Spent Blooms