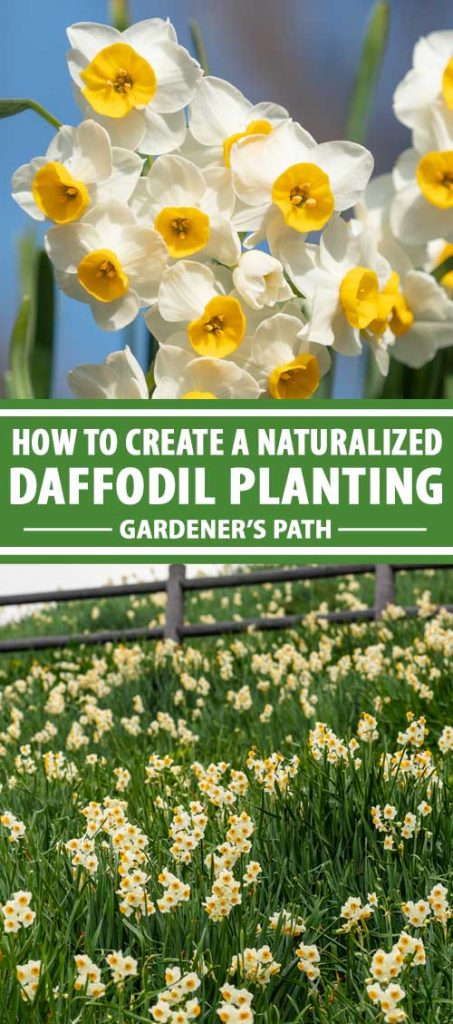
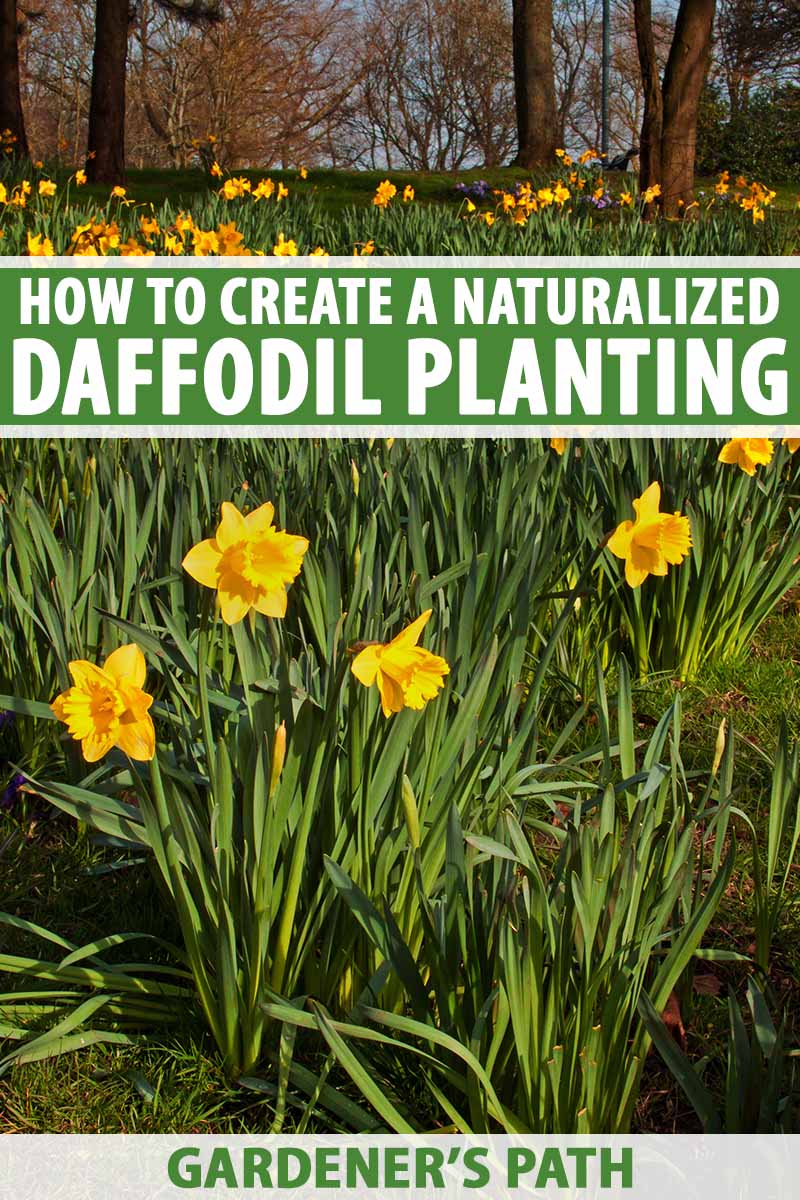
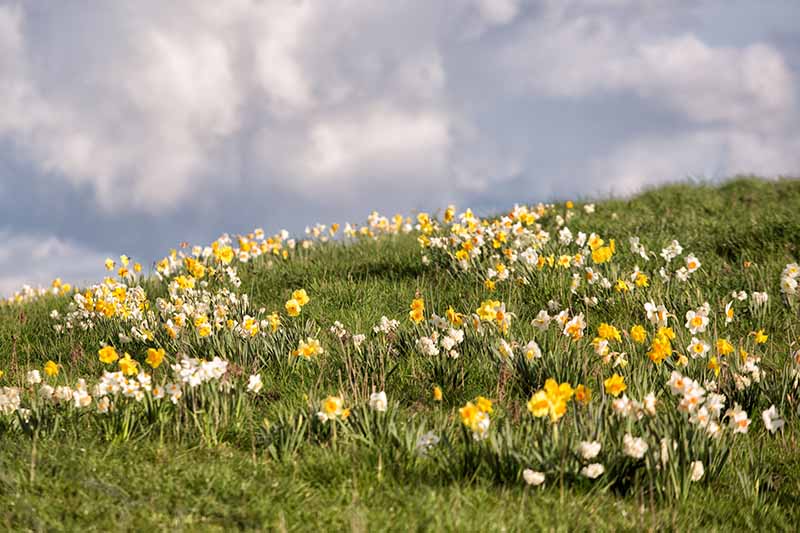
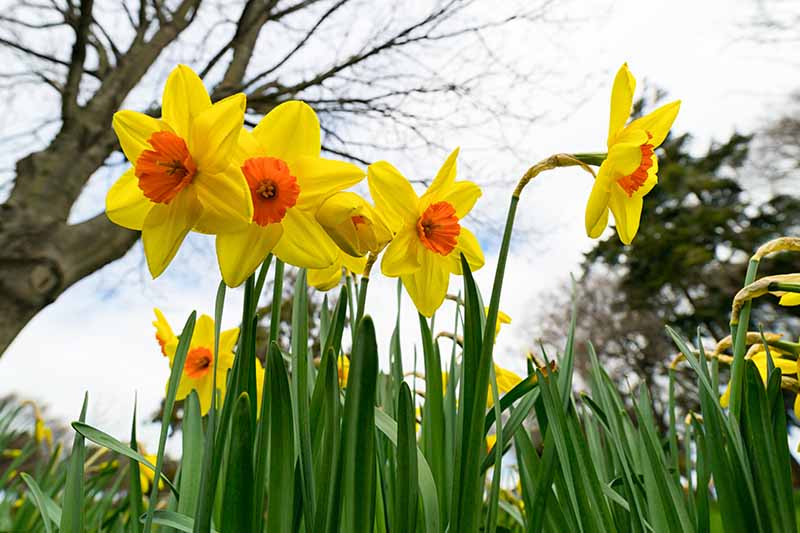
Most likely, those lovely springtime flowers didn’t just pop up there – someone planted them. Only, they were planted intentionally with a combination of careful planning and a laissez-faire approach, to make them look like nature’s hand was in control. Also known as narcissus, when planted in this way, daffodils (Narcissus spp.) will form colorful colonies, as they do in their native environments. And drifts will become more dense with flowers, creating even brighter swaths of color over time. We link to vendors to help you find relevant products. If you buy from one of our links, we may earn a commission. Naturalized daffodils are grown in spots where they can be allowed to multiply and spread. This landscaping choice works wonderfully for areas of your yard or property where more formal landscaping isn’t desired. Maybe you don’t relish the work of maintaining a formal garden bed, or perhaps you have a slope that is not easily landscaped. Maybe you just want to brighten up a natural area or the edge of a wood. Or maybe, like me, you’ll take any opportunity to embrace “ish” gardening and cultivate a wilder, more natural look in your landscape.
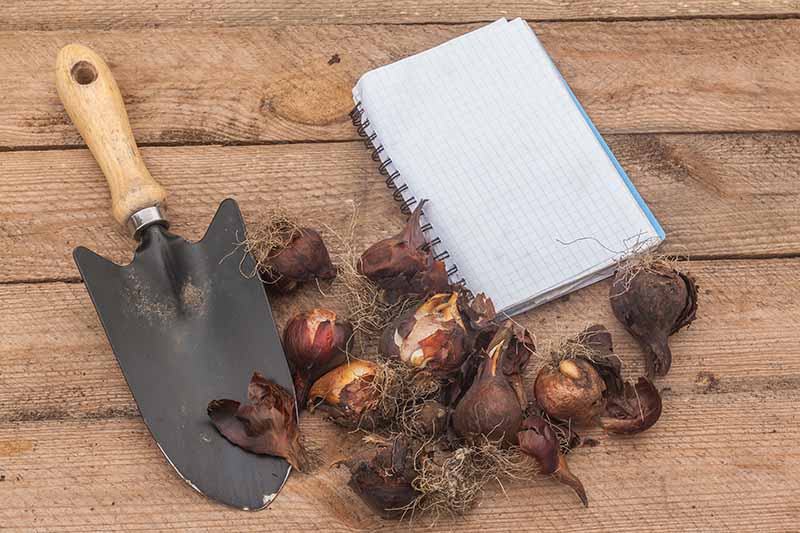
I’m going to take you through the steps of designing and creating your own naturalized daffodil planting. If you’re ready to get busy on a design of your own, you might want to grab your gardening journal or a piece of paper and a pencil as you read along. Here’s what I’m going to cover:
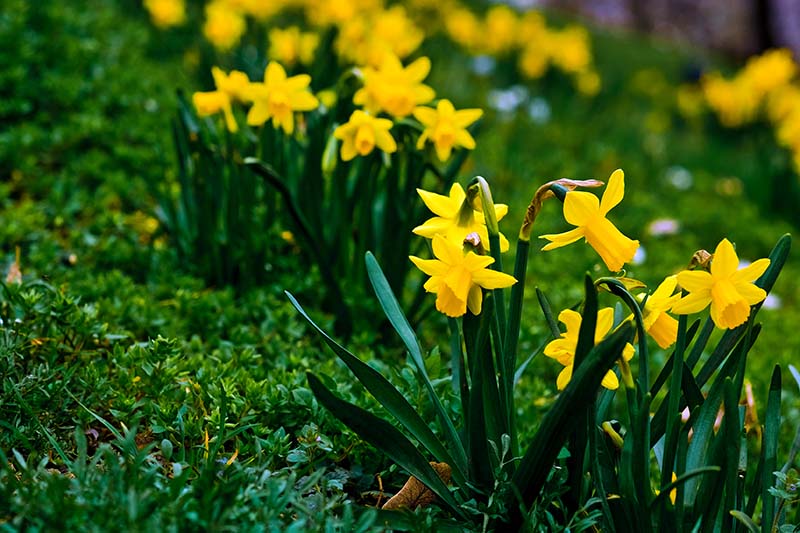
What Are Naturalized Daffodils?
Since daffodils are perennials, they will come back each spring and die back by early summer, when they enter a period of dormancy. That means they can be used to add some spring color in spots where you don’t necessarily want to create garden beds – and where all traces of these flowers will be gone by midsummer.
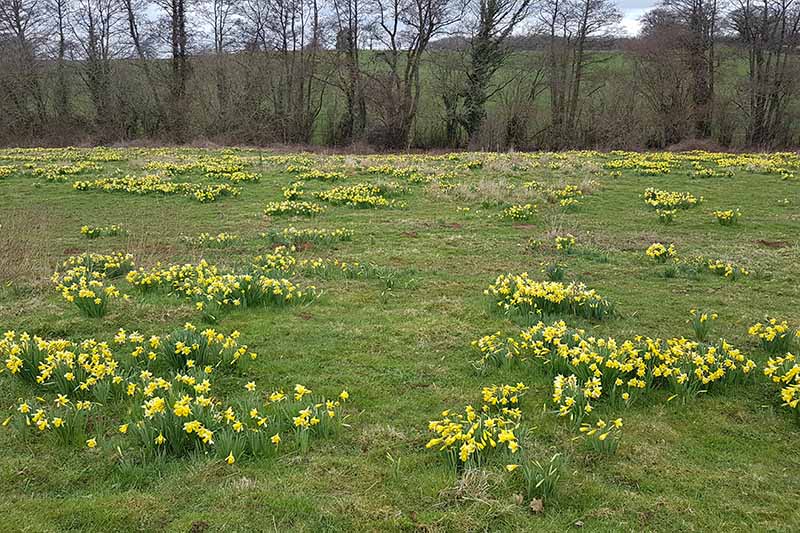
Like many other bulbs, daffodils don’t require much maintenance. They can grow in grassy lawns, meadows, or wooded areas without much additional help from you. Rather than planting bulbs in a well-defined bed, or in rows or other geometric patterns, naturalized plantings create a less cultivated appearance. Planted in irregular shapes called drifts, naturalized daffodils look like they grew there of their own accord.
And since daffodil bulbs are self-propagating and they multiply readily, they will increase their numbers over the years, spreading and creating a denser appearance – particularly if you pick the right variety. When planted in a naturalized style, daffodils can brighten up areas where you might not normally have flowers. They can be grown in places where more formal landscaping would be more challenging, such as on slopes.
And they can be mixed into locations that you don’t maintain as more manicured parts of your landscape, such as meadows, pastures, or natural areas.
Your Design
Before you start planting, it’s a good idea to think about your design. You’ll need to decide where you’re going to plant your bulbs, what type you’re going to plant, and how many bulbs to start with, and then come up with at least a rough idea of your planting layout.
You’ll have to decide if you want thick masses of flowers right away or if you’d rather start with a more sparse, scattered appearance – both options can produce beautiful results. You will also need to decide whether you want to plant a mix of varieties, or a single cultivar. And it’s important to choose types that naturalize well. I’m going to walk you through these options, to help you create or refine your naturalized daffodil project.
Where to Plant Them
Look for planting areas that have good drainage. You’ll also want to focus on locations that receive at least six hours of sun per day for as long as the foliage is alive – starting in late winter or early spring through early to midsummer, depending on the varieties you plant. I’m going to offer several ideas on where naturalized daffodils would be well-placed, but make sure to choose a spot that isn’t sprayed with herbicides as these can kill your bulbs, sometimes even when they are dormant.
Lawns
Daffodils can be planted directly in grassy lawns for a charming springtime display.
If you do opt for a lawn planting, plan to refrain from mowing your grass until the daffodils’ foliage dies back. This is important because the green foliage of these plants allows them to collect and store energy in their bulbs for next year’s flowers. If you don’t allow the leaves to remain after the flowers fade, you may not get flowers next year. If this sounds problematic to you, pick a very early-blooming cultivar to plant in your lawn so that it is finished with its growth cycle before your grass gets too long. I’ll offer suggestions, so keep reading!
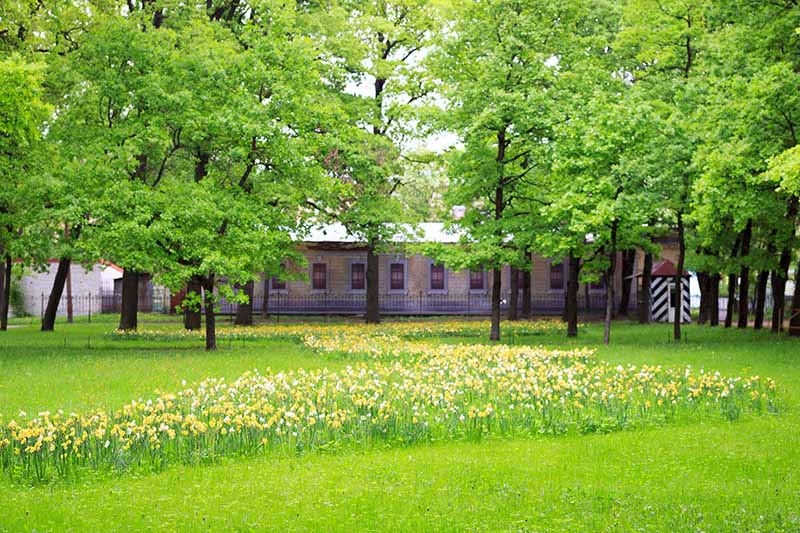
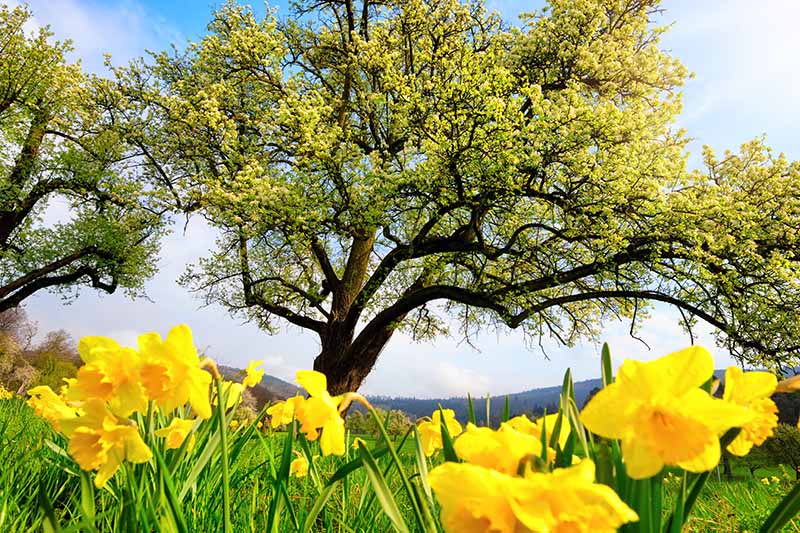
Under Deciduous Trees
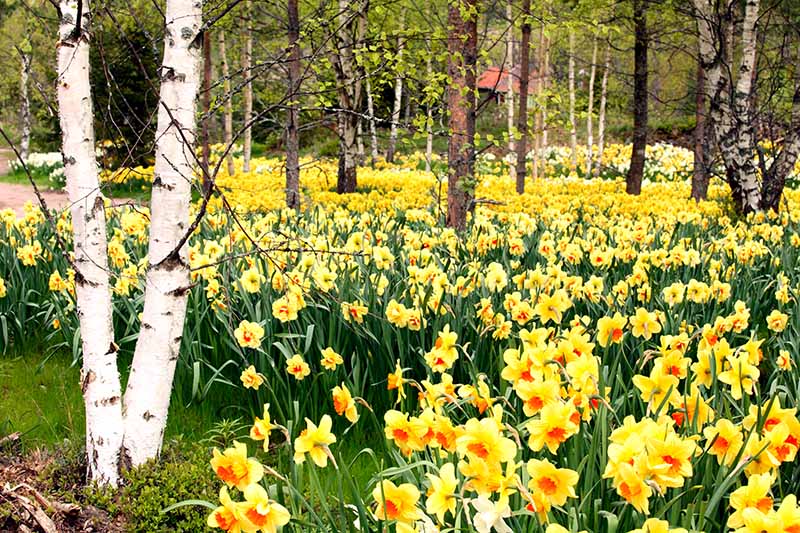
Naturalized daffodils look wonderful under the canopy of deciduous trees. These flowers will usually bloom before the trees leaf out in spring.
Again, your selection of cultivars may be important here. If you are considering planting a drift of daffodils under a tree that leafs out early in spring, such as a birch, choose an early blooming cultivar. With trees that are slower to produce leaves in spring, such as catalpa, you can choose varieties that bloom early, towards the middle of the season, or late. Avoid planting bulbs under trees with shallow and dense root systems, such as maples, dogwoods, and beeches.
If you’d like to plant daffodils under a black walnut tree and are concerned about juglone toxicity, according to Bonnie Appleton, Extension Specialist, and colleagues at the Virginia Cooperative Extension, narcissus are tolerant to juglone. However, just because a plant will “tolerate” certain conditions doesn’t mean those conditions are ideal. For best results you may wish to avoid planting these bulbs under the trees that produce the highest quantities of juglone, such as black walnut and butternut. And make sure not to plant your bulbs under the deep shade of mature evergreen trees, where they will not get enough sunlight and might not produce flowers. These plants can handle some shade, but will perform best when grown in full sun. This may sound like a lot to consider, but don’t fret – if you get it wrong when you first put in your bulbs, you can always move them to a better location next year.
Natural Areas
Do you have a natural area that could use a touch of spring color? These spots also make excellent locations for naturalized daffodils.
By planting these bulbs in a naturalized style, the unmanicured sections of your property will be brightened up, making them look like a miniature woodland, glowing with shades of yellow or white.
From a design standpoint, this will look best in natural areas where existing landscaping is less-cultivated looking as opposed to areas with highly symmetrical or refined landscaping.
Meadows
If you’re thinking about a larger scale project, meadows and unused fields also make good locations for daffodils to naturalize.
In meadows, daffodils will have room to spread and create a big splash of springtime color, mixing with any other wildflowers you may have growing there. Before you plant these harbingers of spring in your pastures, be aware that although most mammals will avoid these unpalatable plants, they are toxic, so reserve them for pastures which remain unused in springtime.
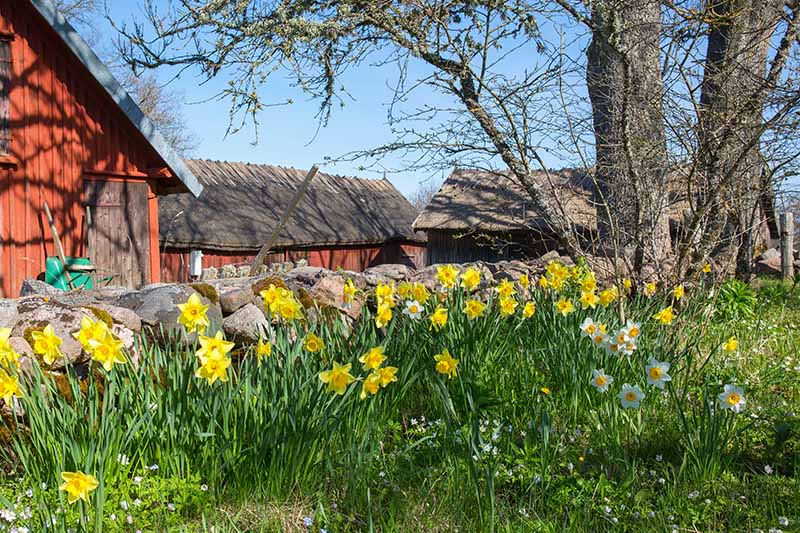
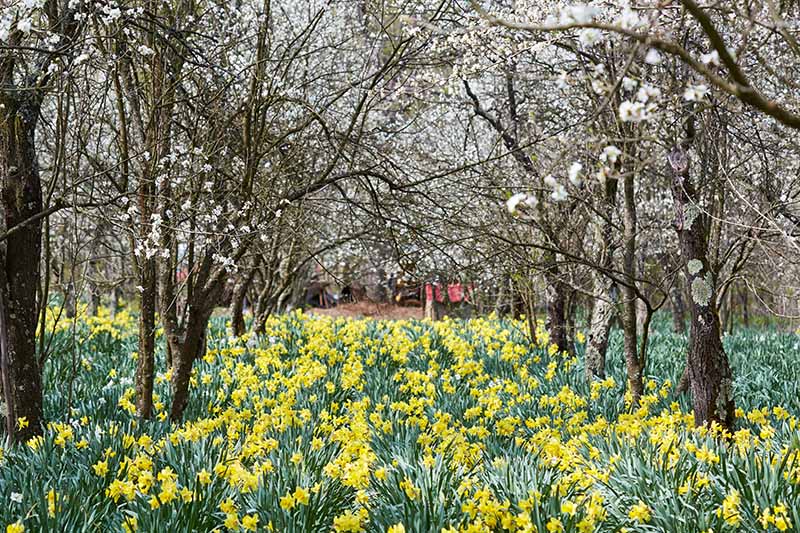
Orchards
Planting daffodils in orchards comes with additional benefits to your trees – and their pollinators.
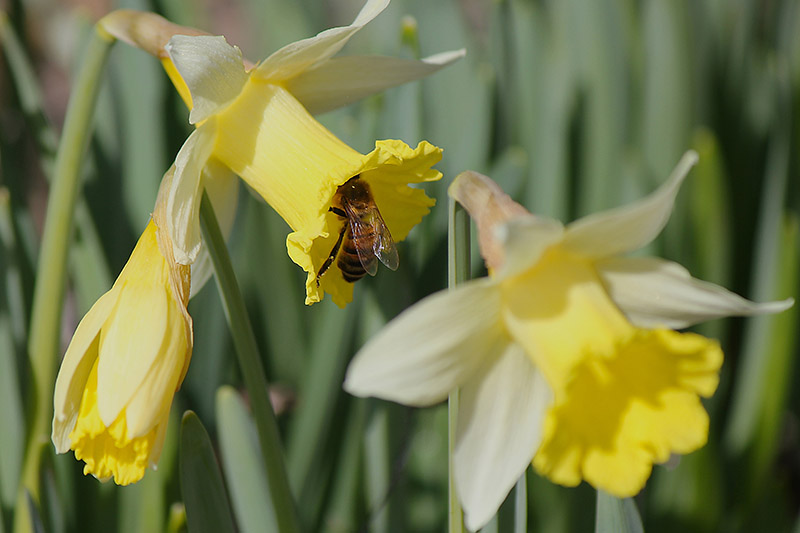
Wherever you plant daffodils you will be doing your local pollinators a favor, but growing them in an orchard can be a particular help. As pollinators such as bees emerge from overwintering, food may be scarce, and daffodils can help them fill the hunger gap. Many fruit trees enlist the help of bees and other pollinators to turn their flowers into fruit. Creating a ready supply of early spring food for pollinators will help tide them over until the fruit tree blossoms are ready, and in turn, they will help you out with your orchard once your trees bloom.
If providing forage for pollinators sounds like a good idea to you, make sure to include early blooming cultivars in your bulb selection. And avoid double varieties – in general, ruffled cultivars make collecting nectar either much harder or simply impossible for bees and other pollinators.
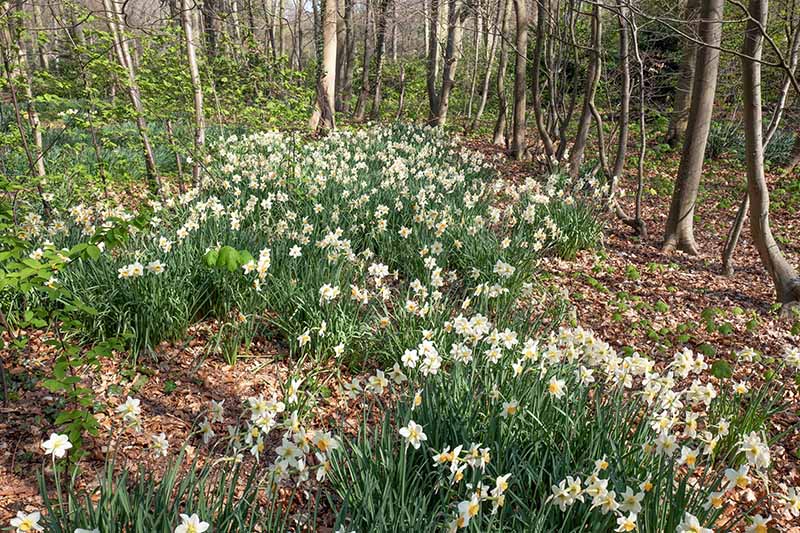
Wood Edges or Open Woodlands
Other locations where you can provide pollinators with an early treat – along with beautifying your spring landscaping – include areas along the perimeters of woods or in open woodlands.
Wood edges that are southern facing are particularly good locations, since bulbs planted here will be sure to get full sun, creating strong, ready-to-multiply colonies of daffodils. On the other hand, it’s best to avoid the edges of woodlands that are north facing, as there may be too much shade thrown over your bulbs to produce flowers and strong stems year after year. Woodland areas that have an open canopy, letting in plenty of sunlight, can also make for stunning drifts.
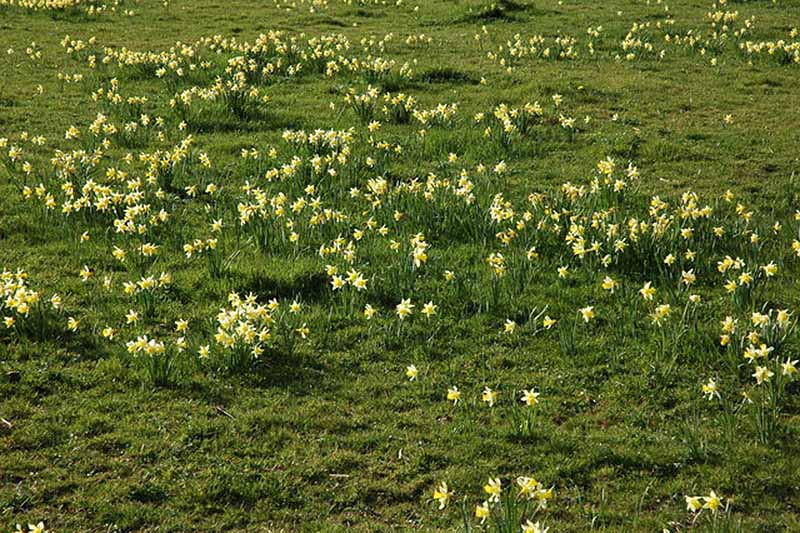
Slopes
Daffodils look particularly gorgeous when naturalized on slopes, whether the slope is a grassy lawn, a field, or a wooded area.
Since slopes can be more difficult to landscape than flatter terrain, bulbs like daffodils create an opportunity to add some color without the work of formal landscaping. Another advantage to naturalizing daffodils on slopes is that these plants will help prevent erosion.
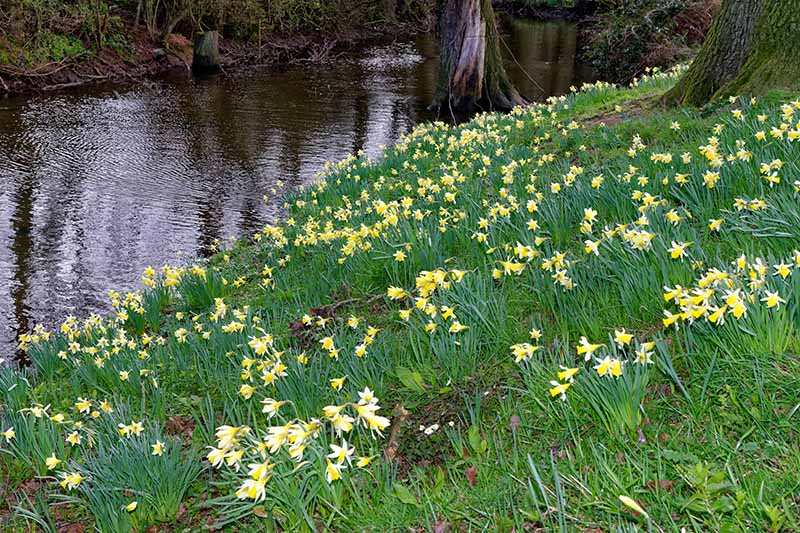
Near Water Features
Another place these bulbs can help prevent erosion is alongside water features. They also happen to look fabulous when grown near water, where they might bring to mind the beautiful hunter in Greek mythology who shares his name with this flower.
If you have property with a lakefront, pond, meandering stream, or river view, daffodils will look right at home scattered about the banks.
What Kind to Plant
I bet you’re starting to get a pretty good idea by now about where you might like to create a patch of naturalized daffodils of your own. Next, you’ll want to consider what type (or types!) of daffodil to include in your design. Before we get into specific recommended cultivars, I’m going to discuss a few other features you’ll want to consider.
Good Multipliers
Some cultivars multiply faster than others and are more highly recommended for naturalized plantings.
Look for varieties described as “vigorous,” “good multipliers,” or “suitable for naturalization” when choosing your bulbs. Another advantage of choosing good multipliers is that they are also easier for growers that supply nurseries to propagate, and will often come with a cheaper price tag.
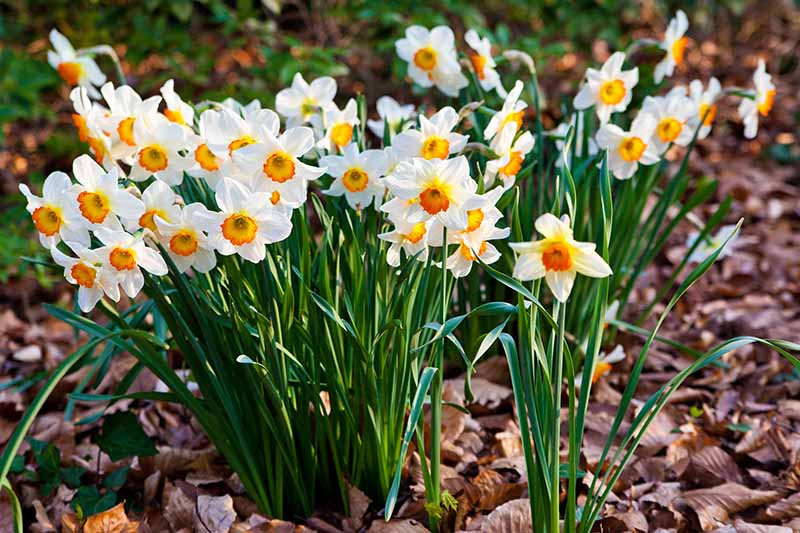
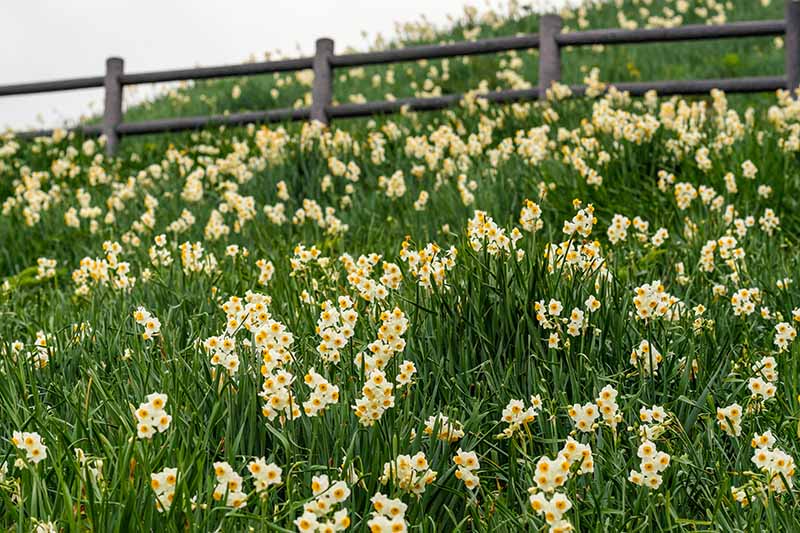
Single Cultivars or Mixes
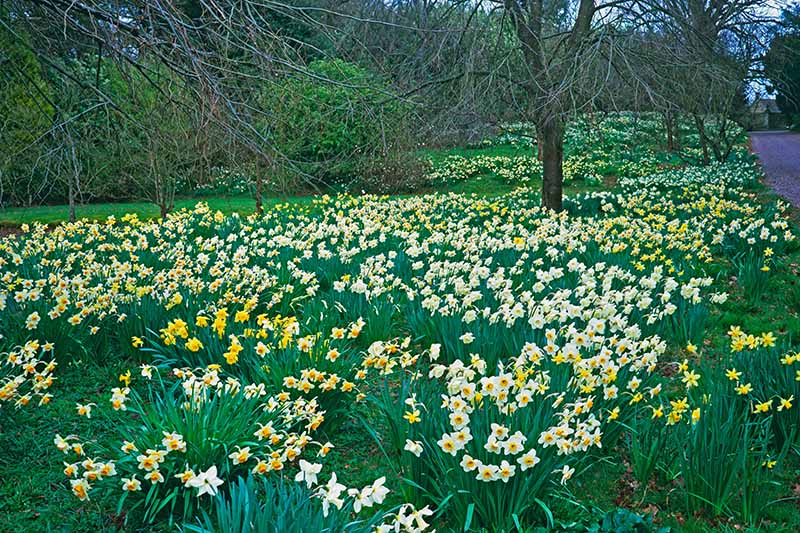
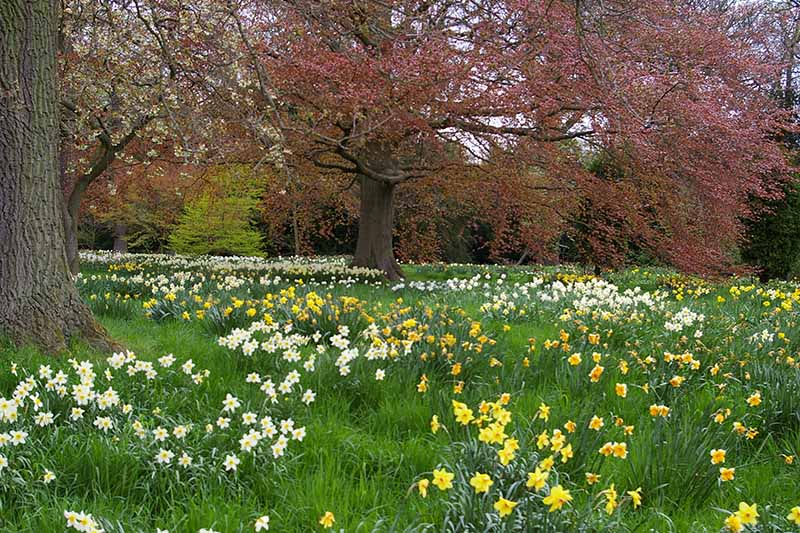
Would you prefer to feature one variety per drift, creating large swaths of color? Or do you prefer a mix of several varieties for a more speckled, varied appearance? An advantage to planting a single variety in an area is that the daffodils will bloom and fade at the same time, resulting in a more unified appearance. The naturalized daffodils growing in the meadows and woodlands surrounding Winterthur in Delaware were designed to have drifts of single varieties, as you can see pictured here: Winterthur was horticulturalist Henry Francis du Pont’s childhood home, first opened to the public as a museum, garden, and library in the early 1950s. But drifts of mixed varieties can be just as lovely, such as those featured in this planting in Tinsley Green Park in Sheffield, UK: Or you could plan several drifts with some composed of single varieties, and others composed of mixed varieties.
Bloom Time
When choosing varieties, you may also want to take into consideration when each will bloom, as I touched on above.
Daffodils can be categorized by their bloom time: some bloom early in the spring season, some at mid-season, and some in late spring. If you plan it right, you can choose a variety or varieties from each category and provide yourself with a nonstop daffodil show from late winter all the way through until the beginning of summer.
Cultivars for Naturalization
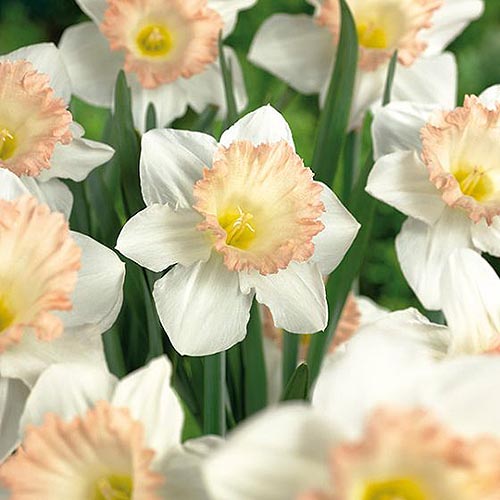
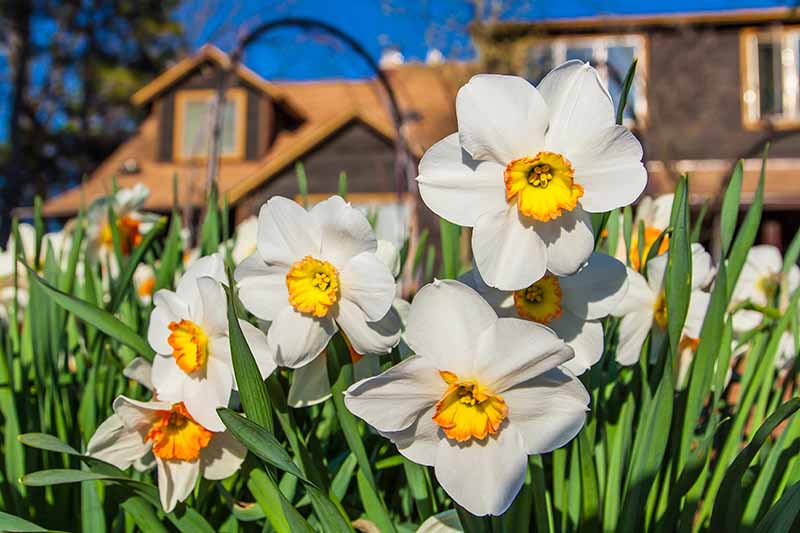
Ready to start looking at some specific cultivars? Many varieties are suited to naturalizing, and they are available in a variety of colors, heights, and bloom styles. I have a soft spot for muted pink tones. That soft spot lives right next to my other soft spot for cheery yellow tones. So you can imagine that when I feasted my eyes upon ‘British Gamble,’ I was smitten. It wasn’t just the colors that had me though, this daff bears flowers that are outlandishly large, measuring five to six inches across. ‘British Gamble’ has white petals surrounding a frilly trumpet that blushes with the sweetly subtle hues of soft pink and pastel yellow. Like the flowers, the plant is also on the larger side, reaching 18 to 24 inches in height. It’s organized by bloom time, and all of my top picks are simple rather than double-blossomed, for the benefit of local pollinating insects.
‘British Gamble’ Six-packs of ‘British Gamble’ bulbs are available at Nature Hills Nursery. Beyond that, I’ve also put together a roundup of 15 of the best cultivars for naturalized plantings for your perusal.
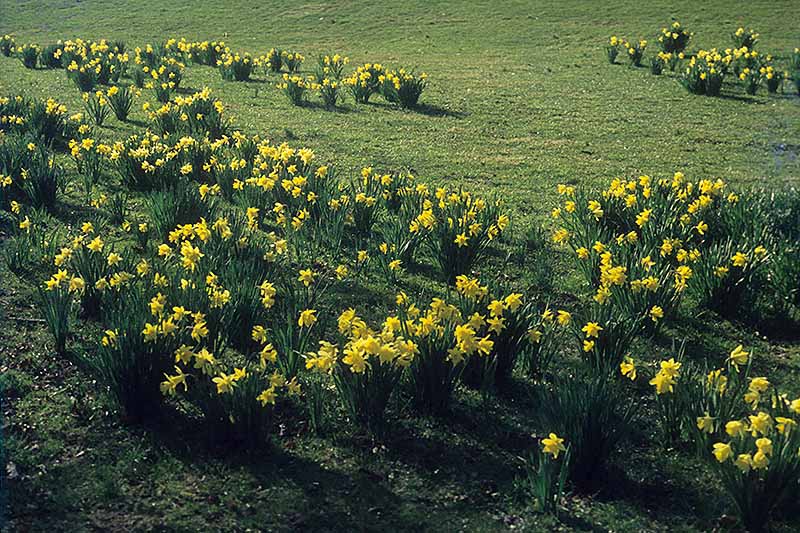
Calculate How Many Bulbs You Need
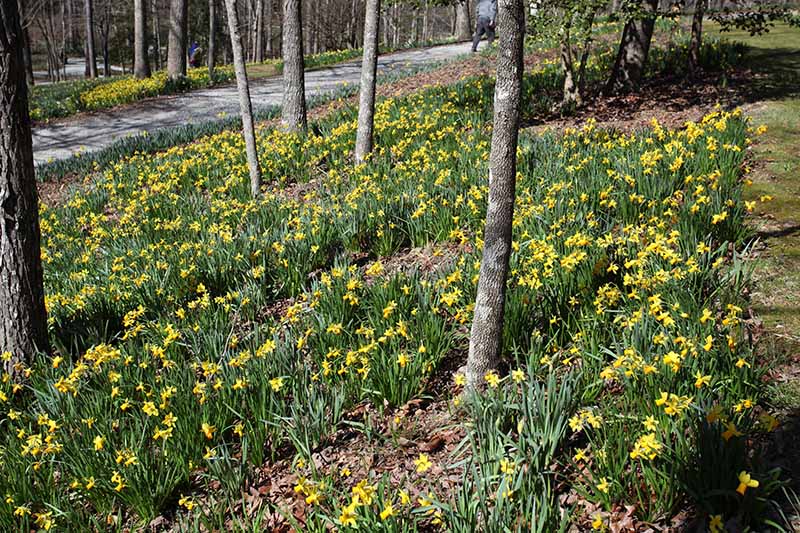
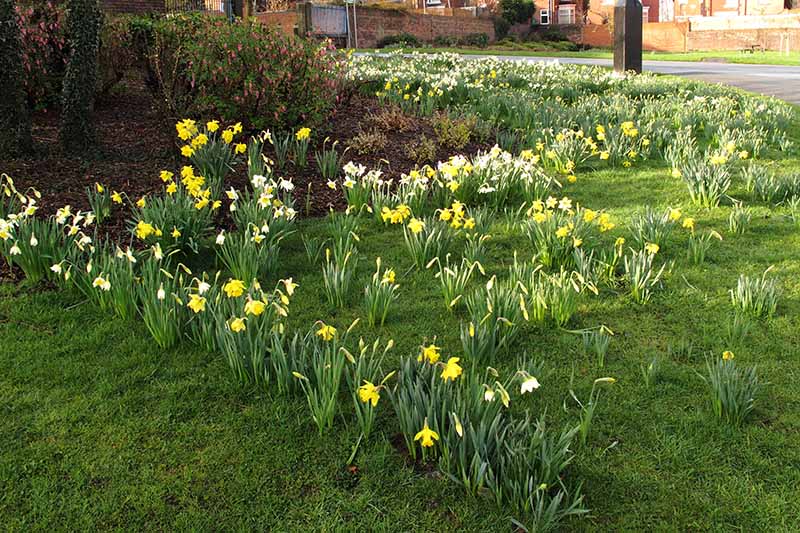
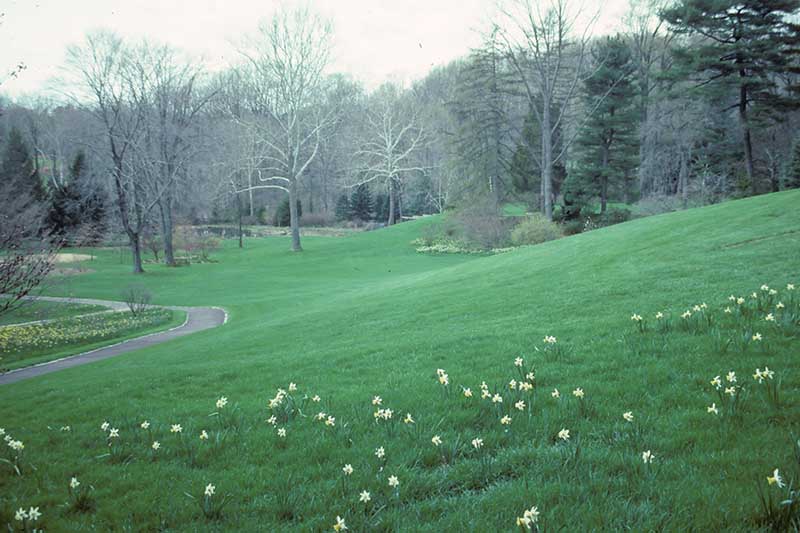
Did you check out the roundup? Now that you have been tempted by so many gorgeous daffodil cultivars, it’s time to crunch the numbers. I’m not going to give you a mathematical formula for calculating how many bulbs you’ll need, but rather, some planting tips to help you decide for yourself. First, you’ll need to decide if you prefer a more scattered look, such as what you see on this hillside at Chanticleer Garden in Wayne, Pennsylvania: Or you might prefer the look of more dense plantings:
Over the years your bulbs will multiply, creating a denser colony of daffodils. But if you want this dense look sooner, start off planting more bulbs. Many landscape designers advise planting at least twelve bulbs in a group for the strongest visual impact, so a drift of this size would be a good place to start. Bulbs should be planted at least three to six inches apart. If you don’t mind digging them up to separate the bulbs when they grow too dense, plant them closely together. On the other hand, if you’d rather not have to dig up and separate your bulbs in the future, increase the distance between bulbs. By measuring your planting area and then deciding how far apart you want to plant your bulbs, this should give you an idea of how many bulbs you need to start with. Sketching this out on paper will be helpful.
Laying Out Your Design
You can either draw your design out on paper before you’re ready to plant, or you can wait until you have your bulbs and physically lay them out on the ground.
If you go with the latter, you might want to use sticks or twigs to create an outline for your drift or drifts, especially if you are creating more than one area. Just make sure the shape that you create is irregular – avoid creating a design that is too geometrical or has any straight lines, which will prevent your planting from looking natural. Once you have your drift outlined, there are a couple of different ways to proceed. Some gardeners like to just throw their bulbs out randomly on the ground and plant them where they fall. Another option is to start with a bulb in one spot, and then space the others out from this one at varying distances.
To imitate how flowers would colonize an area in nature, create one section that is fairly dense, and then gradually fade to less dense and more scattered looking placements. Just remember not to get too symmetrical with your spacing.
How to Plant
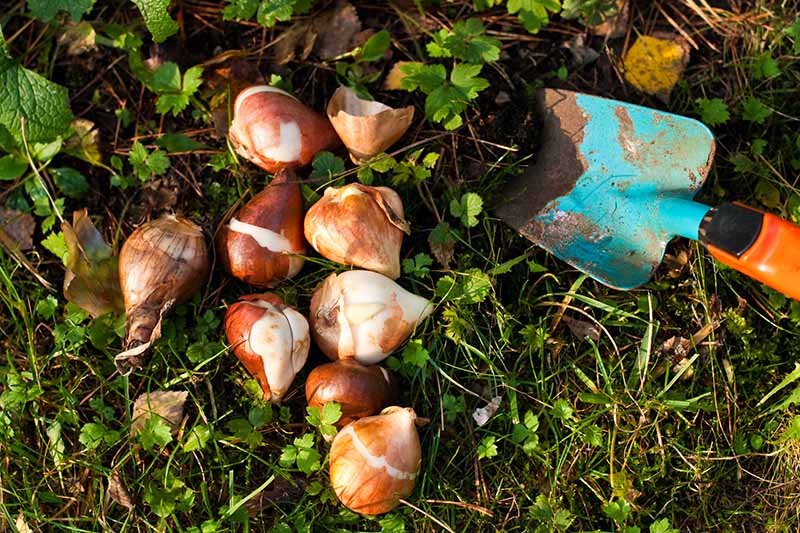
Fall is the time to plant your drifts of naturalized daffodils – plan on doing this as soon as the weather has cooled but before your soil freezes.
When planting naturalized style daffodils, Helen K. Link of the American Daffodil Society recommends planting the bulbs more deeply than you would when planting in beds, at six to eight inches deep. Dig a hole to the proper depth, put in some slow release fertilizer, such as compost or worm castings, and plant your bulb with the pointy end sticking up. For step-by-step guidance on how to plant (and care for) these bulbs, make sure you consult our guide to growing daffodils.
Maintenance
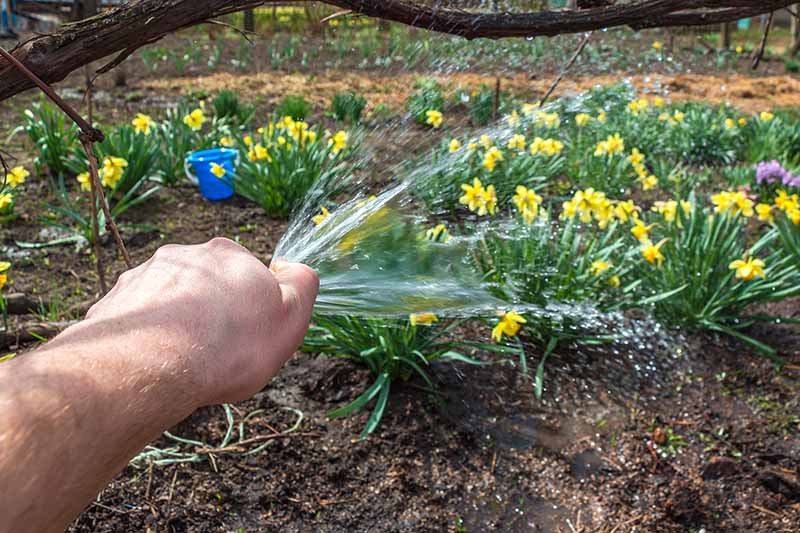
While these are very low-maintenance flowers, there are a few things you can do to help them multiply vigorously and look their best.
If you don’t receive regular rain showers, water them regularly in spring while they are growing, give watering a break during their summer dormancy, and then water regularly again in the fall. The Daffodil Society of Minnesota recommends that these plants receive half an inch of water per week in the fall. You can use a rain gauge to measure the amount of rainfall and top up with irrigation as needed. Removing the flowers after they fade in spring will help the plants put energy into bulb growth instead of seed production. But be sure to let this plant’s green foliage grow each year until it dies back naturally – otherwise, the bulb won’t store enough energy to keep flowering and reproducing in subsequent years. And to help your bulbs divide and thrive, feed them with some manure, compost, or bone meal every fall.
Definitely Daffodils
If you’re ready for decades of low maintenance, bright spring flowers, daffodils are an excellent choice. With these planning ideas and plotting suggestions, you should be ready to design your planting, choose a succession of cultivars, and be ready to get them in the ground as soon as your bulbs arrive.
Which cultivar combos are your favorites? Are you leaning heavily towards the pink-hued varieties like me, or are you sticking to the tried and true sunny yellow cultivars? Let us know in the comments below. Feel free to share a picture! You can check out our guide to growing daffodils or our recommendations for daffodil companion plants for more tips. And did you know you can create naturalized plantings of other types of flowering bulbs too? Here are some others you can plant, and we have good advice to offer on the ins and outs of growing them:
How to Grow and Care for Grape Hyacinth How to Grow and Care for Crocus Flowers Flowering Alliums Transform Your Yard for Weeks
© Ask the Experts, LLC. ALL RIGHTS RESERVED. See our TOS for more details. Product photo via Nature Hills Nursery. Uncredited photos: Shutterstock.