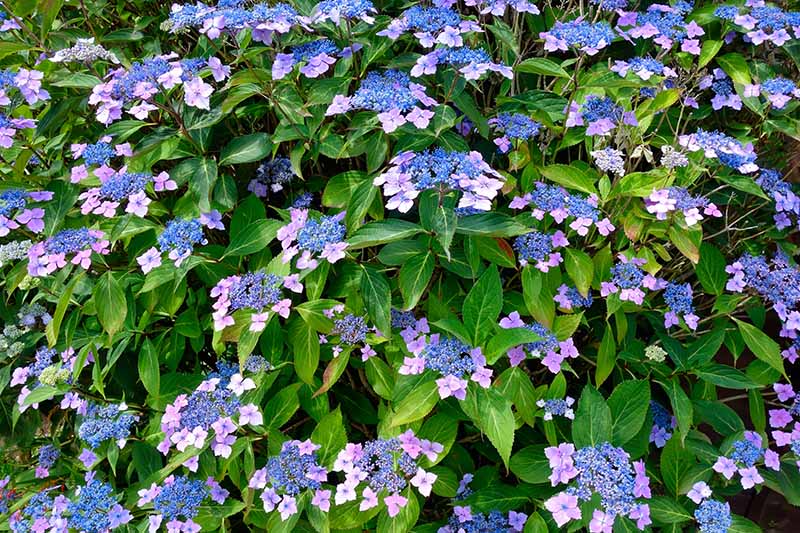
While most home gardeners purchase a shrub from a plant nursery, or take cuttings from existing plants for propagation, you can also choose to grow them from seed. Starting hydrangeas from seed may take a bit of time and forethought, but if you are up for the challenge, it can be a rewarding project. We link to vendors to help you find relevant products. If you buy from one of our links, we may earn a commission. In this guide, we’ll discuss how to collect seeds for propagation. Here’s what ahead: Before you get started, it’s important to understand that unless you are collecting seed from a species plant, most will not grow true to the parent. Over the years, plant breeders have created a large number of cultivars and hybrids, and these may not produce viable seed, and if even they do, the resulting plant may differ considerably from the parent. Hydrangeas do not produce single blooms, but large inflorescences consisting of tiny, inconspicuous fertile flowers, and large, decorative infertile sepals. In the case of the large mophead cultivars, their flouncy round blooms may contain few, if any, fertile flowers. Lacecap hydrangeas, with their visible fertile flowers surrounded by colorful sepals are typically a better option for collecting viable seed than mophead varieties, as are oakleaf or smooth types. By contrast, rooting cuttings will produce clones of the original plant. If you prefer to propagate your hydrangea from cuttings, check out our guide to learn more. But if you’re up for a little experimentation, collecting and starting seeds from your own plants may produce new, unique varieties! Here’s how to do it:
Gather the Flower Heads
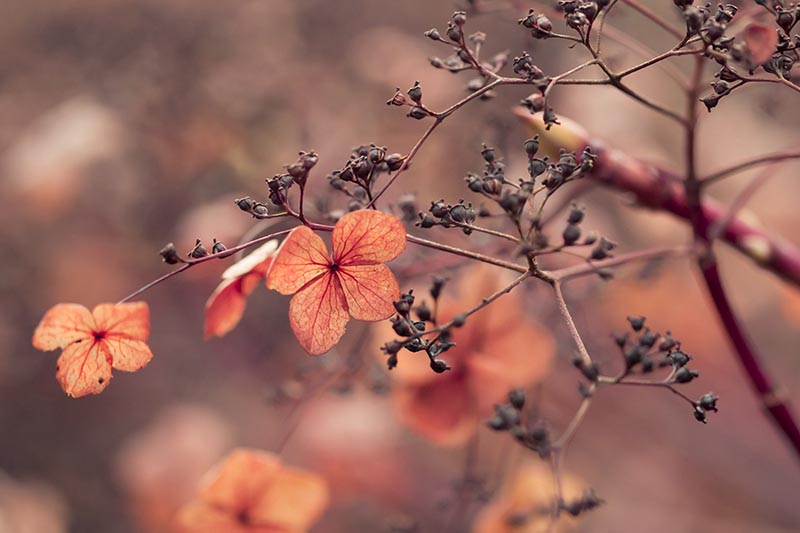
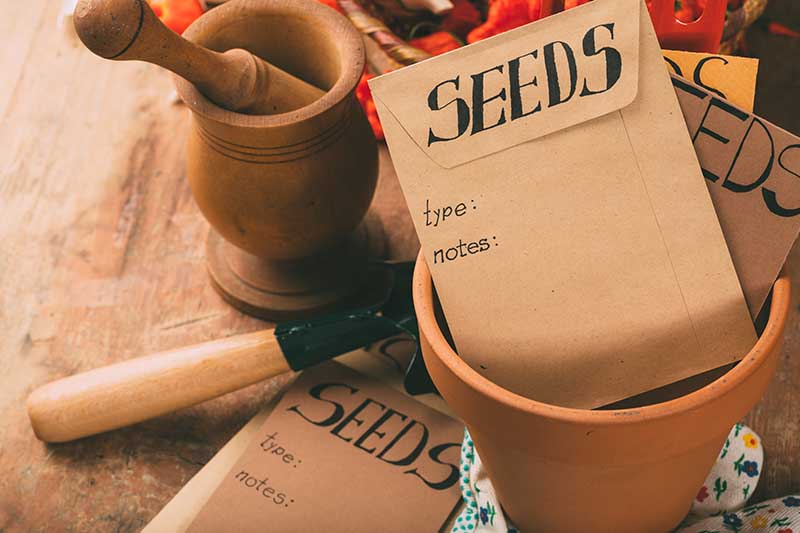
The first step is to acquire seeds. You can do this by collecting flower heads a few weeks after the colorful blooms have begun to fade and turn brown. The exact timing of this depends on your climate and the variety you are growing, but typically this will be sometime in the fall. You want the flower heads to be completely dry before you collect them. Cut several of the flower heads off of the plant and place each inside its own brown paper bag. Hang the bags in a cool dry place for about a week to finish drying. Once they have completely dried out, shake the bag to help detach the seeds from the flowers. While the blooms may be large, the seeds themselves are very small. You may wish to empty the contents of the bags onto a white paper plate or piece of paper to help you identify the seeds and separate them from the debris. Seeds may be sown immediately, otherwise you should place them in labeled paper envelopes and store them in a cool, dry location. If they are viable, they should keep up for up to a year.
Sow the Seeds
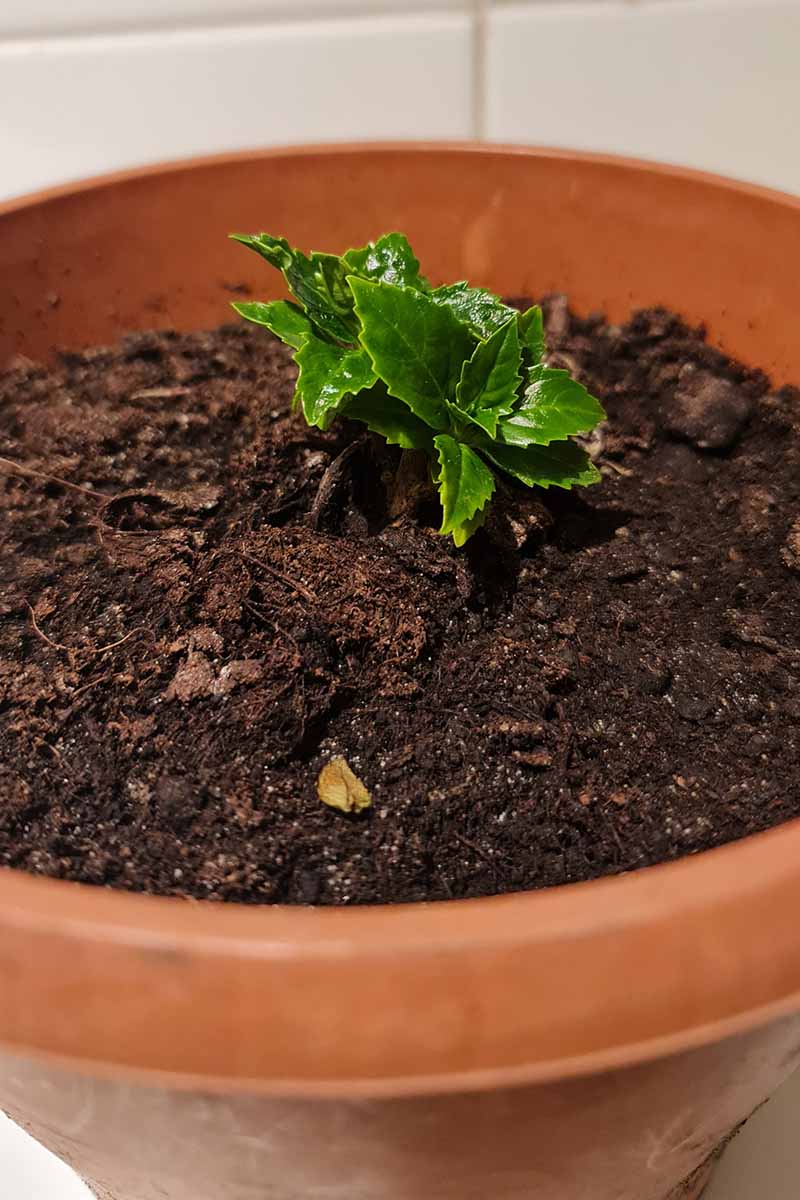
Sow in flats or individual nursery pots filled with a well-draining potting mix. Gently press three to five seeds onto the surface of the soil in each cell or pot, taking care not to bury them, as light is necessary for germination. Set the tray near a sunny window or under grow lights, and keep the soil evenly moist, but not waterlogged, until germination, which should take about two weeks. When seedlings emerge, thin them so that there is one plant in each starter cell or pot. Once they have two to three sets of true leaves you can carefully transplant them to one-gallon pots filled with potting mix. Ensure that the containers you choose have one or more drainage holes in the bottom. Keep containers in a location that receives ample sunlight, such as a south facing window, and continue to care for them for a few months until the roots are well established and growth is apparent.
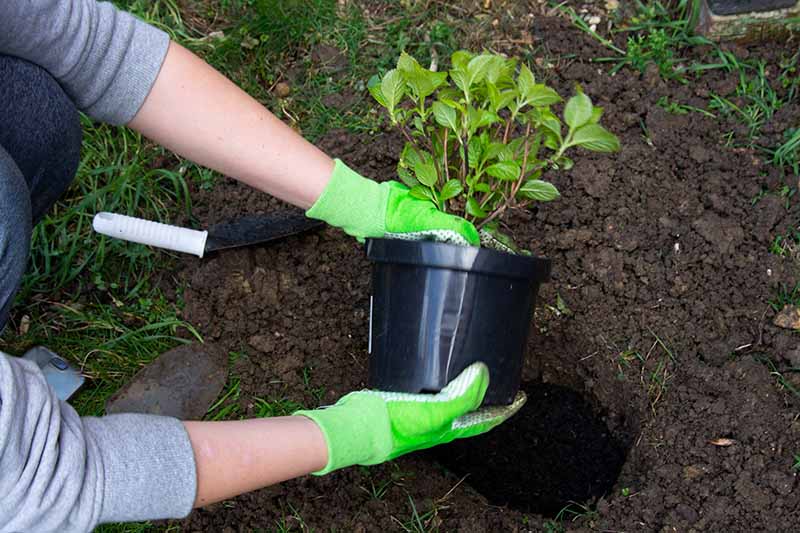
Transplant to the Garden
Shubs can be planted outdoors after the last frost of spring. Alternatively, you can plant them in late fall after they have gone dormant, but before the ground has frozen. Find a location in full sun or part shade, and plant the shrub in a hole as deep as the root ball and about twice as wide, refilling with garden soil amended with compost. Water thoroughly upon planting and be vigilant about watering for the next couple of weeks to allow the new plants to become established. Alternatively, transplant to a larger container, and continue to care for your plants as discussed in our guide to growing hydrangeas in containers. Do you have experience propagating these shrubs? Share your tips and photos in the comments section below! Want to learn more about growing hydrangeas in the garden? Check out these articles next:
How to Identify and Treat Hydrangea Diseases7 Reasons Why Hydrangea May Not BloomHow to Change the Color of Hydrangea Flowers