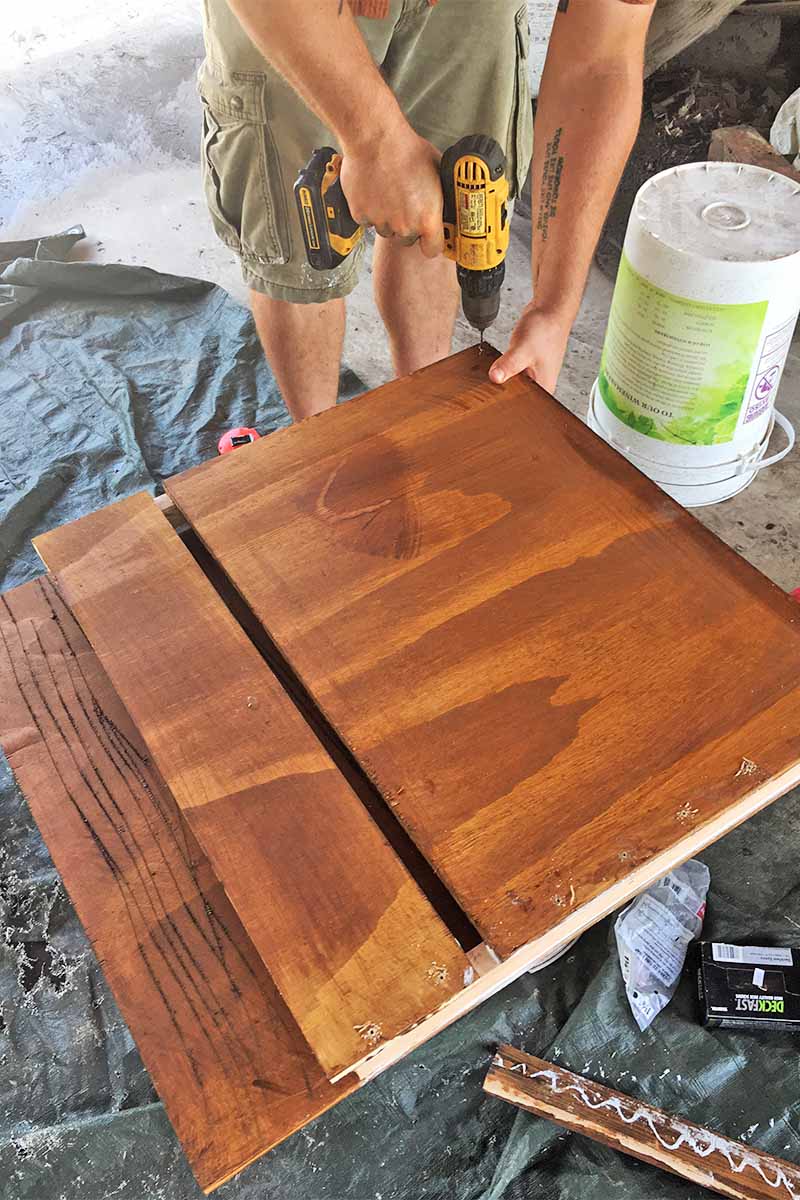
If conditions permit, adding a bat box to the garden is a great way to invite our flying friends into a safe home. It is a project that requires some basic carpentry skills, but once you’re finished, it is such a rewarding experience. These shelters need to be placed in a sunny location, but not too sunny. East-facing is usually best, where it will get morning light while being protected from afternoon sun. The nocturnal wildlife that we have in mind need to have a source of water and a safe location that is out of reach of local predators. Once you’ve built yours and set it up, maintenance is minimal. We link to vendors to help you find relevant products. If you buy from one of our links, we may earn a commission. To prove to our readers that this project can be finished with minimal supplies, I nixed the use of all power tools except for a simple battery-powered drill. I used a handsaw and other basic hand tools instead of a circular saw, since the basic home tool shed likely does not include one. Even with bare bones tools, you can finish this project, too!
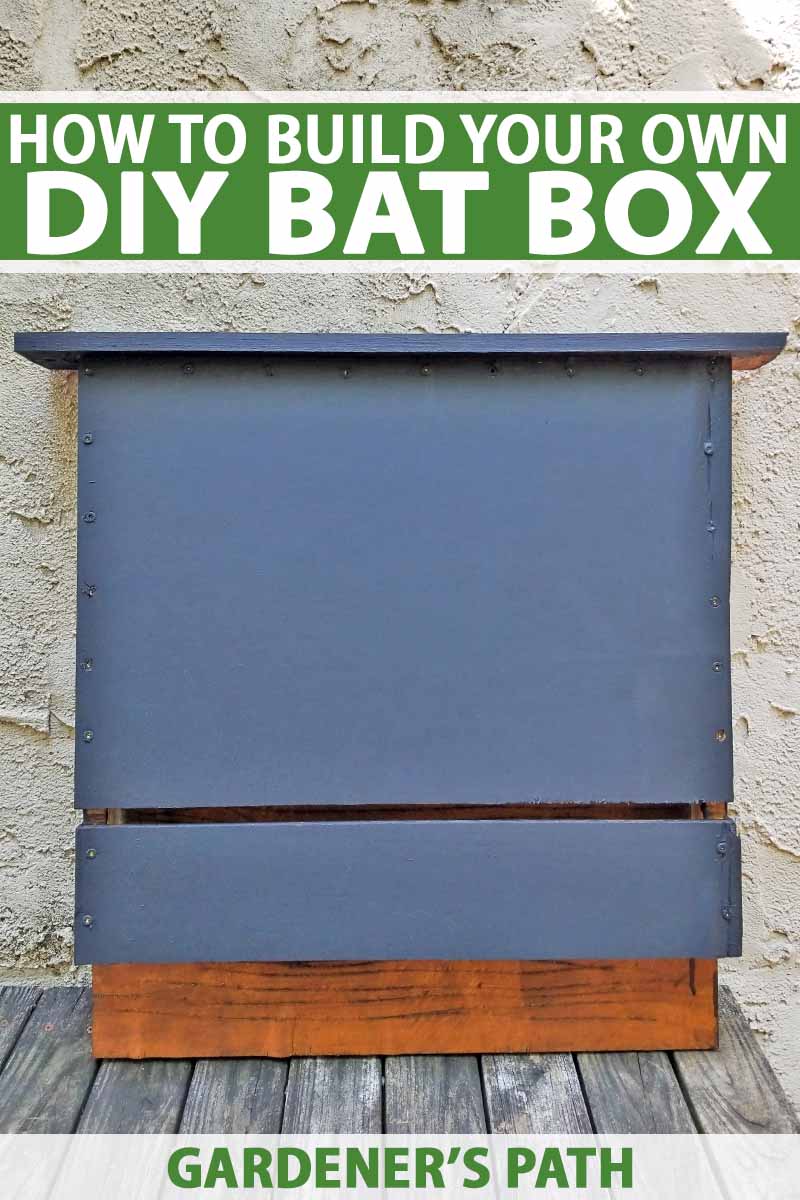
How to Build Your Own DIY Bat House
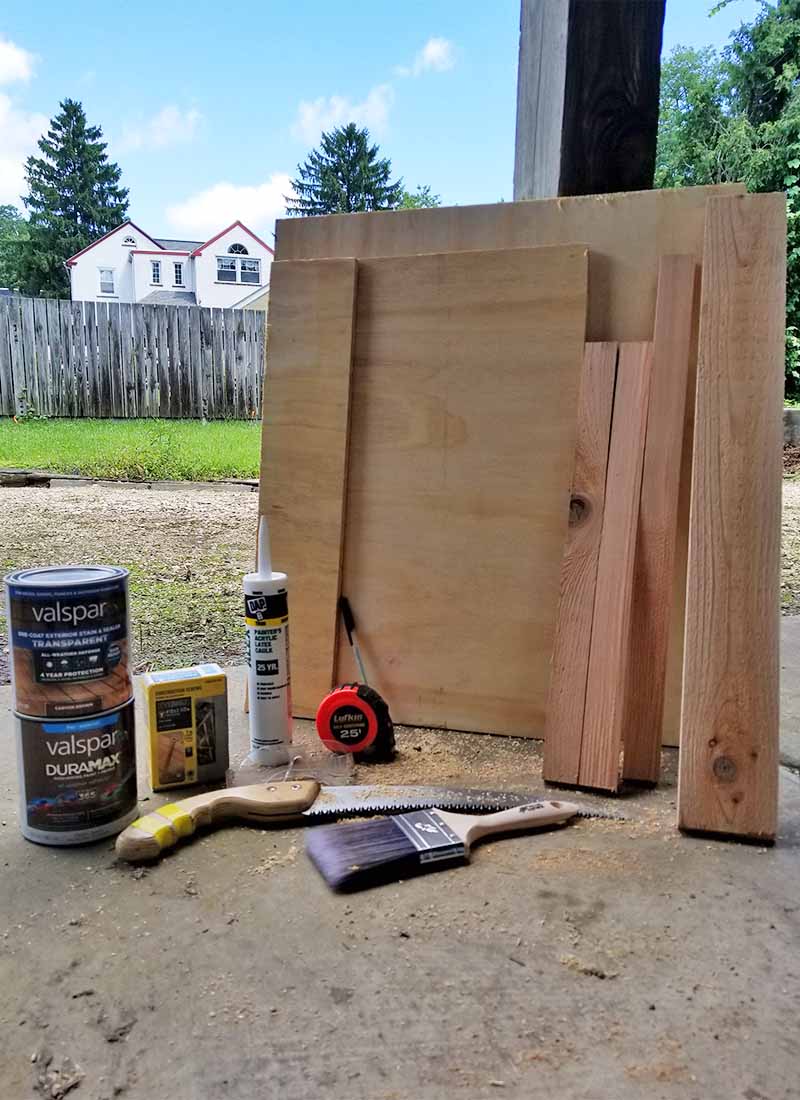
Required Materials
One (1) 2’ x 4’ x ½” outdoor-grade solid board or plywood (nontoxic) One (1) piece of 1” x 2” x 8’ cedar One (1) 1” x 4” x 28” cedar or pine board Twenty-five (25) 1½” coated deck screws (you’ll have extras) One (1) pint dark (brown or black) nontoxic water-based waterproof exterior stain One (1) pint water-based exterior primer (optional) One (1) quart dark (brown or black) water-based exterior paint or stain One (1) tube of nontoxic, paintable exterior latex caulk
What color paint should you choose for your bat house? Some experts, like those at Bat Conservation International, suggest that this depends in part on your location and the amount of sun exposure in the place where you plan to install the box. Boxes made for use in northern regions with cooler summers should be painted a darker color, whereas gardeners in the southwest with the hottest summers should choose a lighter hue.
Tools
Battery-powered drill Drill bit (appropriate size for the deck screws) Table or handsaw Circular saw (optional) Paint brushes Caulk gun Utility knife Sandpaper (medium to fine grit, optional) Tape measure/yardstick Tarp Work gloves Goggles/eye protection
If you’re using a handsaw, be careful not to tear loose the top layers of the plywood with the saw teeth as you cut like I did. If given the option, a table saw is much easier to use, and offers more precision. Splintering shouldn’t be an issue with a circular or table saw. And you can always keep sandpaper on hand to smooth out your work before you move on to the next step. If painting isn’t a frequent activity in your repertoire, cheap and disposable brushes work just fine if you don’t plan to reuse them. For the utility knife, any sharp blade will do – I actually used my pruners. Finally, since you will be working with paint and caulk, it’s a good idea to cover your work service before you get started. A tarp is an excellent option to prevent any messy spills from staining your patio or driveway, or you could also use plastic sheeting, newspapers, or even an old vinyl tablecloth.
Construction
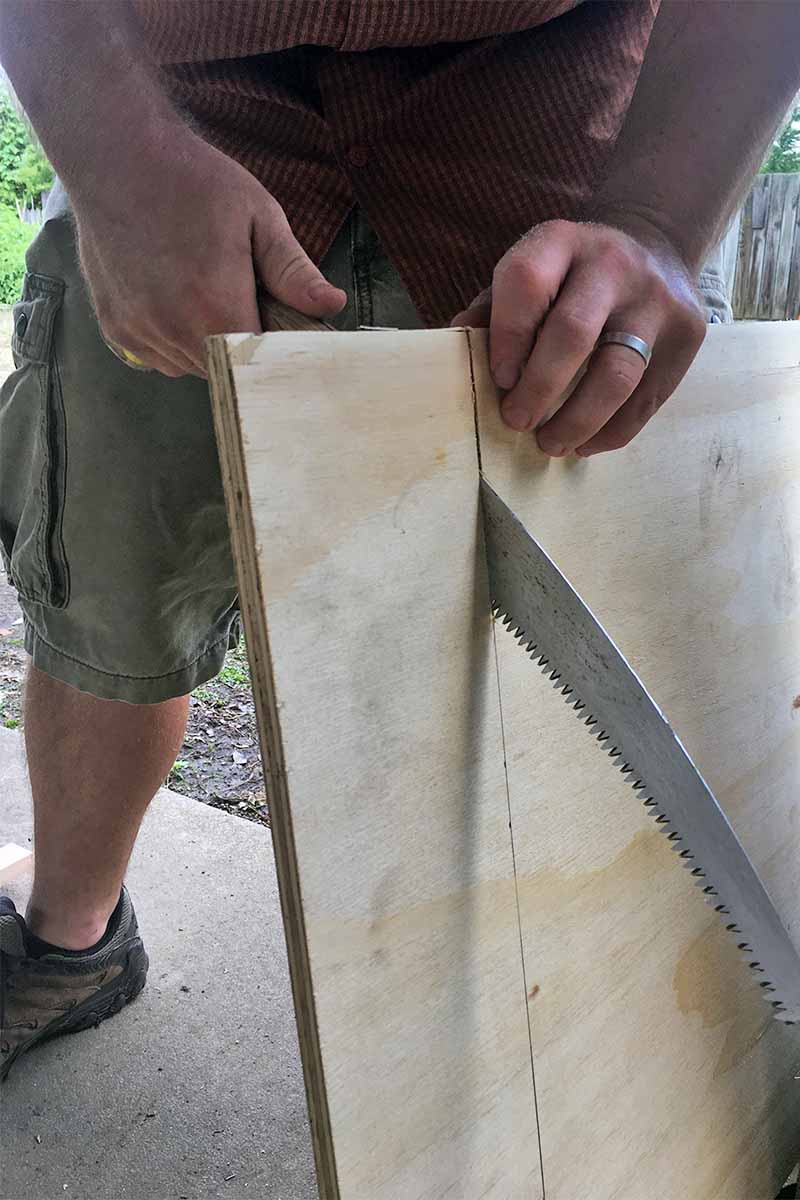
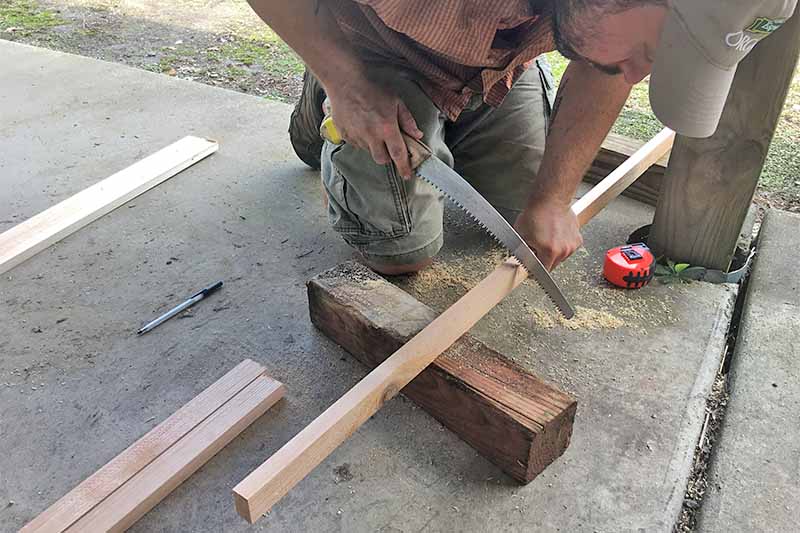
1. Measure and Cut
Prep your work space, and gather all of your materials. Remember to outfit yourself with a sturdy pair of work gloves as well as eye protection, to avoid injury via splinters or any flying wood dust. Ready to go? Let’s do it! First, measure and then cut the 2’ x 4’ x 1/2” piece of plywood into three pieces:
26 ½” x 24” to be used as the back plate 16 ½” x 24” to be used as the top half of the front plate The remaining piece will be used as the bottom half of the front plate
Seriously, measure it twice. Even if you bought another piece of wood for backup, it always hurts to realize you made that first cut in the wrong place. Trust me, I’ve done it. Throughout this project, feel free to sand any rough edges as needed, using medium followed by fine grit sandpaper. Or, you can skip this.
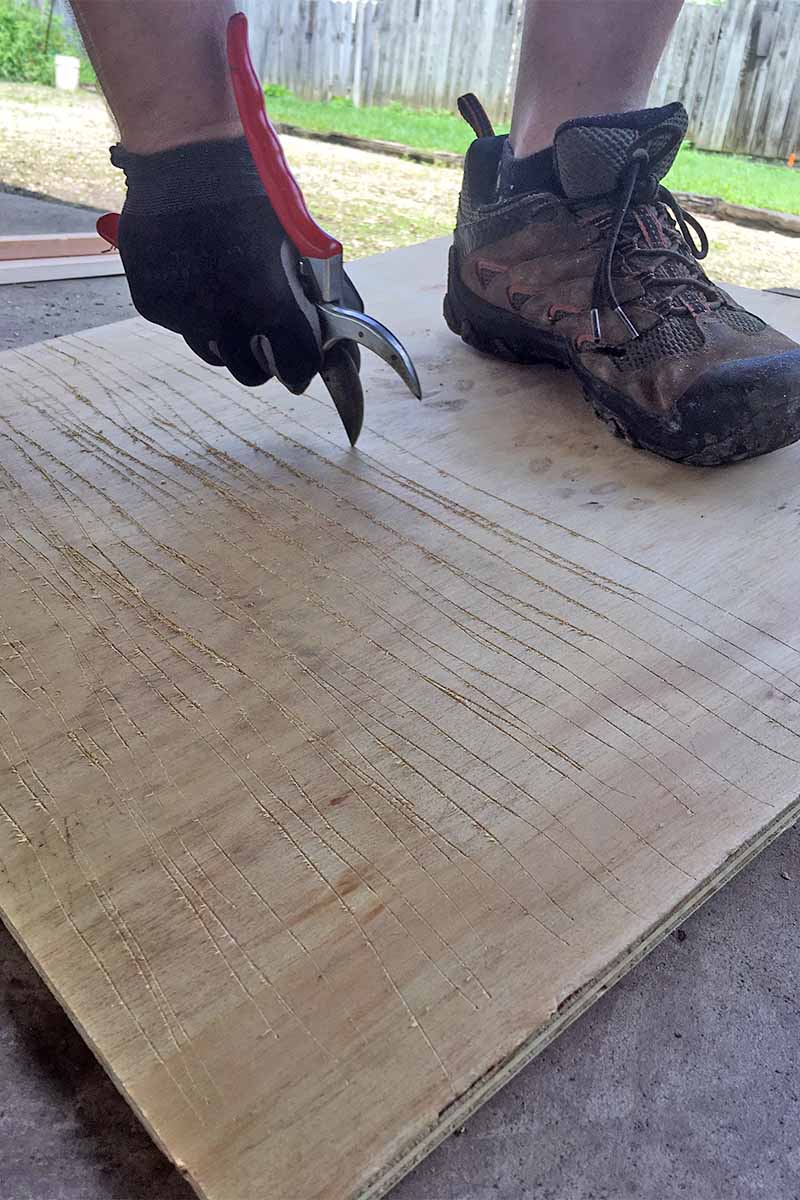
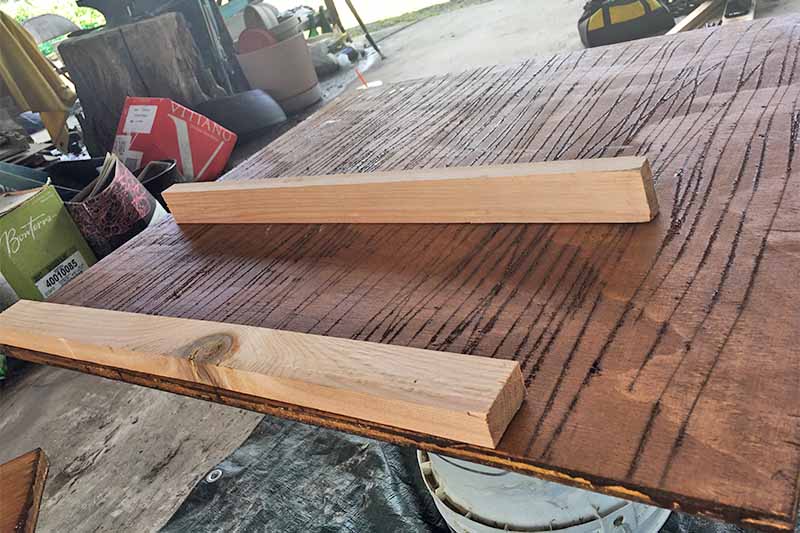
2. Get in the Groove
Using a sharp blade, handsaw, or circular saw (set to 1/16” depth), you are going to carefully cut grooves into the back plate. Again, I recommend using gloves here for safety. These should be spaced about ¼” to ½” apart, and are used as grips for roosting. You can go a little wild here if you’re using a blade instead of a saw, in terms of the spacing and frequency of your landing grooves. The entire back plate of the box should have the grooves cut into it to serve as a landing area.
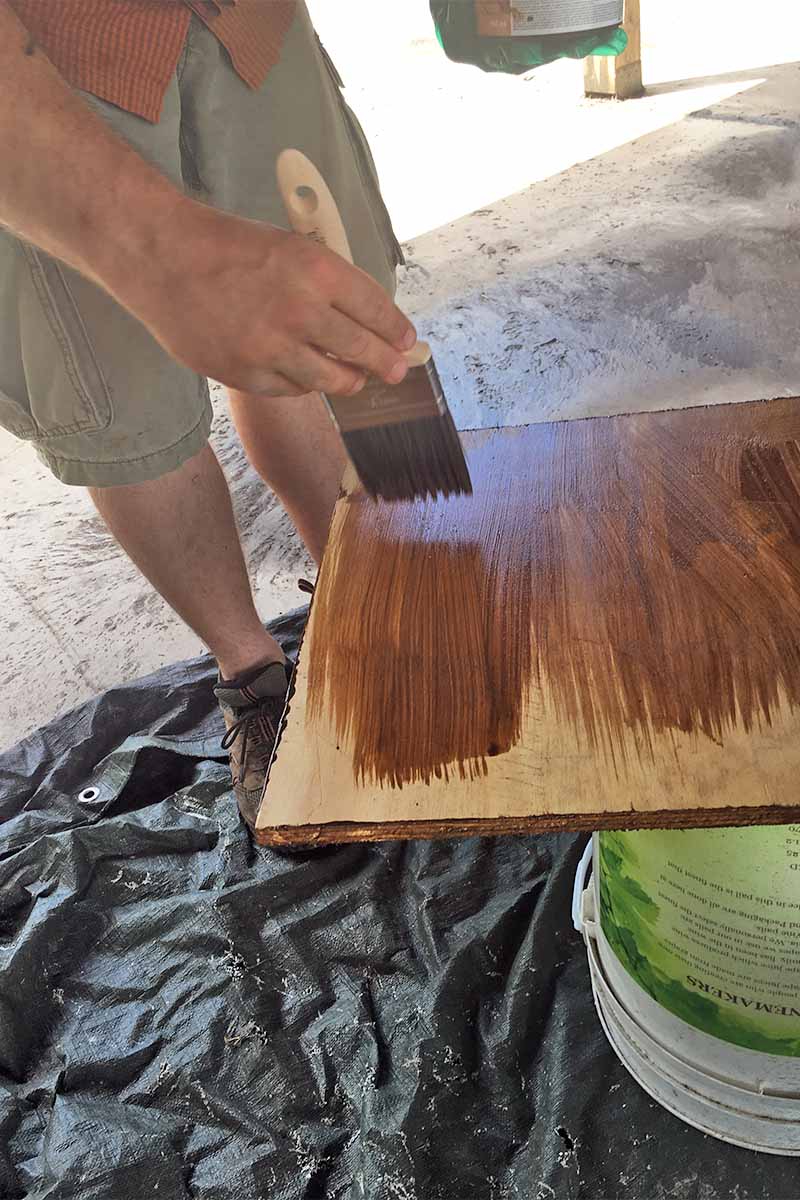
3. Stain Interior
Bats want a dark home, so that’s why we stain the interior. Apply two coats of a dark, water-based stain to interior surfaces of the back plate and both pieces of the front plate (i.e. the side with the grooves that you cut). Allow to dry fully between coats, and after application of the second coat. Don’t use paint on the back plate, because it can fill up the grooves that you just added.
4. Cut Furring Strips
Cut the 1” x 2”x 8’ cedar strip into one (1) 24” piece and two (2) 20 ½” pieces. Referred to as “furring strips,” these long, narrow strips of wood will be used in this case as spacers, and they are sandwiched between the back plate and the front plates.
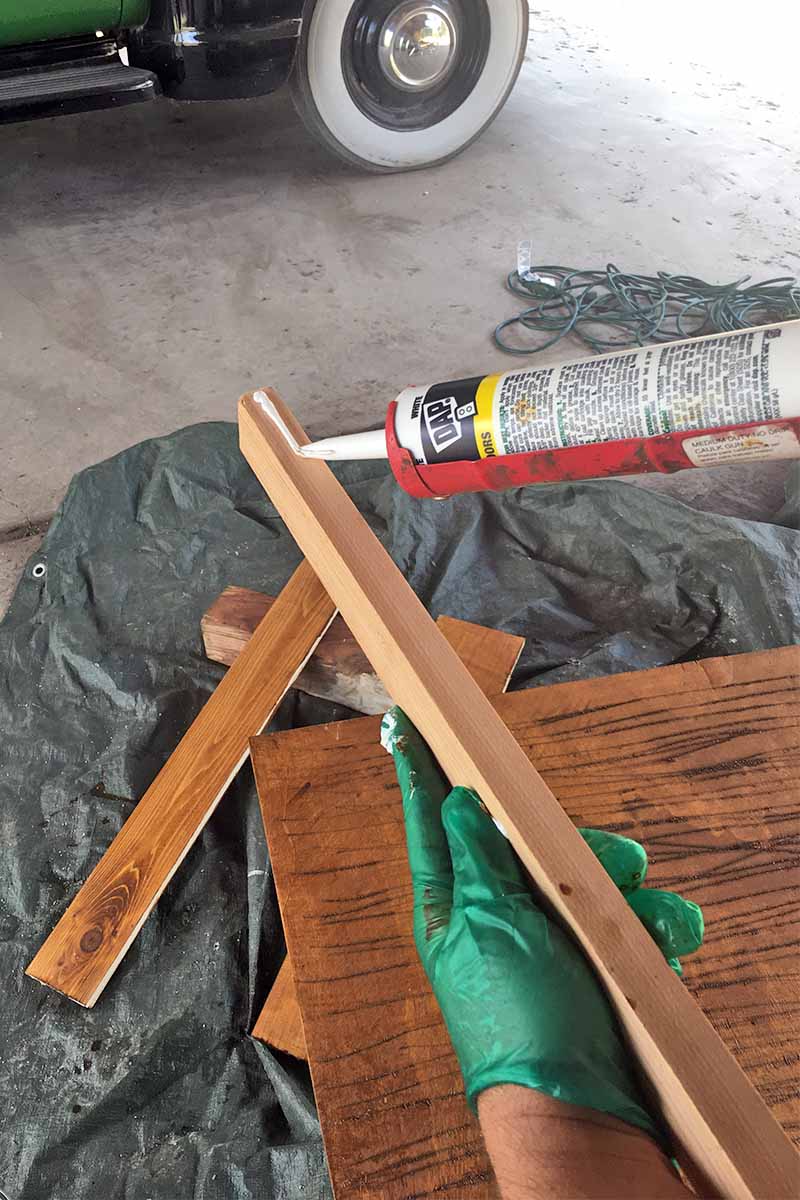
5. Attach Furring Strips
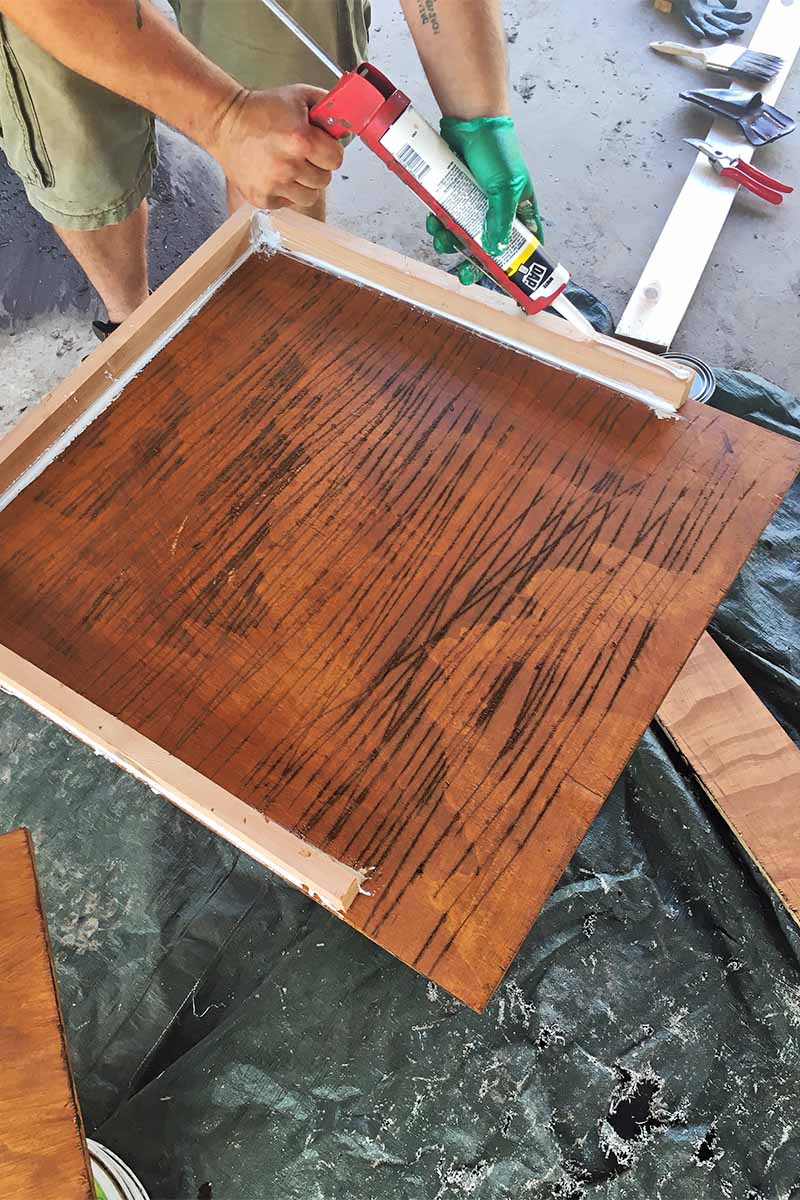
Apply caulk to all 3 of the furring strips and attach to the inside of the back plate (the side you cut grooves into). Cut the caulk open at an angle, and keep the tip of the caulk tube flush against the wood to get a straight bead. If you don’t have a caulk gun, you can work without one. But it’s easier to get an even, consistent flow with this tool. The 24” furring strip will be placed flush with the top of the backboard. The two 20 ½” furring strips will each be placed flush on the sides of the board, butting against the 24” piece of cedar at the top. These strips should be placed with the 1” side down, as illustrated in the photo below. Once they’re all attached, your construction will resemble a frame.
6. Attach Front Plate
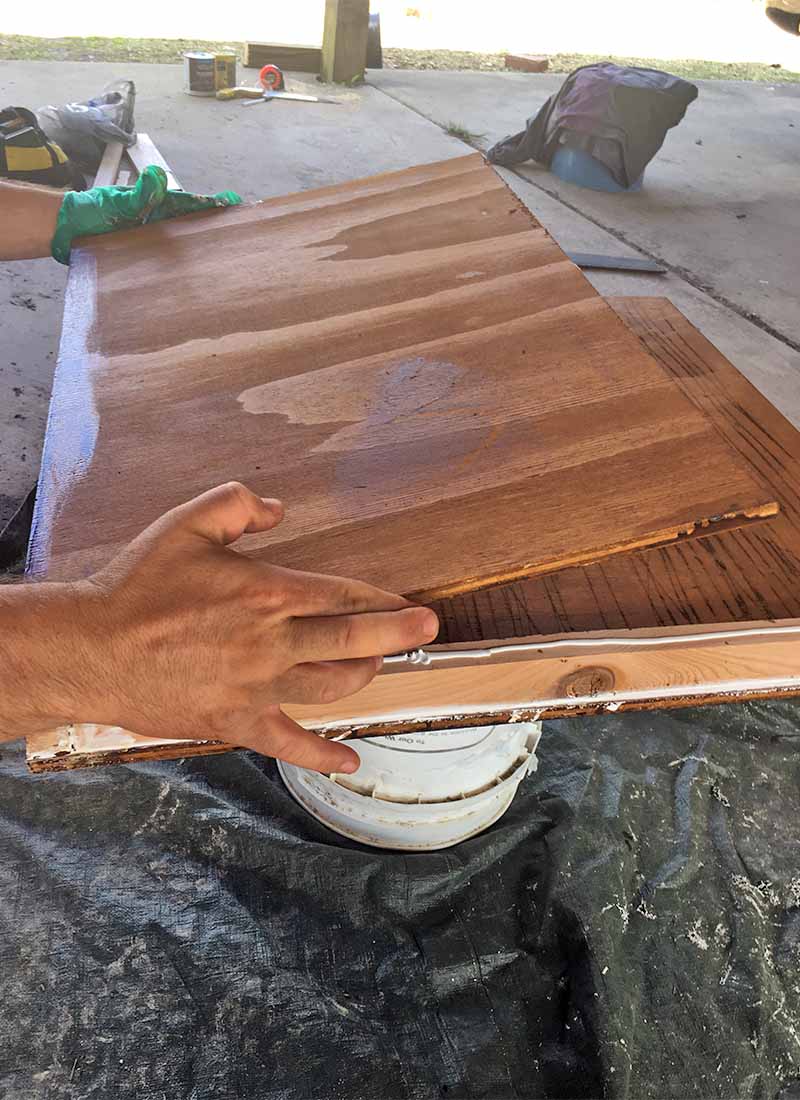
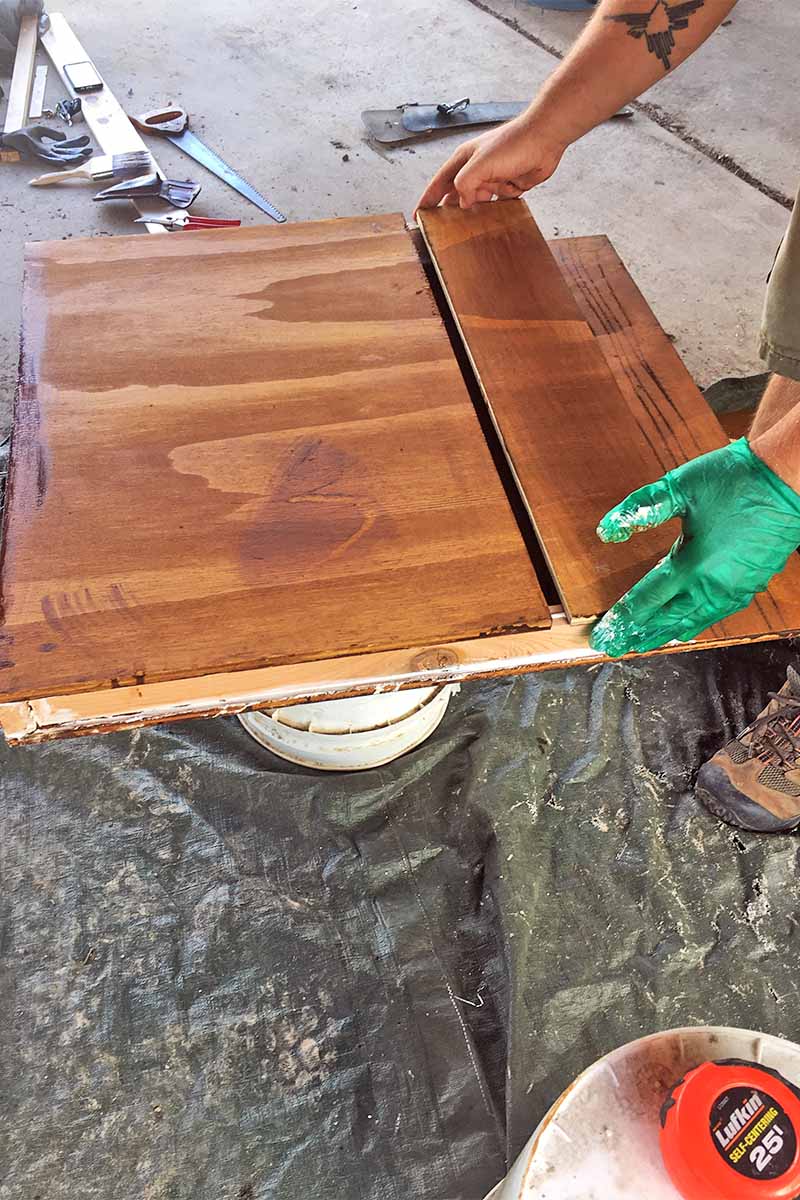
Caulk the inside perimeter of both sides of the front plate. Attach the top half of the front plate first, so that it sits squarely on the furring strips. Next, place the bottom half of the front plate so that it sits squarely on the furring strips. Leave a ½” space between the top half and the bottom half of the front plate. This functions as a vent. Wait at least half an hour for the caulk to set before moving on to the next step.
7. Put a Roof on It
Next, we will be adding the roof! Every house needs one, so this is a pretty exciting step.
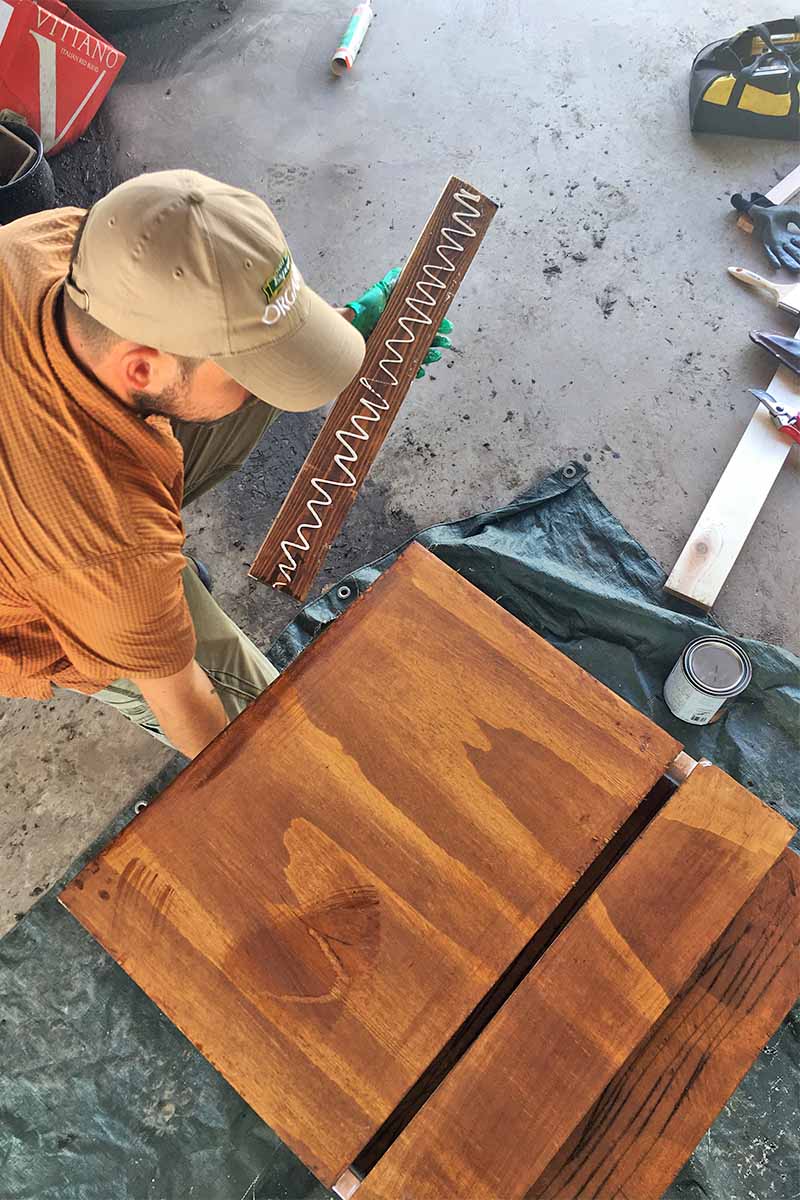
Attach the 1” x 4” x 28” piece of cedar or pine to the top of the box to function as the roof. Apply some caulk to the bottom side of this (the end that touches the bat box directly). Add one or two screws to the top corners to hold the roof in place securely.
8. Seal Joints
Now fully assembled, caulk every joint of the exterior of the box where wood touches wood. Bats want to have a dry home, free from drafts. To avoid a messy final product, let the caulk dry before moving on to the next step.
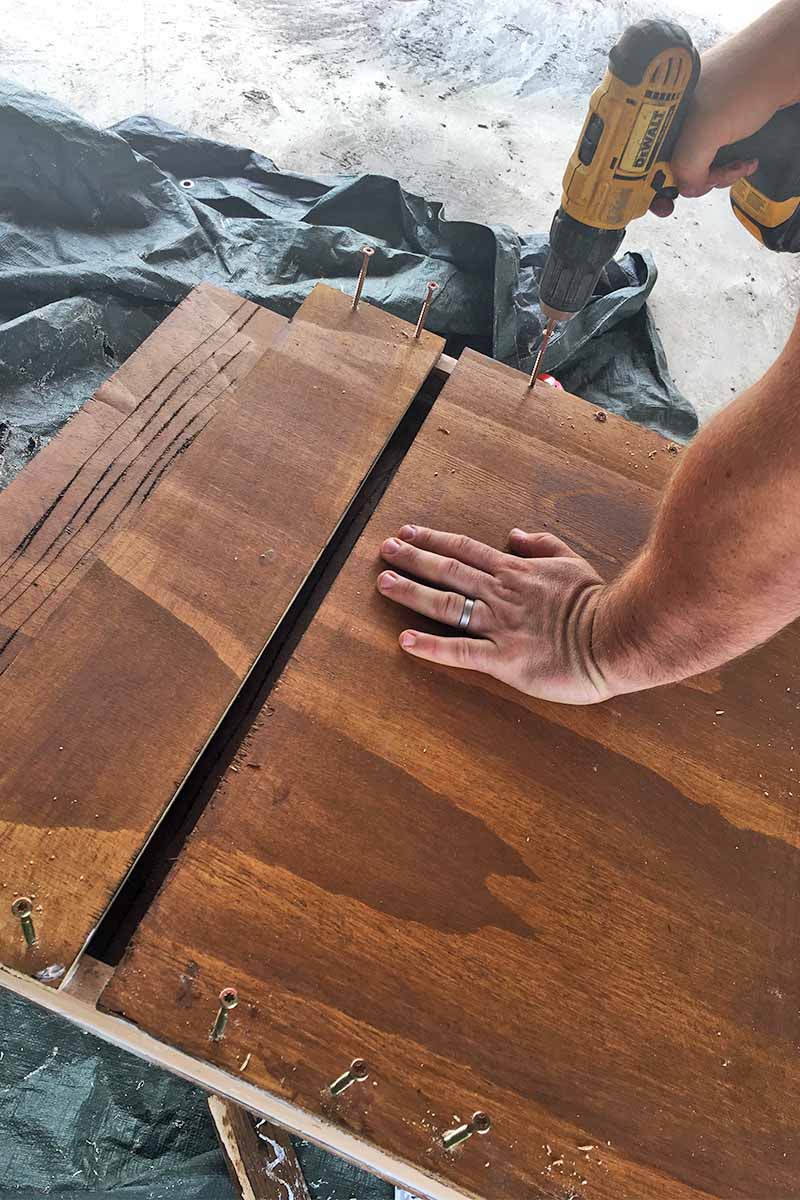
9. Drill and Secure
Use a drill and bit to pilot five to six holes, evenly spaced, on the left and right sides of the front plate. These holes should punch through the plate and the furring strip, then into the back plate. Pilot one or two screws into the bottom half of the front piece as described above. Also drill 4-6 additional holes along the top, again reaching through the front plate and furring strip, and into the back plate. Add the screws to hold the structure together firmly.
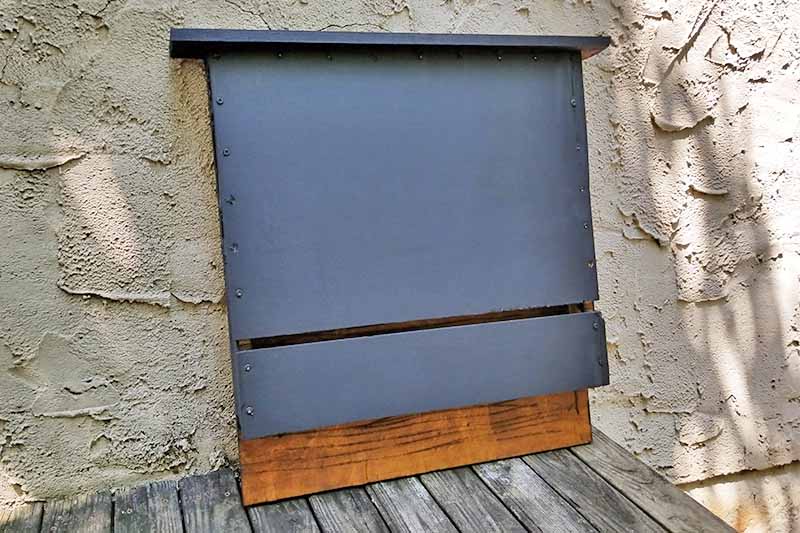
10. Paint Exterior
Apply two to three coats of paint or stain to the exterior, allowing to dry between each coat. For this project as it’s pictured here, I did two coats of stain and one coat of paint. Allow the structure to fully dry overnight before mounting.
Hanging and Maintenance
Ready to hang what you’ve made? This can be done on the edge of a house, usually on the east-facing side, or on a tall 10- to 15-foot pole. Although possible, it’s recommended that you do not mount to a tree because it invites problems – easy access for predators, and a lack of sunlight and ventilation. Consider adding a French cleat to the reverse side of the box when attaching to a solid wall (Timothy Dahl at Popular Mechanics provides some tips), or mount to a tall post using brackets or an additional wooden support. The choice is up to you, depending on the spot that you have in mind. When the bats are not at home, put on disposable latex gloves and make sure the guano does not come in contact with your skin. Using a shovel, scoop up the pile and simply top dress into your garden beds. Remember to clean and sanitize your tools before putting them away. Boxes should be examined for damage and insect infestations once a year, typically during the cooler seasons when bats are not taking up residence. If there are no insects found making themselves at home, then the structure does not need to be cleaned. Once a furry friend (or friends) have moved in, do not walk beneath the box when they’re home, or disturb the animals in any way. Bats will abandon a box that they don’t feel is safe and secure.
Now You’re a Bat Landlord!
Building a house for them to call home is a great way to invite bats into your backyard and garden. And it’s a fun and rewarding project to complete at home, in the dead of winter when you’re stuck indoors, during summer vacation with the kids, or any time when you have a few hours to spare. Keep in mind that you will have more success if you can provide a welcoming area with plenty of flowering perennials and fruit trees that attract the insects that they like to eat, in a warm location near a water source, placed high out of reach of predators.
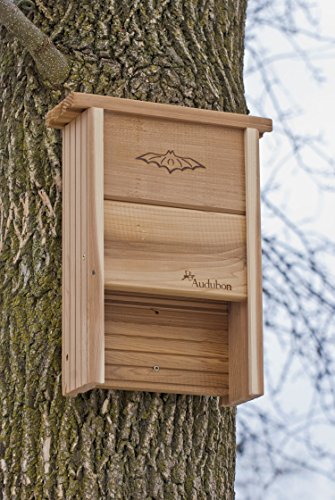
Large Wood Bat House, available from Plow & Hearth If you’ve never seen bats swooping through the area to grab mosquitoes out of the air on a warm night in your backyard, you’re not likely to suddenly attract them with the installation of a bat box alone. But with a little patience and careful placement, local residents in search of a dwelling will happily move in to a properly constructed box. See our article for more tips on attracting bats to the garden here. Watching (from a distance) at night to see them vacate their roost and head out for the evening hunt is a fun pastime that never ceases to delight and amaze me. Since the new home that you’ve built is windowless (and bats aren’t very fond of visitors) how will you know once they’ve moved in? Well, the same way that we note the presence of various other nighttime visitors to our garden spaces – you’ll see their droppings! The amount of guano (droppings) that falls beneath the structure once it is claimed is minimal, and will usually be washed away by natural processes like rain and wind. If you notice that a pile is collecting, it can be tossed into garden beds. Alternatively, you could make guano tea. Drop about one cup of guano in one gallon of water and allow to steep overnight, then water any non-edible plants with it for a deep-root feeding.
What Are You Waiting For?
This guide offers construction points to craft a basic structure, a welcome addition to almost any yard or garden. These cute-as-beans fliers will appreciate the home, and pay you back by offering free pest control! Don’t be discouraged if it takes time for the bats to find their new residence. It can take a few years before they discover it.
Bats are loyal to their roosts, but this means that once you have a few tenants, they are likely to return year after year. Besides, gardening is synonymous with patience! When I began to read about the construction of shelters for these guys, it brought back a flood of memories. Hopefully, you can add a few memories yourself when watching your own local insect-loving residents fly their roost. Photos by Matt Suwak © Ask the Experts, LLC. ALL RIGHTS RESERVED. See our TOS for more details. Product photos via Bat Conservation International, Audubon, and Plow & Hearth. Portions of this article were originally published on November 30, 2017. Last updated on September 6, 2018. With additional writing and editing by Allison Sidhu.