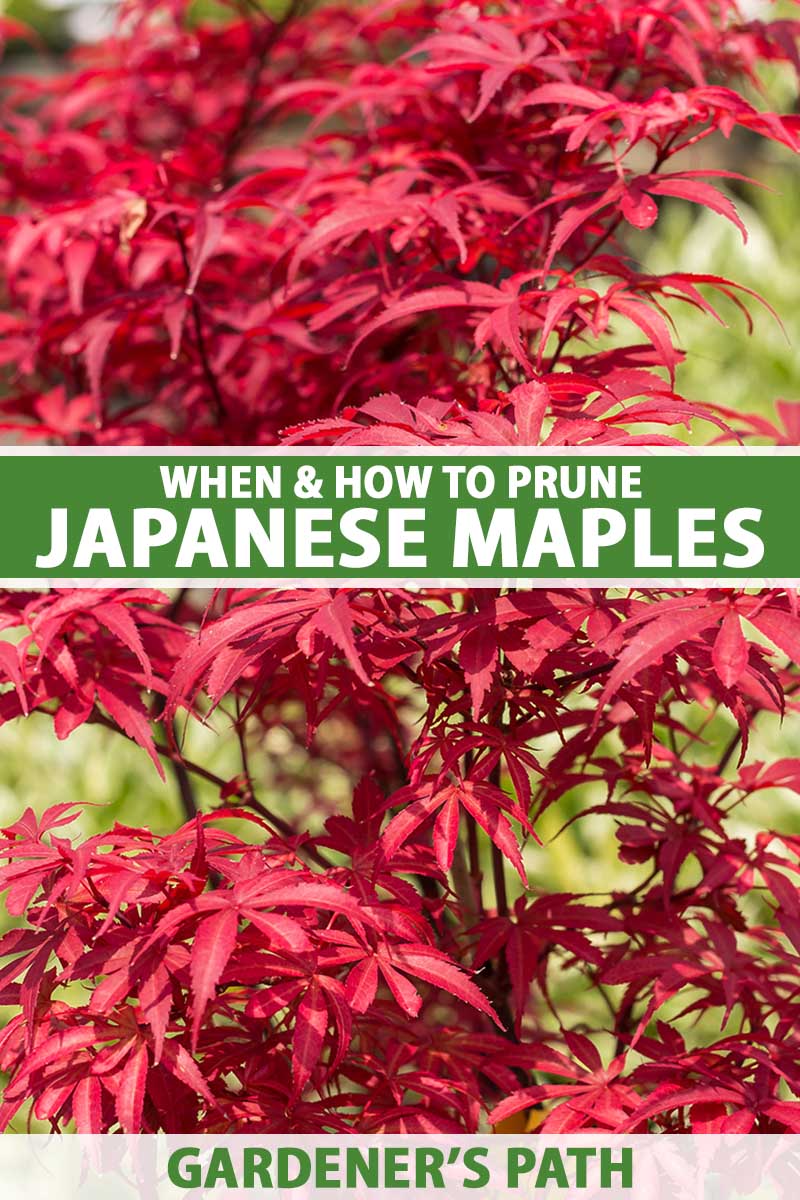
They’re some of the most frequently photographed trees in the world and the really striking ones draw people to gardens across the globe. Their elegant, organic forms are instantly recognizable, whether weeping or upright. But most Japanese maples don’t just produce those stunning shapes on their own. Left to their own devices, they can become overcrowded and a bit misshapen. We link to vendors to help you find relevant products. If you buy from one of our links, we may earn a commission. Don’t feel overwhelmed. Pruning well isn’t as challenging as you might think. It’s really about bringing out the best in your Japanese maple without trying to change its overall form, tidying up rather than making serious changes. This guide will help you nail the process. Here’s everything we’ll go over to help you do that: Pull out the pruners, loppers, and saws. Give them a quick wipe with a soapy dish cloth. Pull on those gloves. We’re ready to go.
When to Prune Japanese Maples
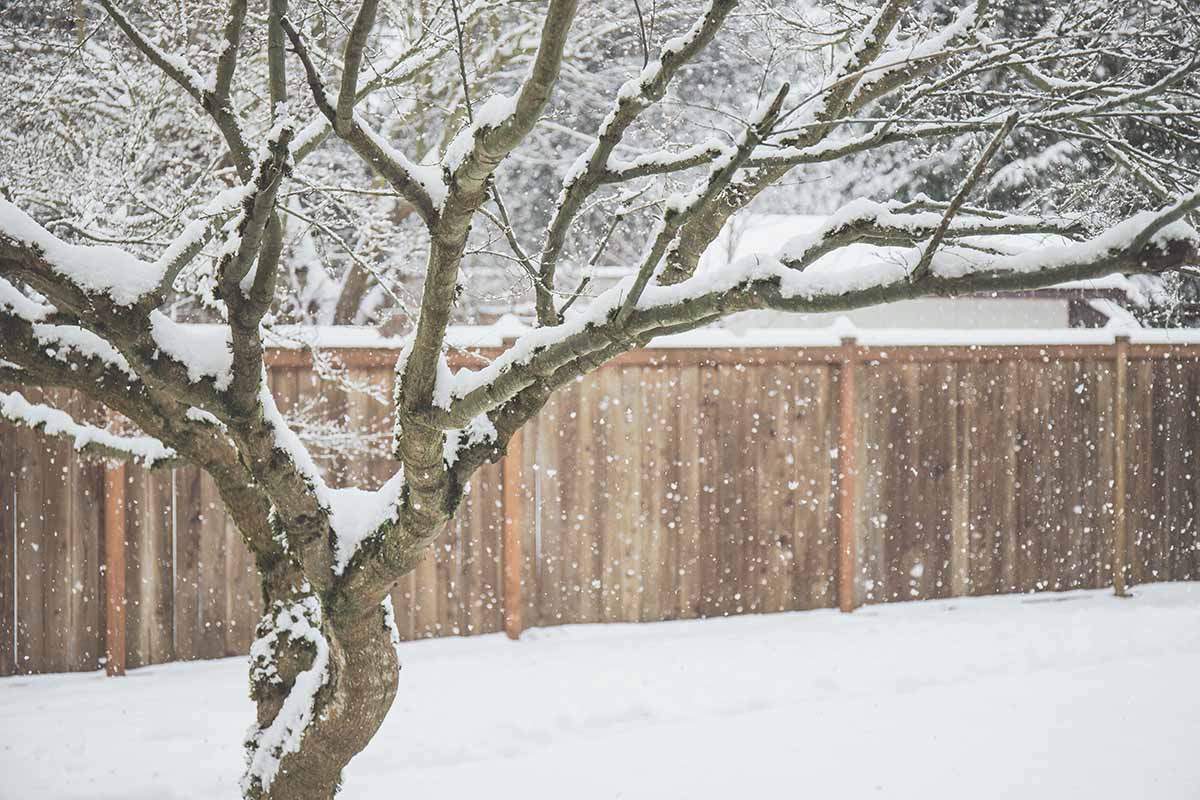
If a branch cracks or breaks in a storm, you notice growth that’s dying or is diseased, or a single branch is touching your home or interfering with a walkway, prune it any old time you want. But if you want to change the shape of the plant or remove large branches, winter is the time to do it. The plant is dormant at this time of year and you can more easily see the shape of the tree without any foliage in the way. If you prune in the middle of winter, you can also avoid causing the tree to leak sap. Leaking sap doesn’t hurt the plant, but it’s unsightly and no one likes getting sticky stuff all over them while they’re trying to work in the garden. If you’re wondering how the heck you can tell whether a branch is dead or not in the winter, you can determine this by looking at the coloring. Dead branches are generally gray, but regardless of the hue, a dead branch will stand out because it will be a different color from the majority of the other branches. If in doubt, try bending it gently in the middle. If it bends, it’s alive. If it starts to snap or crack, it’s dead. Do your fine pruning in the early spring just as the leaf buds open.
Consider the Shape
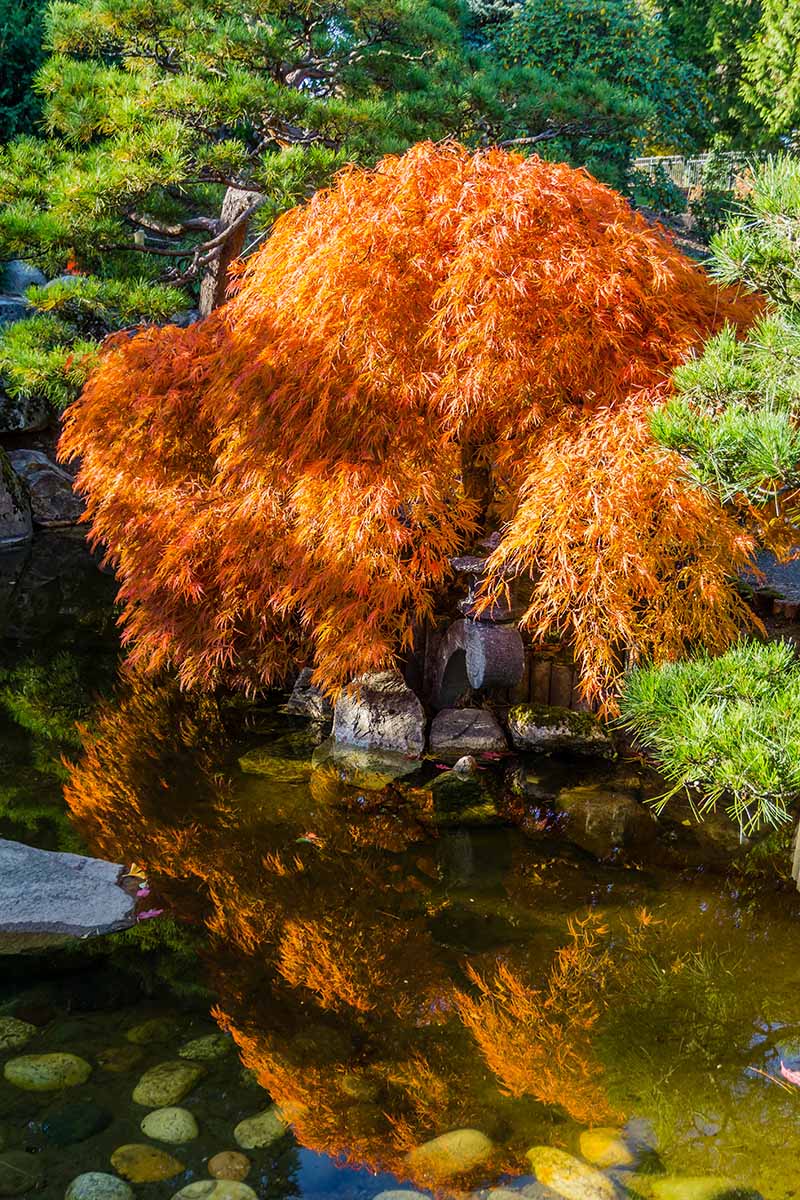
Before you begin pruning, consider the natural shape of the specimen. You want to work with the natural form, rather than trying to force a different one. For instance, A. palmatum ‘Orangeola’ is a weeping type that has dramatic downward growth. If you were to prune the branches to try and create an umbrella-like shape, you’d be fighting the tree’s nature and it won’t ever look as nice as it could. If you tried to force a beautifully upright ‘Sango Kaku’ into a weeping shape, you’d end up with a funky-looking mess. If you keep up with your trimming, you might only need to snip a few branches each year, but if you wait a while in between pruning jobs, you might need to do a lot more work. Try to never take away more than a third of the canopy at a time. Of course, there are always exceptions to the rules. For instance, you generally shouldn’t keep a large branch in place that comes out of the base and competes with the main trunk, but some gardeners may opt to leave these when their aim is to create a pleasant shape. It’s all about balancing what you prefer with what the tree wants to do.
How to Make Your Cuts
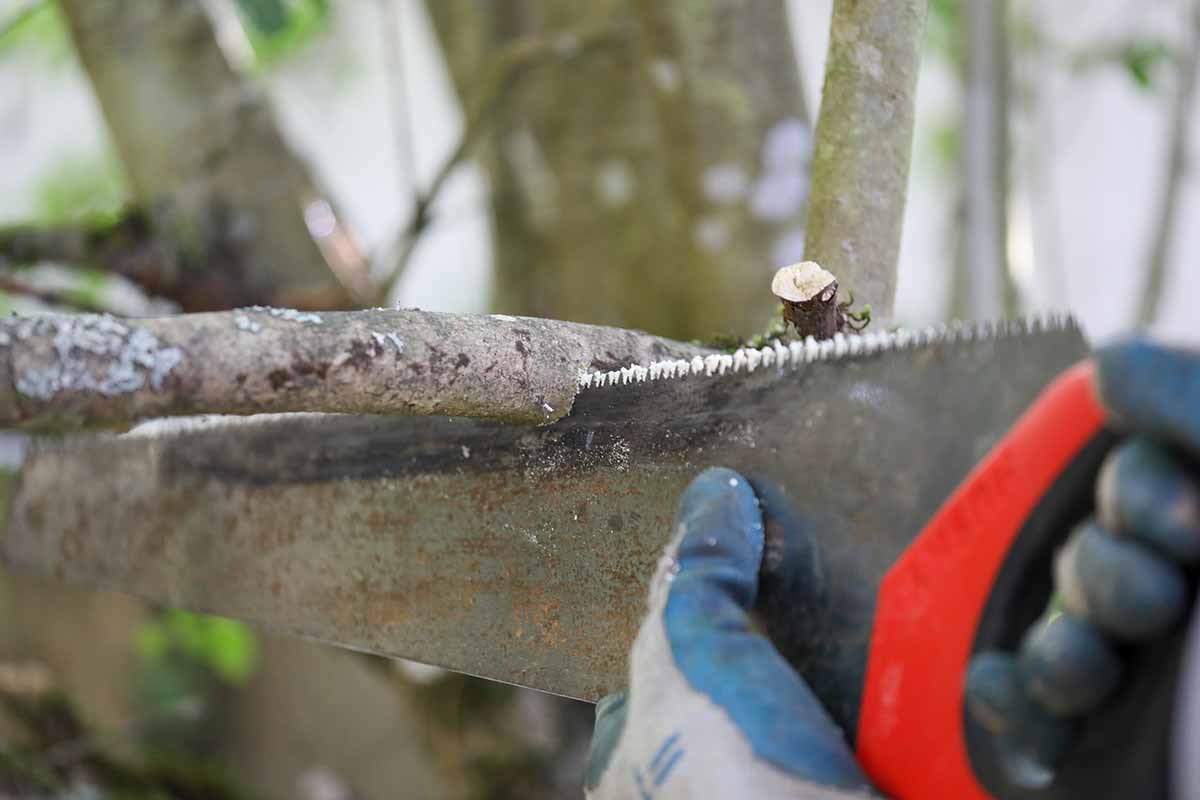
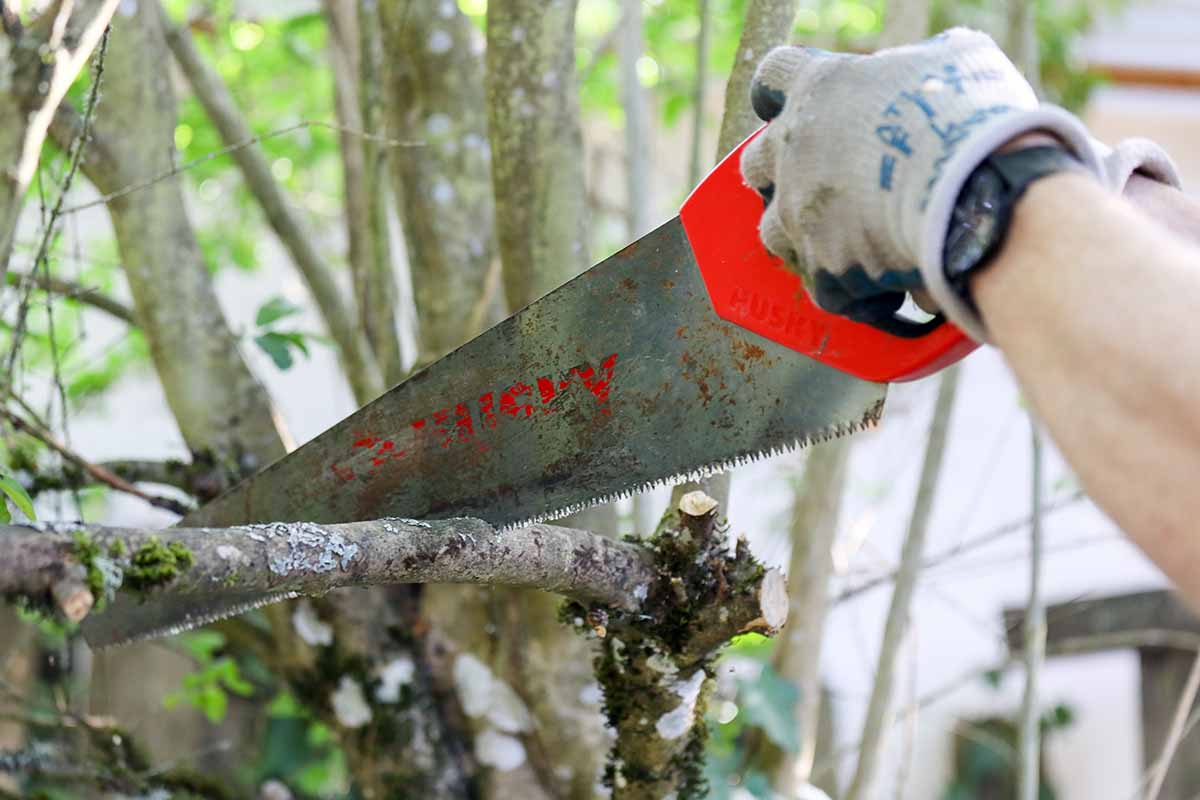
To cut larger branches, use the three cut method. To do this, you first undercut the branch you want to remove by making a cut on the underside about six inches from the main stem. Don’t cut all the way through, though – leave about a third of the branch intact. Next, make another cut starting at the top about an inch out from the undercut. Finally, cut off the stump, leaving the branch collar in place. The branch collar is the thick, raised area around the base of the stem. Any time you remove a branch, cut it back at the stem, not in the middle. In other words, don’t do any heading back cuts. Heading back cuts are when you cut a branch right in the middle without paying attention to where the buds are or where the angle of growth is directed. You can trim a small, young branch in the middle if you want to encourage more branching, but always cut just in front of a leaf bud. Small and medium-sized cuts can be done with pruners and loppers. Just cut the branch as close to the main trunk or stem as possible. When in doubt, or if the tree reaches a height that you can no longer safely or comfortably prune on your own, don’t be afraid to call in reinforcements, whether that be a gardening friend or an expert arborist!
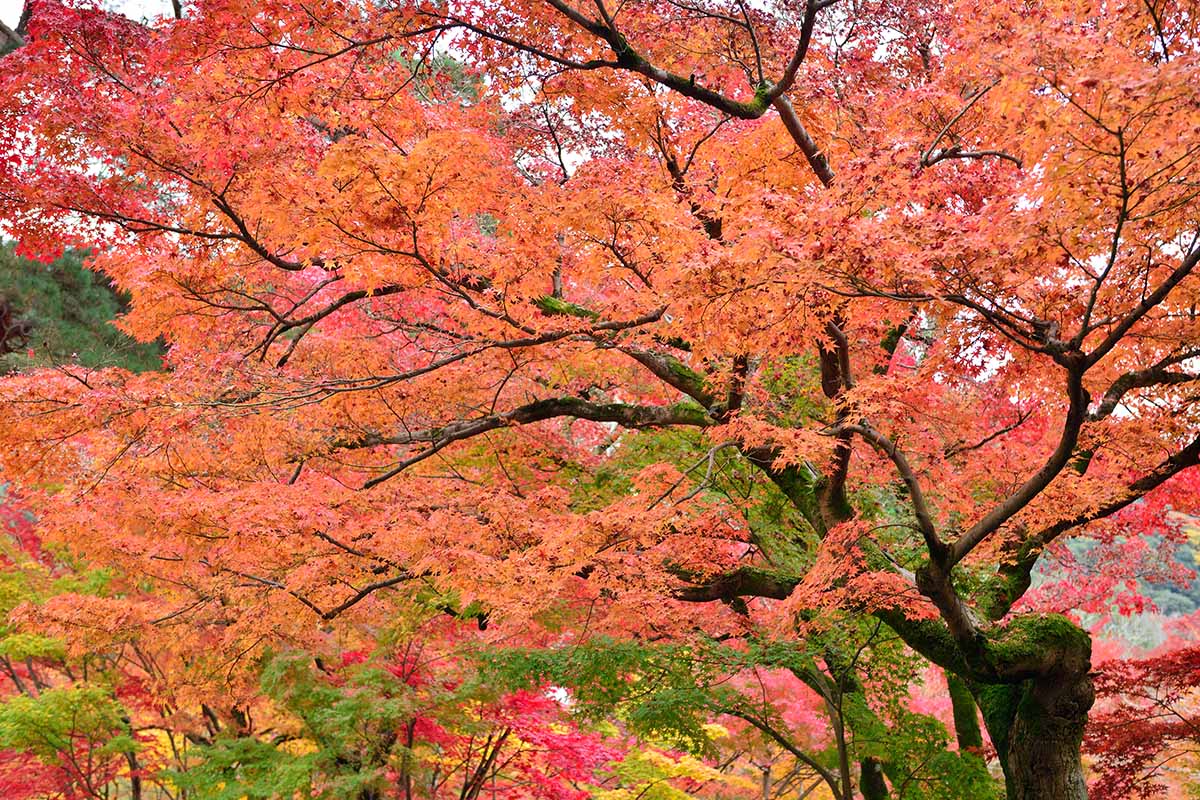
Trimming Upright Trees
An upright tree has a large central branch, which we call a leader. People often prune this to try and limit the height or to create a more rounded shape, but it’s not good for the tree and it doesn’t ultimately help to keep the plant smaller. When the leader is removed, the plant loses its main source of nutrition and so it sends out lots of secondary branches to make up for it. These branches are weaker and the tree will become less resilient overall. As those secondary branches age, they tend to become too heavy for the tree to support and they will crack or break more easily in wind and snow. If you want to see a weeping or rounded shape when you gaze out at your garden, buy a cultivar that has that shape to begin with. Don’t try to force it. You want branches to radiate out from the main stem and spiral all the way up the tree, spaced about eight to 24 inches apart. And you only want to have one main trunk. If you have a large, competing stem coming out from the lower quarter of the trunk, in most cases, you are encouraged to cut it off. While you may see a competing secondary branch on weeping types, you will rarely – if ever– see a competing stem on classically-shaped upright trees. You should also remove any overly-long whips – thin branches that haven’t branched out further – and any branches that cross each other, retaining the larger one. Remove any branches that are directly on top of each other, as well. The overall goal is to remove excess growth to create an open, pleasing form. You should be able to see the main stem throughout its full length except within the densest part of the canopy. At the same time, you’re removing any growth that is damaged, sick, or in the way.
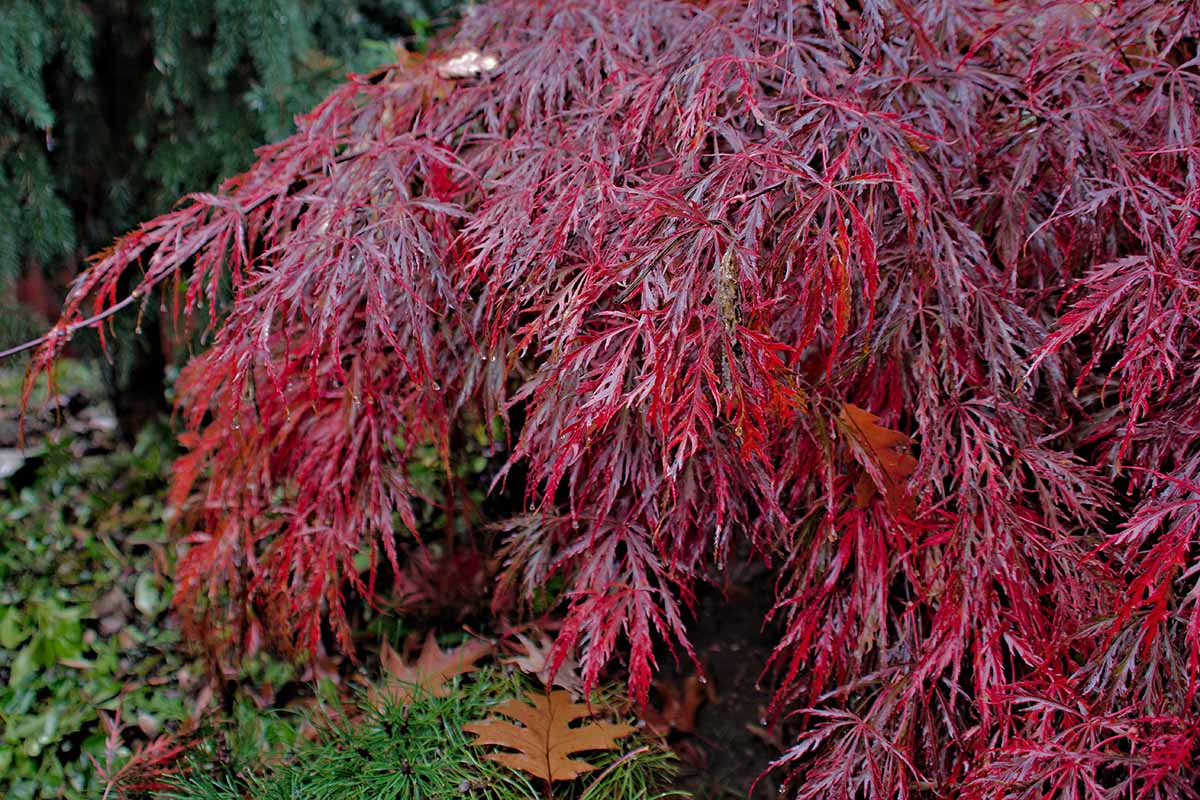
Trimming Weeping Specimens
Weeping trees are beautiful for their gracefully cascading shape, but they take a little extra work to keep that way. I find that it helps a ton to crawl under the tree when it has leaves and look up. If the neighbors ask, say you lost a contact or something. You should be able to see patches of sky from underneath. If you can’t, your plant needs some serious pruning. People often let their weeping maples grow extremely dense, but if you look at the classically shaped maples in Japanese gardens, they actually have a fairly open canopy. Remove any branch that touches or interferes with another branch. When choosing which to remove, look at the overall shape. Do you want to encourage the upper branch to fill out a dip in the side, or do you need less height and more filling on the underside, so you need to leave the lower branch in place? You don’t want any upper branches shading lower branches. Think of the frame of an umbrella. That’s kind of the idea, but of course with a much more natural shape. If in doubt, cut it off. And if you make a mistake, don’t worry. The tree will send out another branch at some point and you can rethink your shape when it does. Don’t make the mistake of only pruning the lower skirt of the tree and leaving the upper part alone. Similarly, don’t shear the bottom of branches all to the same length, as you often see with other species. While it’s your tree and you can do whatever you want, Japanese maples are usually pruned to have a more organic shape. After the initial pruning, you can usually just do a little seasonal upkeep and you’re good to go. How old is your tree? What kind are you growing? Did it need a bunch of work, or are you just doing a bit of maintenance pruning? Let us know in the comments! To continue on your maple-growing journey, you might be interested in taking a look at a few of our other guides to growing these unique trees:
How to Grow Japanese Maple TreesA Guide to the Different Types of Japanese Maple TreesHow and When to Fertilize Japanese Maple Trees