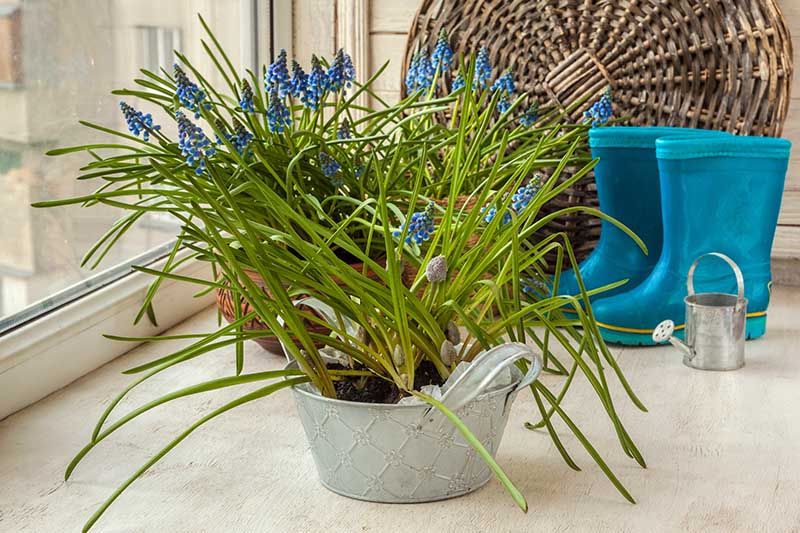
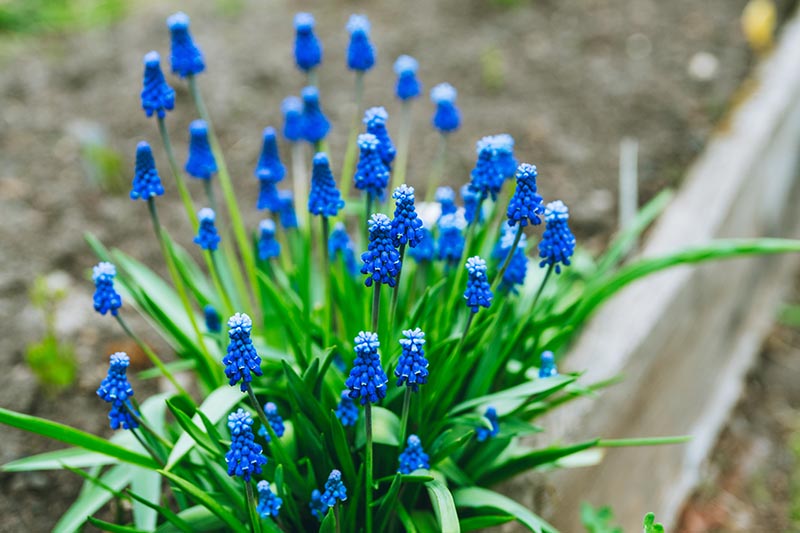
Stout stands of tightly clustered flowers bloom in bright shades of blue, purple, white, and even yellow and have a delicious, fruity fragrance. These little plants make a reliable addition to beds, borders, and containers and naturalize readily in meadows, woodlands, or just about anywhere they’re scattered. And they’re delightful for forcing indoors as well! Wonderfully low maintenance and easily cultivated, propagation is also easy. On their own, your collection will increase yearly from natural bulb multiplication and a ready habit of self-seeding. We link to vendors to help you find relevant products. If you buy from one of our links, we may earn a commission. They’re even easy to start from seed – although you’ll have to wait at least three years for flowers on seed-started plants. Don’t know how? No problem. We’ve got you covered! Here’s everything you need to know about grape hyacinth propagation for bulbs and seeds.
Grape Hyacinth Basics
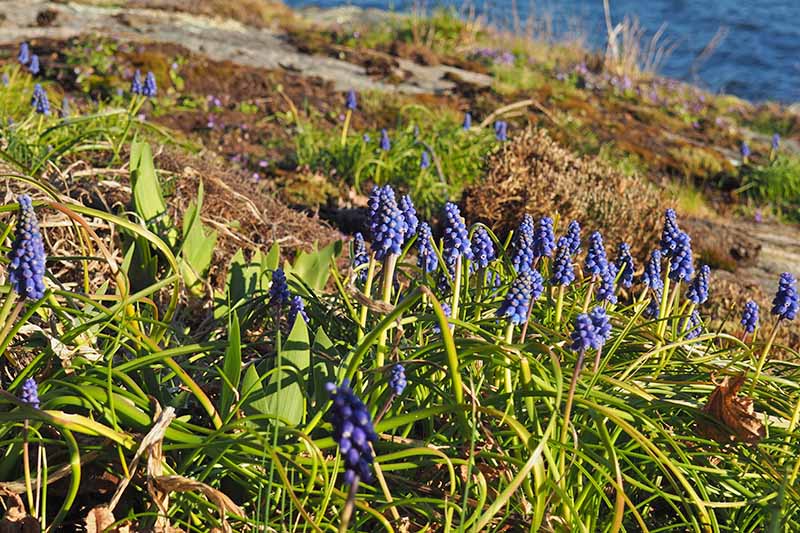
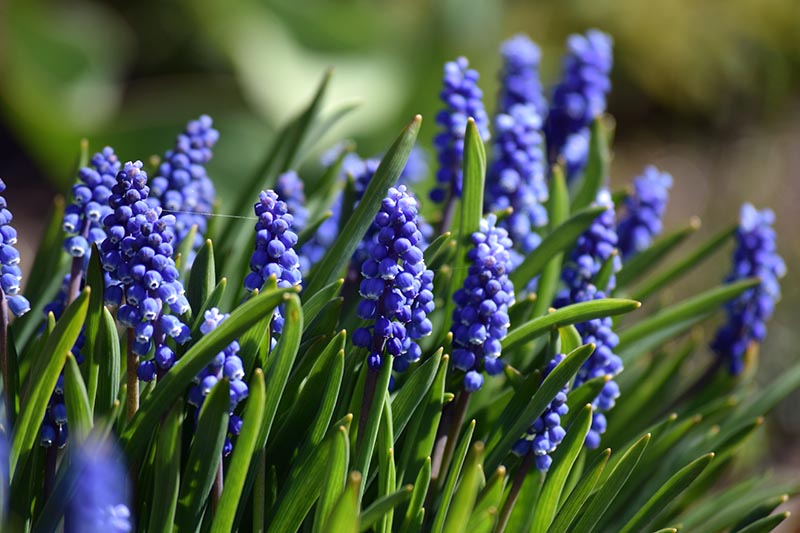
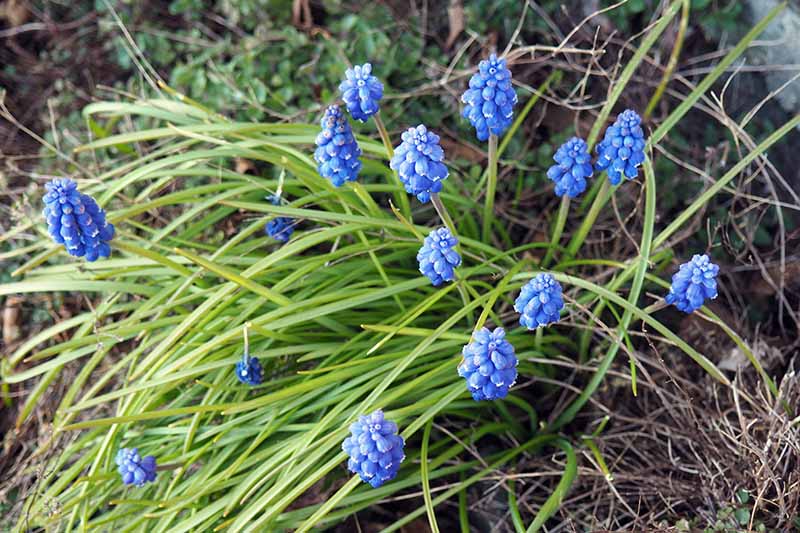
Muscari is a genus of small flowering bulbs, native to rocky slopes of Eurasia and the Mediterranean basin. Growth is typically six to 12 inches high and plants develop one to three flower stalks in early spring. Flower colors are primarily blue and white, with some cultivars offering mauve, pink, and yellow blooms. As their common name “grape hyacinth” suggests, the flower racemes are tightly packed, urn-shaped florets that resemble small clusters of grapes. And while they’re not related to garden hyacinths, Muscari also have a striking fragrance that’s sweet and fruity, and most notable in the cool air of early morning and evening. Hardy in Zones 3-9 (or 4-8 for some varieties), they reproduce fast and easy – and that means they will spread rapidly if left unchecked. To restrict unwanted spread, plant in containers or create hard borders with bricks, concrete walkways, landscape edging material, or sunken rocks.
Bulb Division
Transplanting grape hyacinth is done through bulb division in early autumn or early spring.
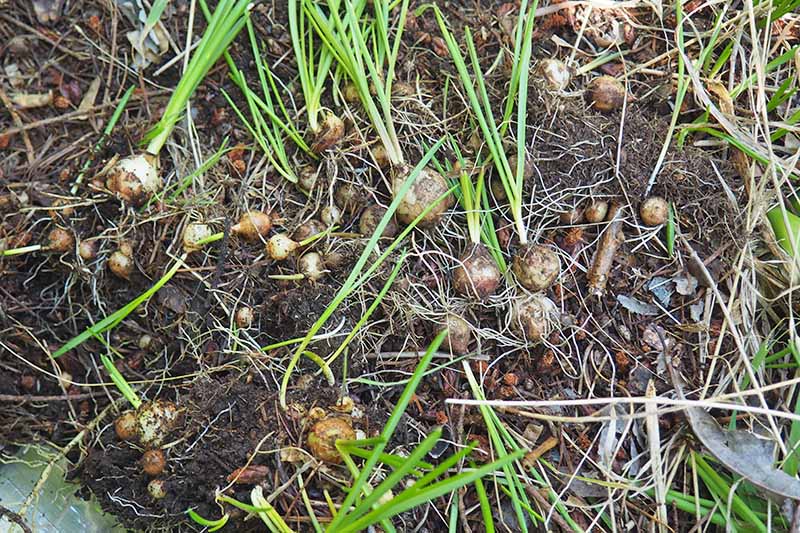
However, dividing and transplanting in fall has the advantage of giving new plants an extra season to establish healthy roots. This means they’ll have a better bloom set in their first year after transplanting. If the soil is dry, water existing plant clusters before digging them up. This makes separating them much easier. The bulb offsets will be different sizes, so pick through them as you break up the clump, reserving the healthiest and largest ones to establish new clusters. Medium-sized bulbs can also be used to start new plants, but they’ll need an extra year or two before they flower. The smallest bulbs can be quite tiny and will take up to three years to mature and bloom. The smallest ones can be discarded, or scattered in areas where you’d like them to naturalize. But remember, these bulbs are hardy and hearty, and they multiply quickly. Avoid scattering them anywhere they’ll be intrusive, including the compost bin. Here’s what you need to do:
- Plan to dig up bulbs in early autumn, or in spring after the flowers have finished and before the foliage dies back.
- Slide a trowel or spade into the soil a few inches outside of the foliage stand to avoid damaging the bulbs, lifting and loosening the soil all the way around the clump.
- Gently crumble away the soil from the bulbs until you can see them clearly. Separate by size.
- Once separated and sized, dig a wide, shallow planting hole about three to four inches deep.
- Enrich the soil with organic matter such as aged compost or well-rotted manure.
- If your soil is heavy or tends to get water-logged, mix in some gritty material like landscape sand or pea gravel to improve drainage.
- Stir in a sprinkle of bulb fertilizer or bone meal to encourage strong root formation.
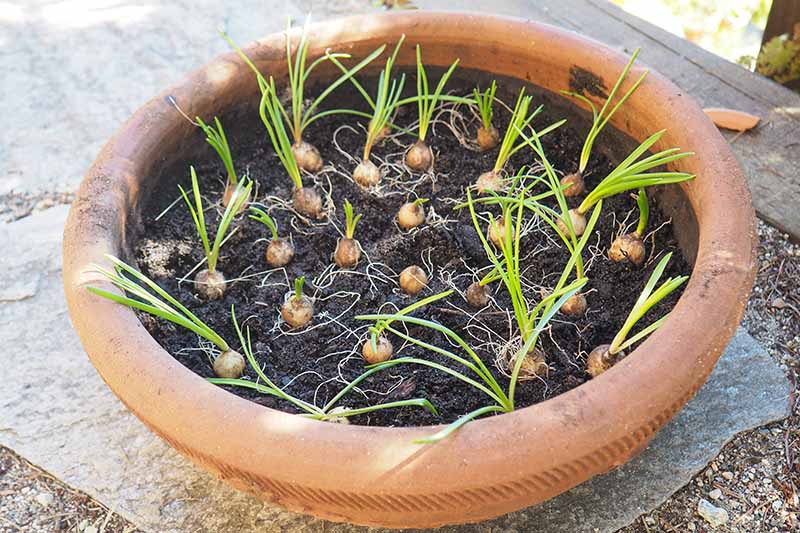
- Set the bulbs one to two inches apart, root (flat) side down, planting to a depth of one to three inches, depending on the bulb size. In general, bulbs are planted to a depth of approximately two or three times their height.
- Gently backfill the planting site, firming the bulbs in place. Water lightly to settle bulbs and soil in place. Many species of grape hyacinths send up new foliage in late summer, a normal phase in their growth habit. But they’re not preparing to bloom out of season and won’t be harmed if transplanted in fall!
Seed Propagation
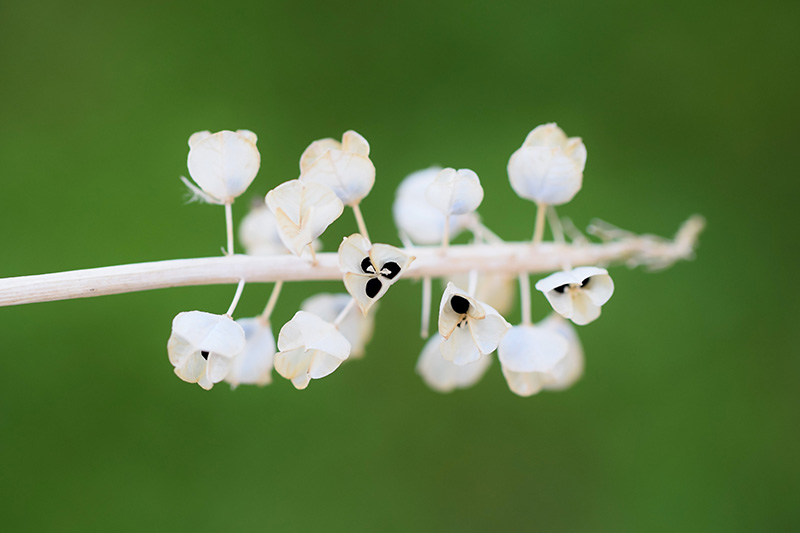
After your grape hyacinth plants have finished blooming, they set small seed pods that ripen and disperse over summer.
By the following spring, many of the dropped seeds will sprout as new plants. But you can also collect the seed and propagate your own plants. If your garden is within the hardiness range for your selected species or cultivar, they can be started in outdoor cold frames. If you’re located outside the recommended hardiness range, start them indoors for a three-month stint of cold stratification in the refrigerator. After the seed pods have dried, and before they’ve opened for dispersal, remove the pods from the stems and harvest the small seeds inside.
Indoors
Follow these steps for indoor cold stratification:
- Scatter seeds on top of a damp, but not wet, paper towel. Place the paper towel inside a loosely sealed plastic bag. You want the bag to retain moisture but also allow some air circulation.
- Place the bag in the refrigerator for 12 weeks for seeds to germinate. Muscari seeds have a much higher germination rate after cold stratification – the consistently cold and moist conditions needed to break seed dormancy.
- After sprouting, transplant into containers or the ground after the risk of frost has passed. When setting outdoors, remember that seed-started plants take three years to flower – choose a sunny, out-of-the way location where they can mature.
Outdoors
For outdoor propagation, these are the steps:
- In trays or seed flats with a clear lid, scatter seeds on the moistened surface of well-draining starter soil. Cover with a light scattering of soil – only enough to hold the seed in place.
- Cover with the lid and place in the cold frame for at least 12 weeks over winter.
- Ensure the soil stays lightly moist and seeds will begin to sprout once the days start to lengthen.
- After seeds have sprouted, transplant into containers or into a permanent location in the garden. As mentioned, they’ll take three years to bloom.
Forced Blooms
To force indoor blooms, use healthy, good-sized bulbs.
Here’s how to do it:
- Fill a container or pot loosely with a good quality potting mix and set bulbs root side down. Pack the bulbs closely, but not quite touching.
- Cover loosely with soil, leaving the top third of bulb tips exposed to the light.
- Water well and move your containers to a cool, dark spot for eight to ten weeks. A basement, shed, or the refrigerator is suitable, provided the temperature remains around 40°F.
- When shoots are two inches tall, remove the containers from storage.
- Keep the soil moist but not wet, and gradually move your pots into place near a sunny window. Turn them every few days to prevent leaning and to encourage even growth.
Reliable Charm
Bright, bold, and tough, grape hyacinth adds reliable charm to the early spring garden. To quickly increase your collection, divide existing plants in autumn, and transplant into containers or directly into the garden.
If you’re not in a hurry, seed propagation is another rewarding (albeit slower) method for starting new plants. Whatever method you choose, with their hearty habits and dependable presence, you’ll love having more when spring arrives! Have you had success propagating Muscari in your garden? Let us know in the comments below! And if you’re looking for more information on grape hyacinth, check out these guides next:
How to Grow and Care for Grape Hyacinth 9 of the Best Grape Hyacinth Varieties for Your Garden
Photos by Lorna Kring © Ask the Experts, LLC. ALL RIGHTS RESERVED. See our TOS for more details. Uncredited photos: Shutterstock.
