We link to vendors to help you find relevant products. If you buy from one of our links, we may earn a commission. From taking cuttings of an outdoor specimen to propagate new plants, to discovering why and how you should give your ivy a bath, you’ll be able to keep your vining friend feeling and looking its best. Here’s what we’ll go over in this guide: Ivy has a reputation for being extremely tough, but it’s a bit more fragile when you bring it inside. If you’re eager to learn how to succeed, let’s jump right in.
Cultivation and History
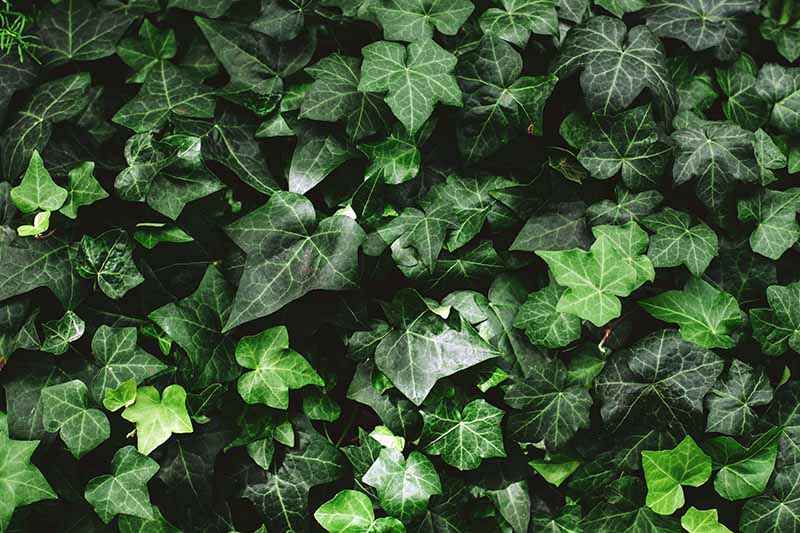
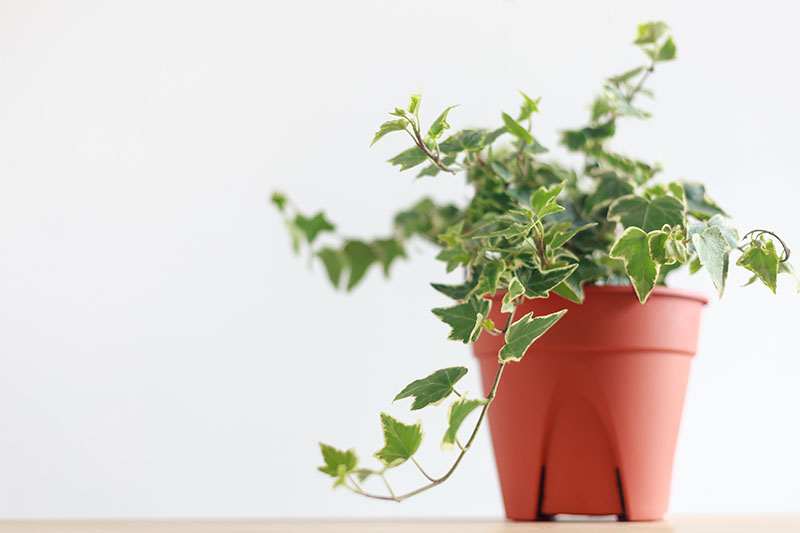
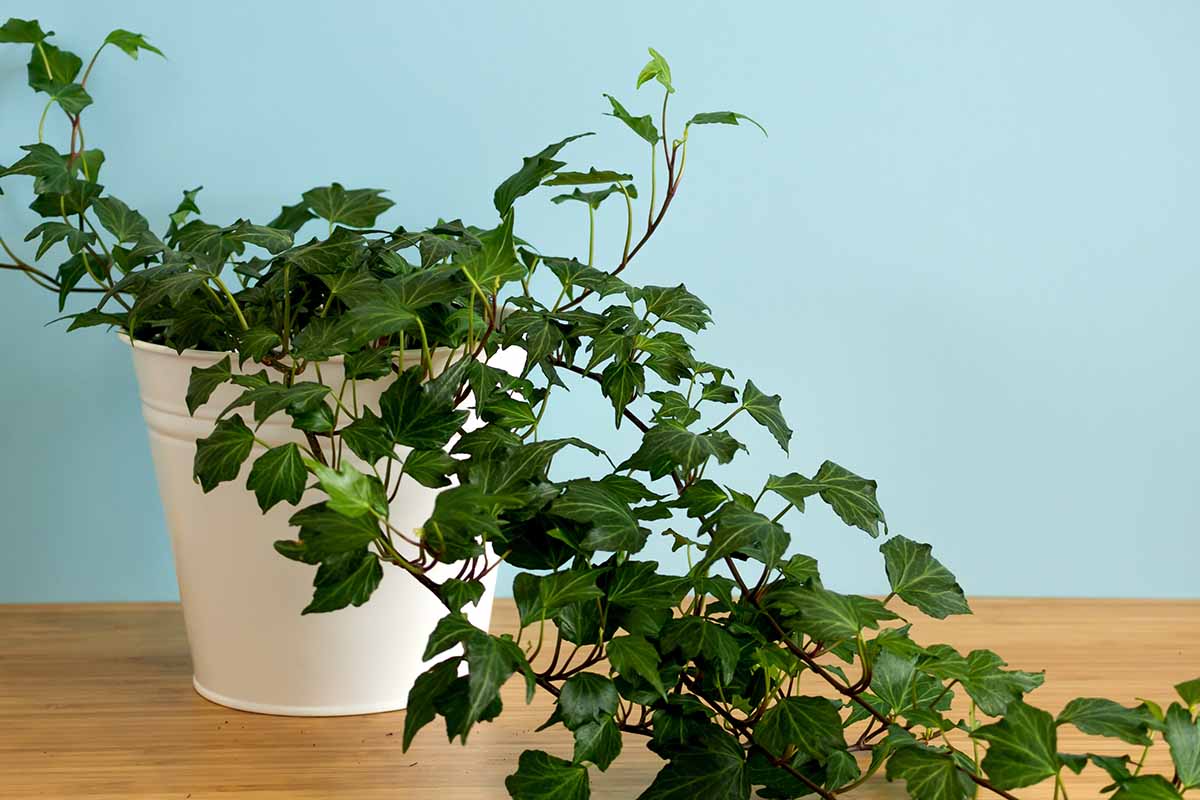
Ivy is as classic as they come. These hardy plants grow in a range of environments and locations, from the American continents to all of Europe and parts of Asia. Where they don’t grow naturally, they’ve been naturalized, and have even become invasive in some cases. They’re an intricate part of the history of people from around the world, and you’ll find these plants today crawling over fences, hills, and homes around the world. The ivies that you can grow as houseplants, usually cultivars of English ivy, aka Hedera helix, are the same thing that you might grow in your yard. In fact, you can take a cutting from the stuff that’s climbing all over the ground in your backyard and move it indoors. Ivy looks fantastic trained up a trellis or moss-covered pole, or allowed to trail down over the edge of a pot. You can grow it with other plants, or make it a solo star. One of the best things about growing ivy indoors rather than outside is that you don’t have to worry about it taking over your garden or damaging the roof of your house, like the stuff that’s growing outdoors can. In fact, ivy actually isn’t as tough indoors as it is outside. Many gardeners assume that because it is so relentless outside, it will do equally well inside. But most ivy species actually struggle to thrive indoors. They don’t like the dry air and constant temperatures. That means you need to give them a little extra care to help them do well. If you’ve ever cursed ivy’s prolific nature as you tried to rip it out of an unwelcome spot, it’s going to seem a little strange to have to baby it. But that’s what it takes to grow ivy indoors.
Propagation
If you’ve ever yanked out some unwelcome ivy from your yard, you know this stuff isn’t difficult to propagate.
From Seed
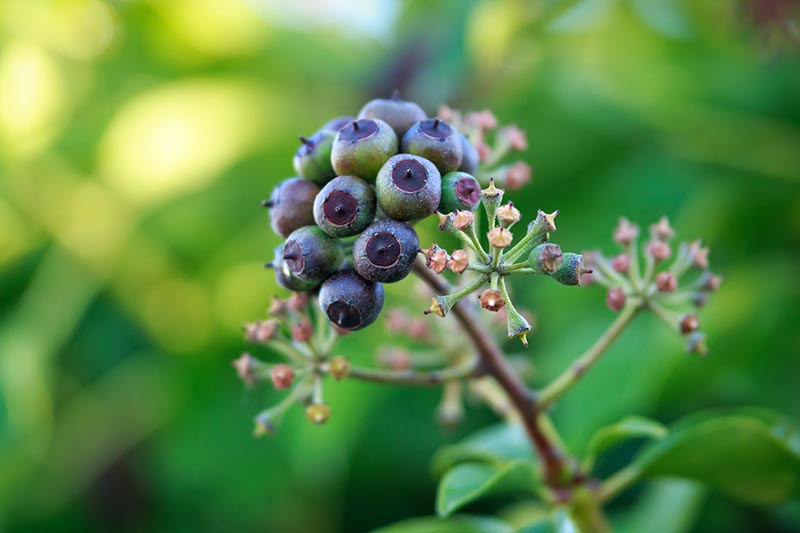
You know those dark berries you often see on ivy plants? Those contain the seeds. You can propagate ivy from seed, though you should keep in mind that seeds from hybrids won’t grow true. It’s best to purchase your seeds from a reputable seller, so you can be sure of what you’ve got. You need to plan ahead to propagate this way, because the seeds require several months of cold stratification. That means placing them in moist sand in a resealable container, and putting it in the back corner of your refrigerator. Check it now and then to make sure the sand stays moist. After two months, remove the seeds and soak them overnight in water. Finally, fill a seed tray with a soilless seed starting mix. Press each seed into the surface of the medium, spaced about six inches apart. Don’t cover the seeds with the medium, just make sure each one makes good contact. Moisten the medium with water from a spray bottle and place the tray in an area with bright, indirect light. Keep the soil moist so that it feels like a well-wrung-out sponge, and pick up a book on practicing the art of patience, because you’re going to need a healthy dose – learning bonsai can help! You should see sprouts emerging after about eight weeks. Yay! Your hard work paid off; give yourself a pat on the back. Once the seedlings have two or three leaves each, you can transplant them into their new home.
From Cuttings
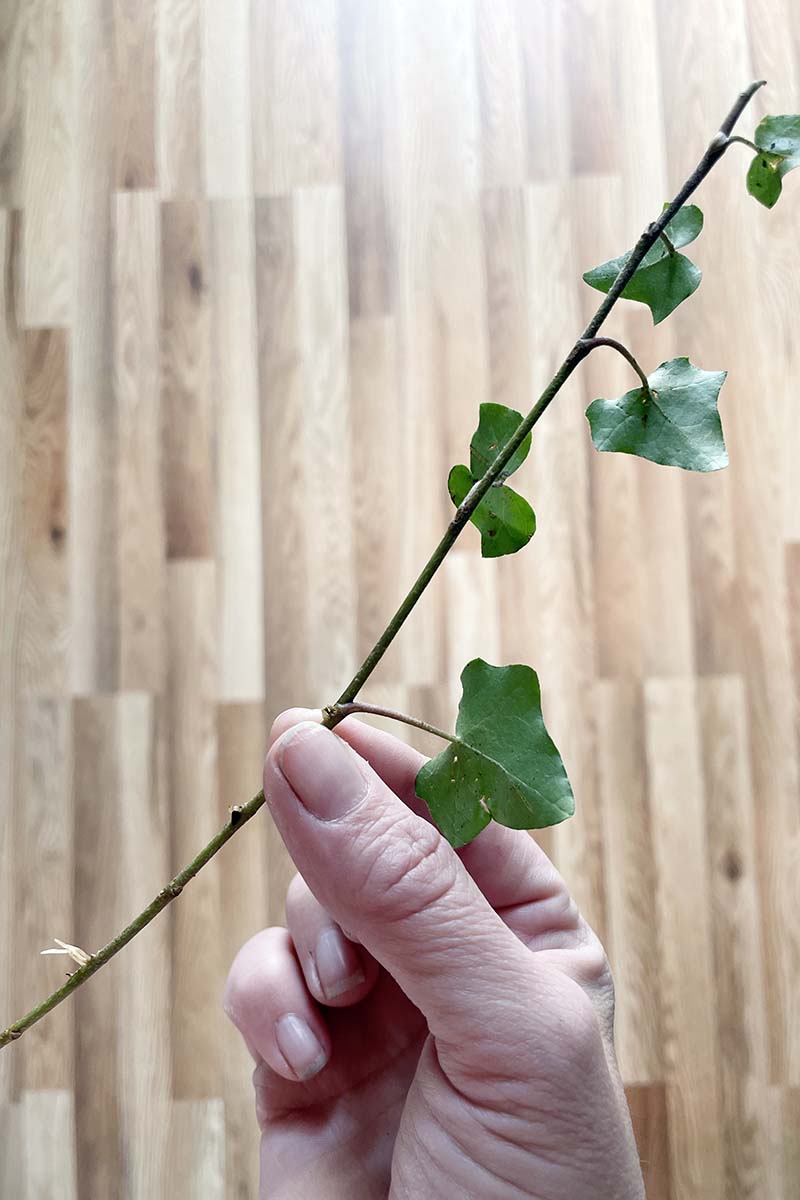
You can take a cutting from an outdoor plant, or one that’s already growing indoors. The process is the same either way. Select a healthy-looking stem with at least four leaves. If you can find a stem with little rooty bits (known as adventitious roots), even better. Cut above a leaf, and strip the leaves off the lower half. Snip the end at a 45-degree angle, and dip it in rooting hormone powder. Place the cutting in potting soil in a pot or seeding container that’s at least four inches wide. Water well, and keep the soil moist so that it feels like a well-wrung-out sponge. Place it in an area where it will receive bright indirect light, but no direct light. Ivy can be a little slow to start growing, but after a month or so, you may see new leaves forming. Even if you don’t, give the cutting a gentle tug. If it resists, it’s ready to transplant.
From Layering
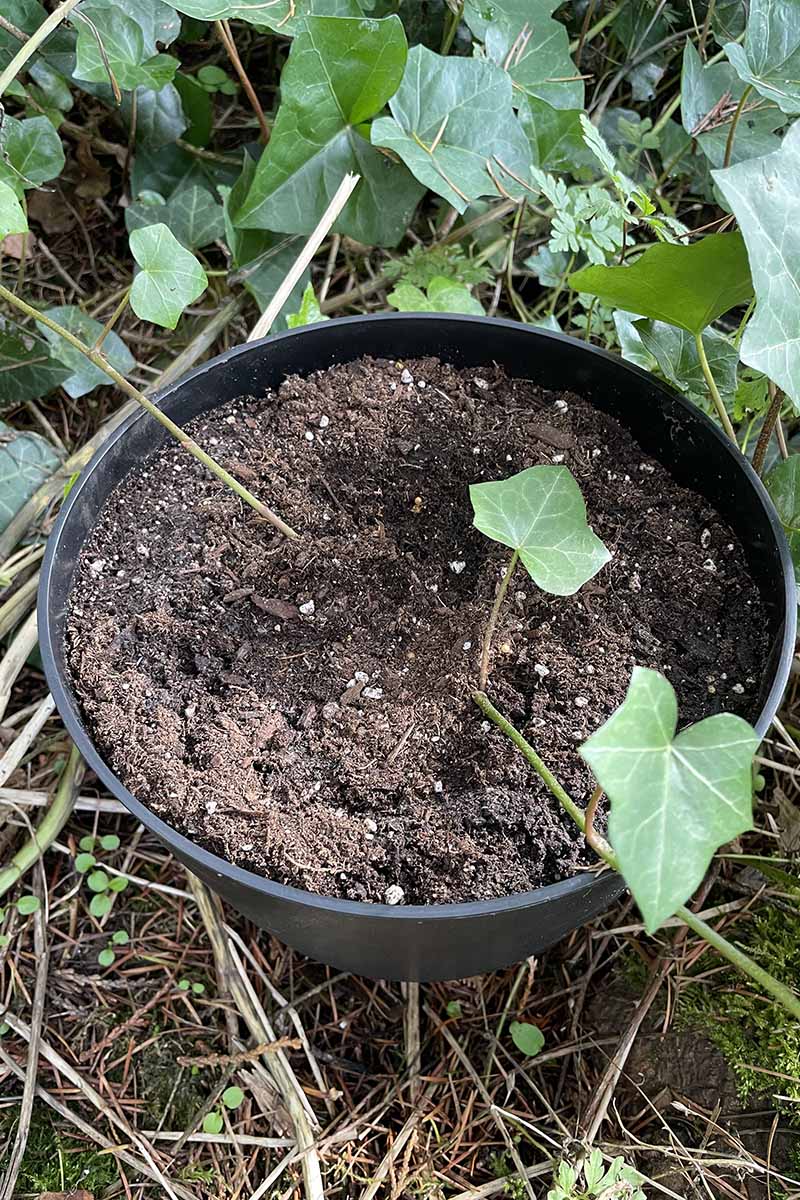
I love layering. It’s so easy, and because the new plant stays attached to the parent plant while the roots are developing, you have much less of a chance of killing your little plantlet before it can start growing. This can be done indoors or out, and it often happens completely by accident. If you happen upon a section that formed its own little cluster of roots, go ahead and snip it away from the parent plant and plant it. Mission accomplished! To layer indoors, place a small container filled with potting mix next to your existing ivy, and pull a stem over the new pot. Outdoors, just pull the stem onto the ground next to the parent plant. If you really want to make things easy on yourself, use the pot you intend to grow your new start in, and layer the outdoor plant onto that. Bury a section of the ivy stem about a quarter-inch deep. You may need to strip away some leaves and hold the stem down with a stake or rock. Then, keep the soil moist but not wet, and wait for roots to form. You’ll know this has happened if you gently tug the buried section and it won’t pop out of the soil easily. Snip away the stem on the side closest to the mother plant. Now you have a transplant! Pot it up and watch it grow. If you went the really easy route, all you need to do is snip the new plant free before potting.
From Seedlings/Transplanting
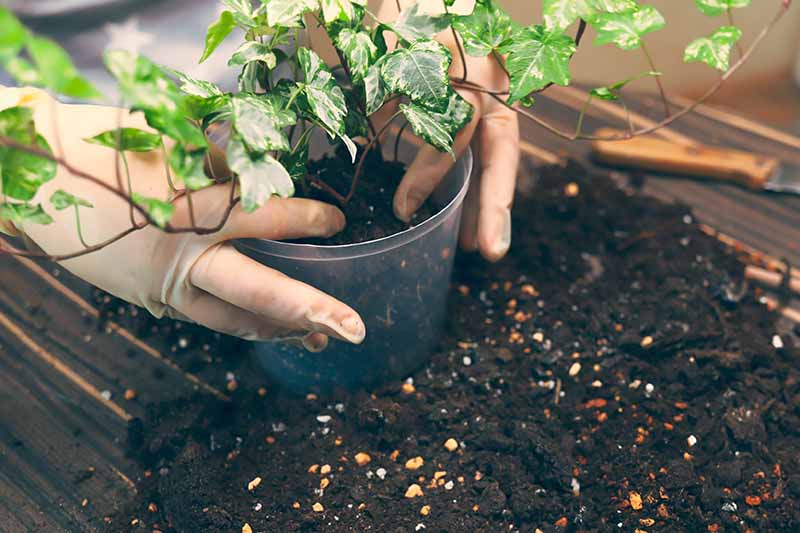
The easiest method, and the best one to help ensure that your plant will survive indoors, is to buy a seedling or small plant at a nursery. While you can purchase ones that are meant for outdoor growing, you’ll have better luck if you buy one that is intended for use as a houseplant. Gently remove your new friend from its container and brush away the existing soil. You don’t need to brush away all of it, you just want to be able to gently tease out the roots so they aren’t bound together. Plant into a pot that is at least one size larger, seated at the same level that it was growing in its original home. Fill in around the root ball with fresh potting soil.
How to Grow
Water when the top of the soil dries out. Ivy likes moist but not wet soil, so your goal should be to water deeply so that water comes out of the pot’s drainage holes. After a few hours, the soil should feel like a well-wrung-out sponge. Let the top inch dry out a bit before adding more water. Place your ivy in a spot where it will receive lots of indirect light, or weak direct light. A location near a north or east-facing window is perfect, though this is one houseplant that is happy to grow in the light of a fluorescent bulb too.
Growing Tips
Water when the top inch of soil has dried out.Place in bright, indirect light.If your location has deep shade, provide fluorescent lighting.
Pruning and Maintenance
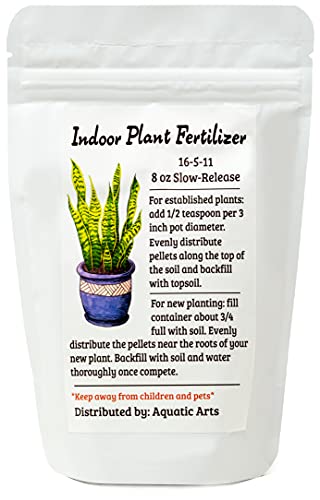
If you truly want your ivy to thrive, place it outdoors in the shade for as much of the spring and fall as possible. Your plant will look and be so much healthier than it might if kept indoors year-round. Don’t go chucking it outside at the first sign of good weather. Wait until the last predicted frost date has passed, keep an eye on the weather forecast, and bring your ivy outdoors for an hour on the first day. Add an hour per day for a week. After that, you can leave your plant outside full-time. Plan to bring it in when temperatures regularly climb above 90°F, though you can leave your ivy outside and it will be fine. In the fall, bring your plant inside before the first freeze arrives. You don’t necessarily need to prune indoor ivy, but feel free to do it any time, to create a nice shape. Mist your plants once a day, if possible, or place them on a pebble tray or in a group with other houseplants to raise the humidity level. This is particularly important during the dry winter months. You should also wash your plants once a month. I know this might sound strange, but it will go a long way towards making your ivy happy. This process removes dirt or dust that might clog the pores in the leaves, and it knocks loose any pests that are trying to gain a foothold. You can dunk the foliage in a bucket or sink filled with water, or spray it using a spray faucet. Other signs that it’s time to give your ivy a new home are soil that dries out rapidly, or if the plant is looking decidedly top-heavy. Aquatic Arts Indoor Plant Food Keep an eye on the condition of the soil. Once you start to see roots circling the perimeter of the container, or roots emerging from the drainage holes, that’s a sign you need to repot. To do so, lightly water the soil and let it sit for an hour. Then remove the ivy and knock away as much of the old soil as possible. Use a pencil or chopstick to loosen up the root ball. Replant in a container one size up, and fill in around the roots with fresh potting soil. Water well.
Cultivars to Select
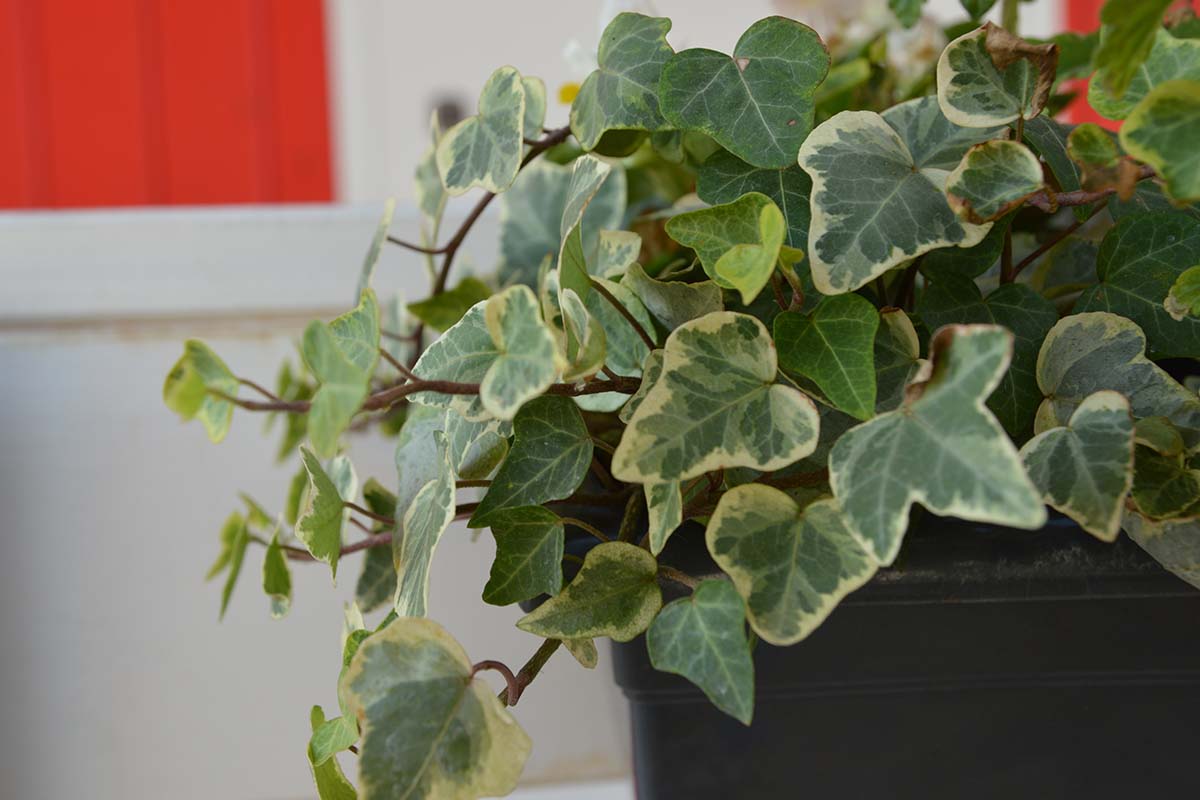
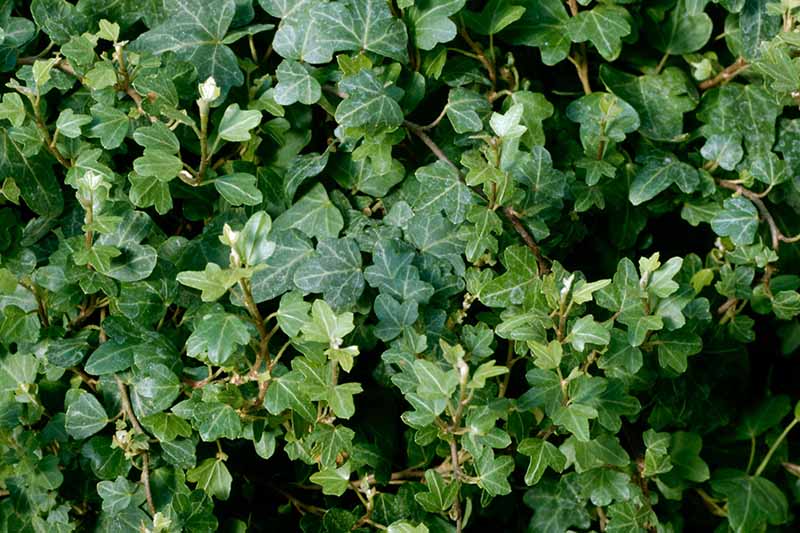
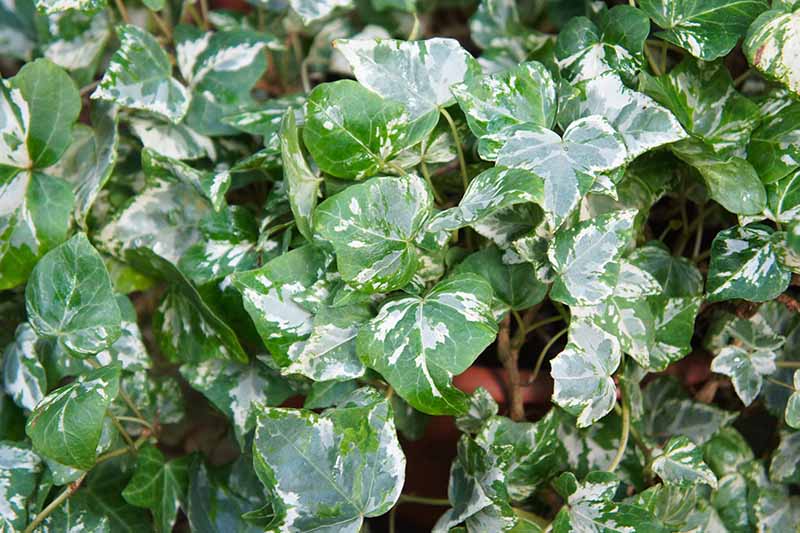
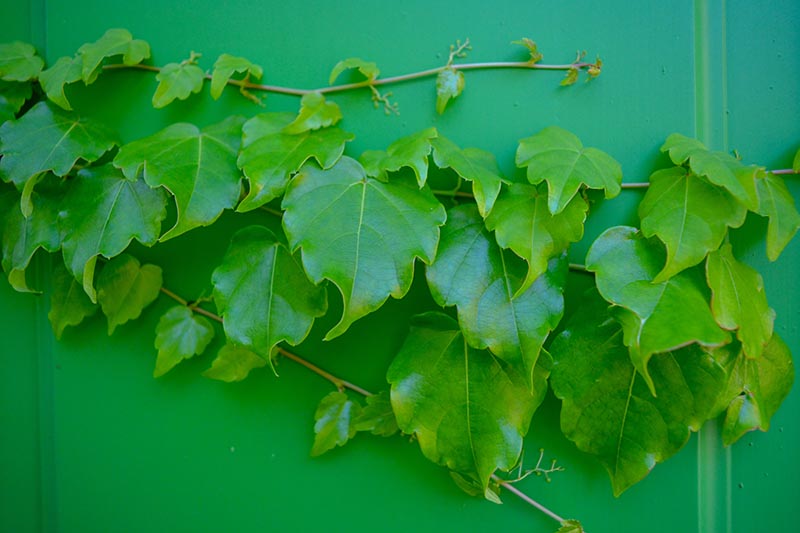
Be aware that if you select a variety of ivy with five-lobed leaves, it won’t stay that way. Most English ivy cultivars produce juvenile leaves with five lobes, but these leaves take on the familiar heart shape of their adult form as they age. Also, know that your houseplant won’t bloom or produce berries like ivy does when it’s planted outside. While H. helix is the most common, you might see H. canariensis (aka H. algeriensis) or Persian ivy (H. colchica) as well.
Big Shot
‘Big Shot’ stays extremely petite, rarely growing beyond nine inches tall indoors. Green English Ivy You can find green H. helix in a ten-inch decorative metal urn available from Terrain. Terrain also carries variegated English ivy in the same decorative metal urn. Variegated English Ivy If you want an H. helix cultivar, there are many options available that are perfect for indoor life. Here are a few favorites: The leaves are heavily mottled with light yellow splotches.
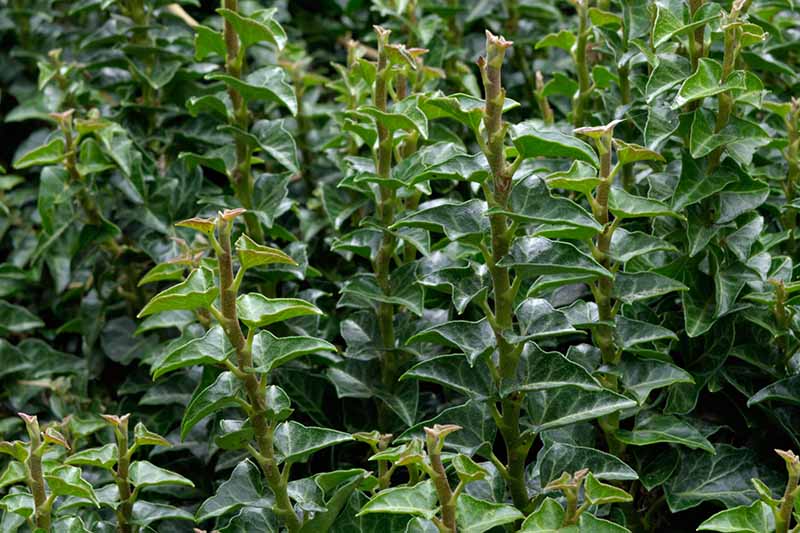
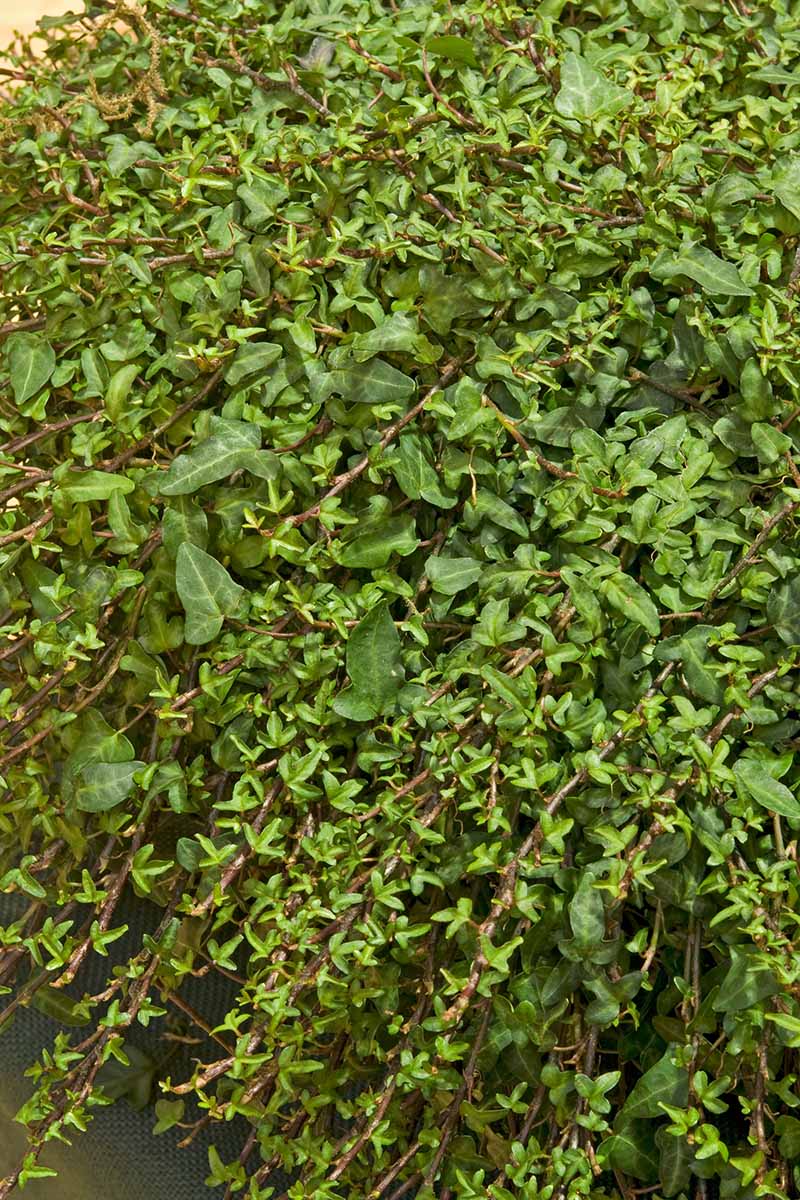
Conglomerata Erecta
‘Conglomerata Erecta’ is incredibly dense. No sparse growth indoors for this one! It has an upright growth habit instead of vining, and it’s not overly aggressive. It stays contained in an indoor environment, and doesn’t exceed more than a foot tall indoors. All of this combines to make this cultivar an ideal houseplant option.
Duckfoot
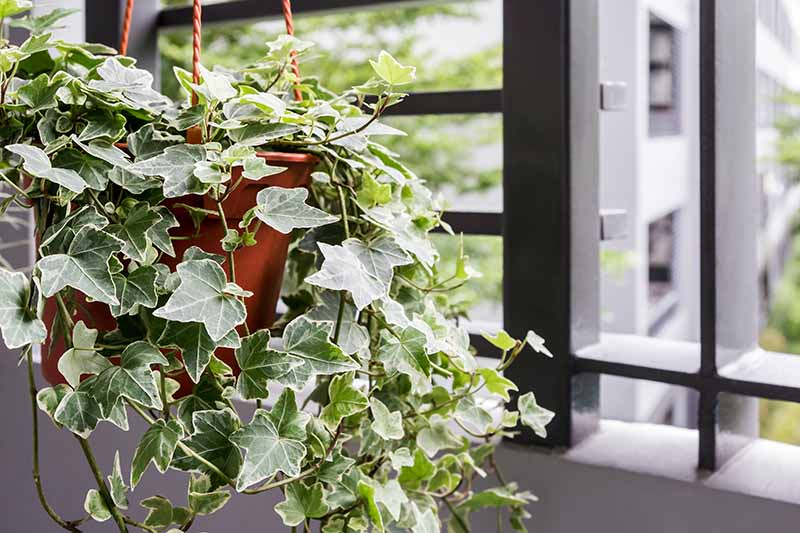
This cultivar was dubbed ‘Duckfoot’ because the leaves have a distinctly duck-foot-like shape, with three lobes. But the appeal of this variety doesn’t stop there! The leaves also have bright yellow veins that add color and texture. Perfect for a hanging basket, this variety rarely grows taller than 18 inches indoors, and it will trail as much as you let it.
Kolibri
‘Kolibri’ has magnificent mottled gray-green leaves with specks of cream. This cultivar tends to have a semi-erect habit which, coupled with its petite leaves, is ideal for a hanging container. You’ll often see this one sold as an indoor option in nurseries because it stays under 24 inches tall and doesn’t mind the dry, consistent conditions of the home, as opposed to outdoor environments that are more variable.
Shamrock
‘Shamrock’ is basically a miniature house-friendly version of the common type that you so often see growing wild over fences and up abandoned structures. With a mounding growth habit, height of up to 12 inches, and three distinct lobes on the leaves, it has a standout shape. Plus, it doesn’t mind indoor conditions. The leaves are deep green with lighter veins. This one is so special that the American Ivy Society picked it as their “Ivy of the Year” in 2007 – understandably, if you ask me!
Spetchley
‘Spletchley’ is a bit more difficult to find than other H. helix cultivars, but it’s worth the search. Sometimes called gnome ivy, this cultivar has petite leaves with a dark green outline. It tends to appear lighter in shadier environments, but that doesn’t make it any less beautiful. Low-growing, this variety stays under a foot tall, so it’s perfect as an accent for a more upright plant or as a hanging container option.
Tussie Mussie
If you want an H. helix cultivar with foliage that’s a bit more delicate and intricate, ‘Tussie Mussie’ is worth a look. A sport of the perennial favorite ‘Shamrock,’ it features mottled yellow, cream, green, and white foliage. As with other popular houseplant options, it has a mounding rather than vining growth habit that tops out at 18 inches.
Managing Pests and Disease
Most houseplants are commonly attacked by the same variety of insects, and English ivy is no exception. In fact, ivy is much more prone to pests and diseases indoors than the stuff growing in your yard will tend to be.
Insects
One of the nicest things about growing houseplants is that you generally know ahead of time what pests to expect, and they are fairly easy to deal with.
Aphids
If you can find a houseplant that aphids don’t care about, please let me know. Even so-called “aphid-resistant” plants like chives may be infested by these sap-sucking jerks. No bother, once you know how to handle the situation, aphids are rarely more than a temporary nuisance in the case of ivy. You’ll usually see yellow stippling if aphids are sucking on your plants, or stunted growth or dry leaves may appear in a worst-case scenario. Examine your plant closely and you’ll likely see tiny green, yellow, orange, peach, or brown bugs. Usually, it’s the green peach aphid (Myzus persicae) that visits houseplants. First, the easiest way to deal is to put your ivy in the shower or tub, and spray the foliage and stems to knock the pests loose. If you keep your plant isolated and do this once a week for a few weeks, you can usually eliminate the problem.
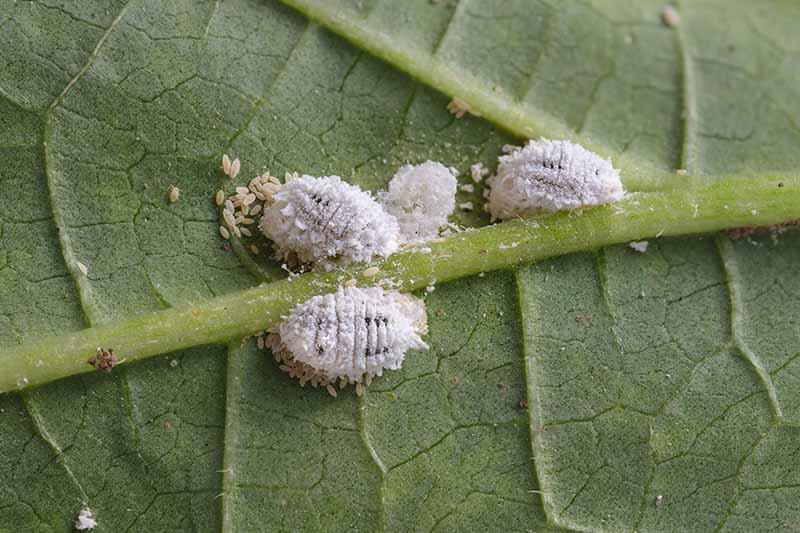
Mealybugs
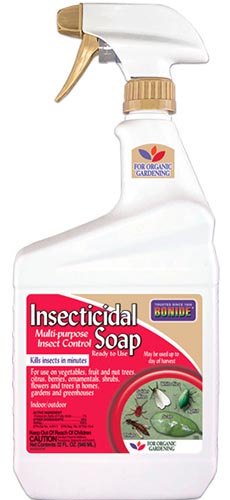
If you see clusters of white fuzz on the foliage, don’t assume it’s a fungal issue. Mealybugs, from the family Pseudococcidae, are sap-sucking insects that are covered in a white, waxy, cottony growth. Bonide Insecticidal Soap If you want to grow healthy houseplants, a treatment spray is going to be your best friend. If you need to pick some up, head to Arbico Organics for a 12- or 32-ounce ready-to-use spray bottle of Bonide insecticidal soap. They don’t move very quickly, so if you check out your plant as you walk by, you might not notice that they’re even alive! You really have to get up close and personal to see that they’re insects rather than a sign of disease. You’ll usually see distorted leaves, stunted growth, or even brown and dry foliage if your plants are infested with these little pests. To control them, wipe affected leaves with a cotton swab dipped in rubbing alcohol.
Scale
Brown scale (Coccus hesperidum) frequently impacts houseplants, though ivy is less bothered than many other plants. Bonide Neem Oil Neem oil and insecticidal soap can help, too. You can find neem oil online, available from Arbico Organics. Symptoms of an infestation are very similar to those caused by mealybugs, but when you examine the plant closely, you’ll see flat brown lumps on the leaves or stems. Again, this isn’t a disease, it’s an insect that may not appear to be a pest at first. As with mealybugs, you can wipe them with rubbing alcohol, but a larger infestation takes more work. Treat with an insecticidal soap in the same way you would for aphids. Learn more about scale in our guide.
Spider Mites
Beyond aphids, this is one of the most common pest problems with indoor ivy. Spider mites are hard to see with the naked eye, but the fine webs that they leave behind aren’t. If you see fine webbing on the leaves or stems of your plant, take action right away to prevent the problem from becoming much more serious. You can treat spider mites the same way you would aphids, meaning you should spray the branches and leaves with water to knock the pests loose, or treat with insecticidal soap or neem oil. (I told you these would come in handy!)
Disease
Pests are far more likely to be a problem than diseases, but that doesn’t mean bothersome infections can’t happen.
Leaf Spot
Leaf spot is most common on outdoor plants or those growing in a greenhouse, but it isn’t entirely unheard of indoors. You can actually infect your plants by using tools outdoors and then using them again on your indoor plants without sanitizing them first. Even your gardening gloves can carry this disease, which is caused by the bacterium Xanthomonas campestris pv. hederae, or the fungus Colletotrichum trichellum. Symptoms include dark splotches that are water-soaked and necrotic. These expand as the disease progresses, and the centers may fall out, leaving ragged holes behind. You may or may not see a yellow halo around the spots. If you want to avoid this problem in the first place, always clean your gardening equipment after using it outside. You should also water at the soil level and never on the foliage, since water can transmit the pathogens from one leaf to another. Even better, use the bottom watering technique to hydrate your ivy.
Root Rot
Root rot is another issue that tends to be more common outdoors or in greenhouses, but it can happen indoors, too. Bonide Liquid Copper Fungicide Bonide Liquid Copper Fungicide comes in a variety of formulations and package sizes, depending on your needs. Grab some from Arbico Organics. Spray your ivy every ten days for as long as symptoms are present. You’ll want to move your plant to an isolated area where you can easily clean off any overspray, such as a shower or sink. Caused by water molds (oomycetes) in the Phytophthora genus, it shows up as necrotic black spots on the young growing tips of new leaves. Later, the entire plant may start to wilt and the leaves may turn brown and die. Reduce the amount of water you’re giving your ivy and be sure to water at the soil level, or bottom water. Treat with a copper fungicide in the same way you would treat leaf spot. We’d love to hear about whichever cultivar or hybrid you end up with. Come back and share your photos and stories in the comments section below! If your ivy is looking a little lonely without some additional houseplant pals, check out these guides next:
How to Grow and Care for Rubber TreesTips for Growing Fuchsia as HouseplantsHow to Grow and Care for Spiderwort