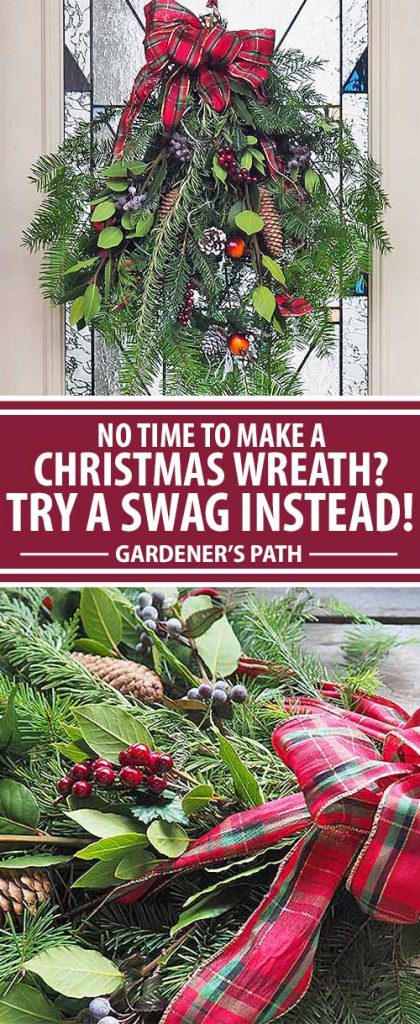
But they’re also time consuming to create. And you need to practice your technique first before you’ll get a symmetrical shape suitable for display. So, if you don’t have the spare time for extensive craft sessions, try a swag instead. Loosely structured with a free form, a swag can be completed in well under 30 minutes! We link to vendors to help you find relevant products. If you buy from one of our links, we may earn a commission.
Baubles, Boughs, and Tools
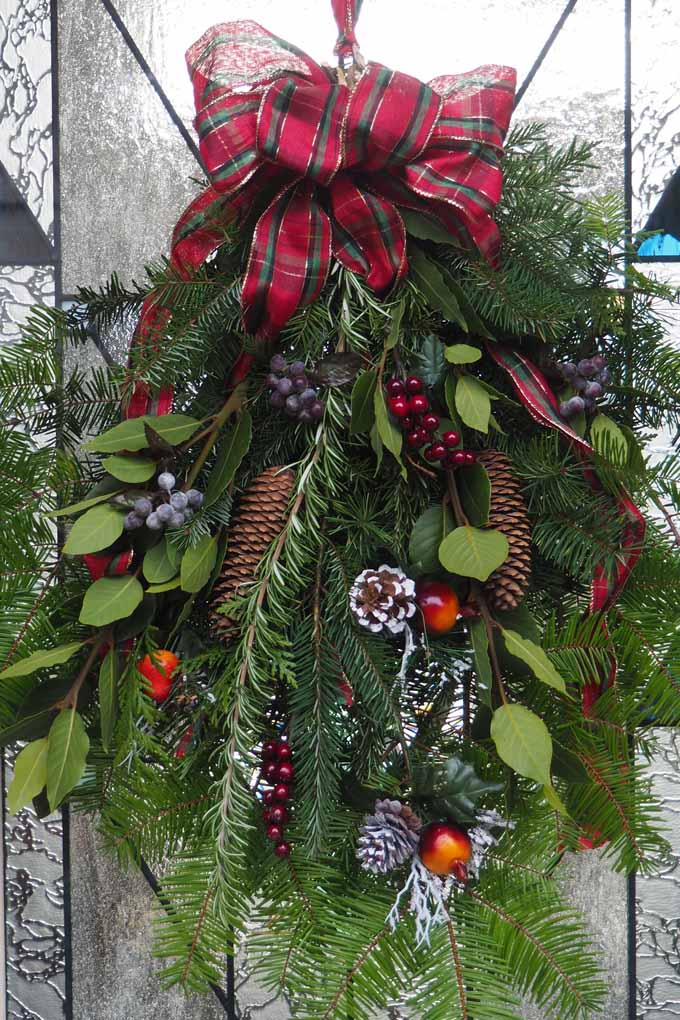
A variety of fresh evergreen boughs, with or without pinecones attached – pine, spruce, cedar, yew, hemlock, fir, and so on. Fresh accent pieces with seasonal interest such as cotoneaster, heavenly bamboo berries (Nandina domestica), or common holly. Fake berries and fruit work too – due to this summer’s drought and watering restrictions, the berries on our holly bush are sparse, so I’ve gone synthetic this year!
A selection of pinecones. Baubles, bells, and other ornaments. Two 5-foot sections of 2-inch-wide ribbon, organza or stiffened with wire at the edges. A wreath hanger, or one more 5-foot section of ribbon.
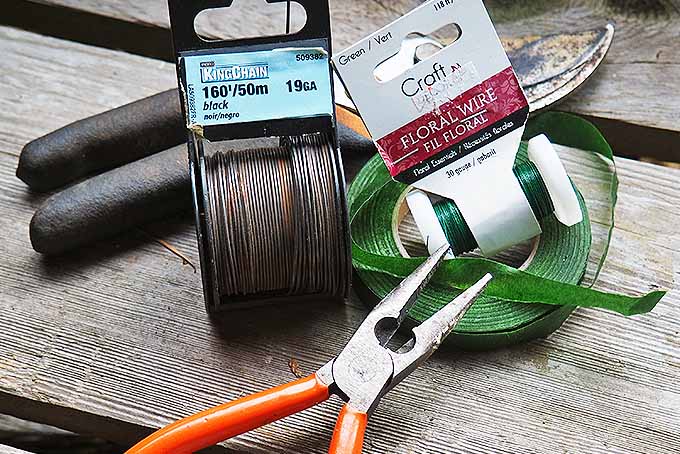
Light to medium-sized paddle wire, around 20 gauge. Light florist’s wire, about 30 gauge. Pliers with a wire cutter. Pruning shears.
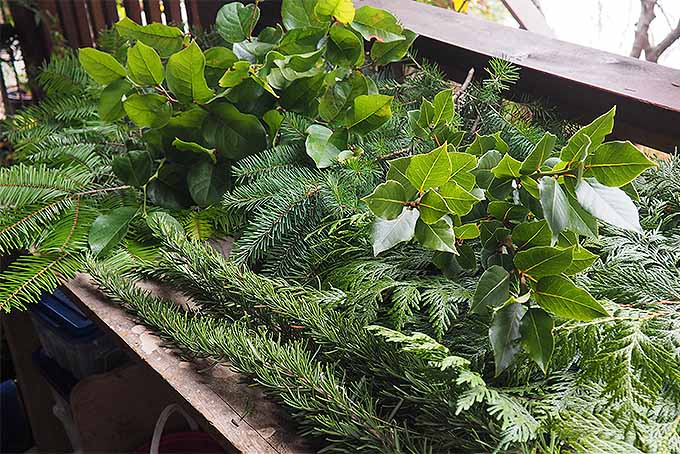
Step 1 – Get Organized
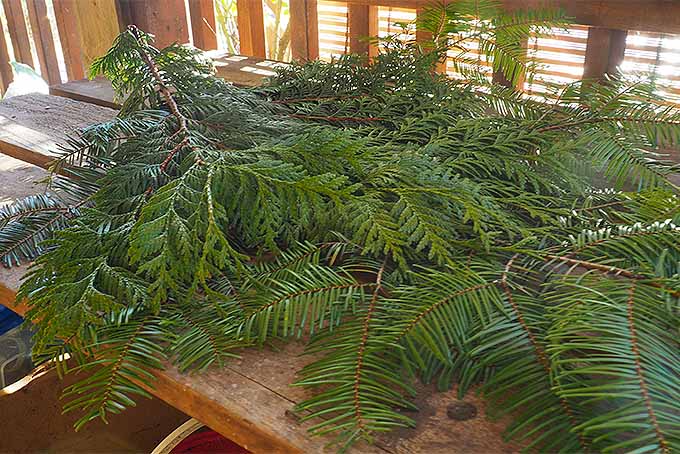
With your pruning shears, cut a selection of evergreen boughs and accent pieces, then gather your tools, supplies, and ornaments.
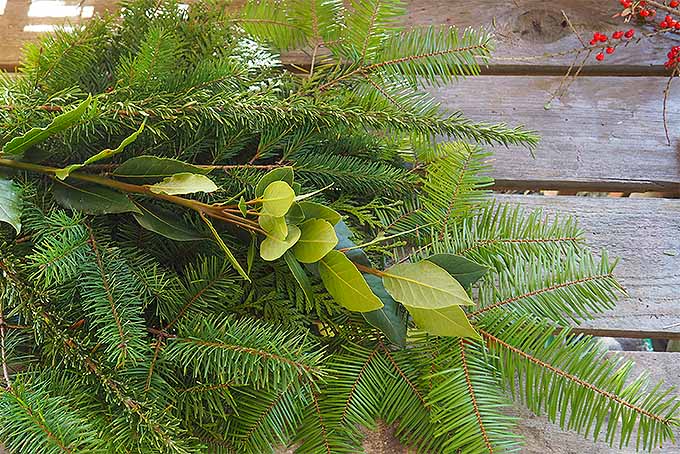
Step 2 – Choose Your Arrangement
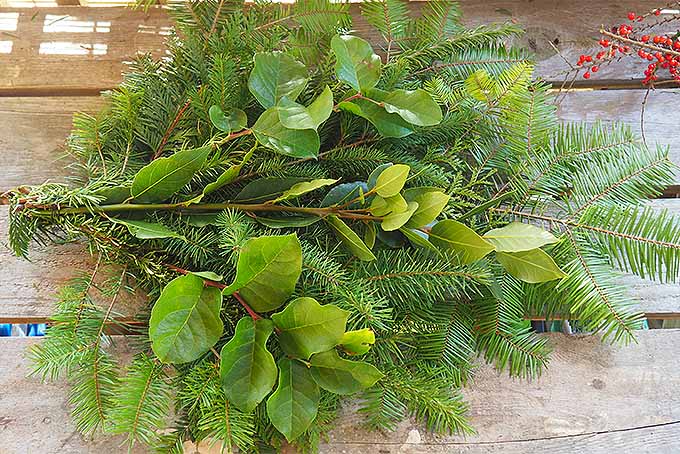
Trim off any dead or brown bits from the boughs, and shape lightly if needed. Use any shape you like – but teardrop, oblong, and rectangular are more visually appealing for a standard door than short, boxy arrangements. Lay out the boughs on your work surface and arrange the pieces until you find an attractive pattern. Starting with the bottom layer, use a long bough with a flat form, such as cedar, cypress, hemlock, or Grand fir. Add another layer of slightly shorter boughs with a fuller form, like Fraser or Noble fir. Add a third top layer of decorative branches such as rosemary, bay laurel, holly, or salal (Gaultheria shallon).
Step 3 – Fasten the Boughs
Step 6 – Hang and Display
Slip the third length of ribbon through the loop. Start at the back of your bough bundle and wrap the wire tightly three or four times around all the stems, finishing at the back. Form a loop about two inches long, then twist the two ends together. Cut away any excess wire, then bend the cut edge down and in towards the stems.
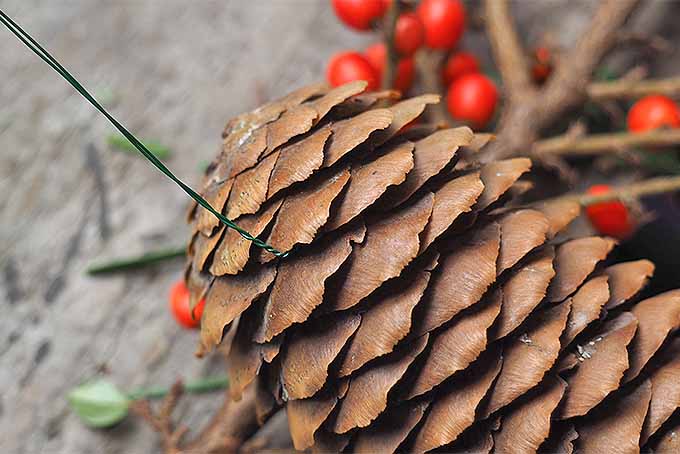
Step 4 – Add the Accents
A smaller gauge of green wire is perfect for adding attractive accent pieces. Using the smaller florist’s wire, arrange and attach the pinecones, sprigs of berries, and any decorative pieces you want to use.
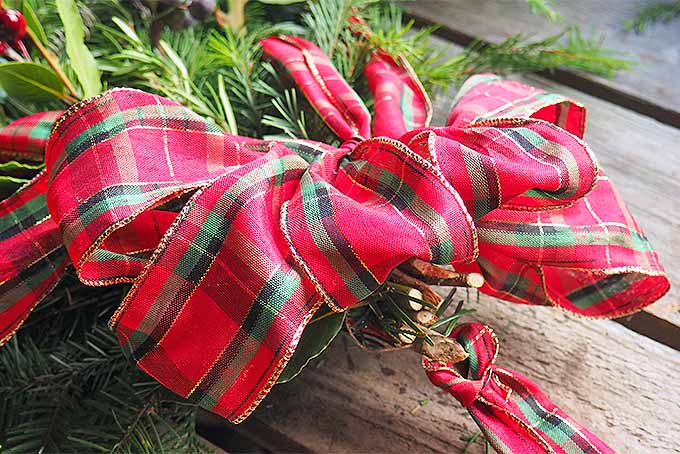
Step 5 – Tie a Big Bow
Using the two 5-foot lengths of stiff ribbon, wrap the tops of the boughs a couple of times, hiding the wire but leaving the loop exposed. Tie a big generous bow and arrange the loops, then weave the ribbon tails in and out of the greenery so that it peeks out here and there.
Hang from a wreath hanger, or place the ribbon over the top edge of your door and secure on the inside with a hanger. Or, tape to the top of the door with strong tape, such as duct tape.
Take A Bough
That’s it – you’re done! Remember to start with a flat bough for the bottom layer so your swag rests flat against your door. And make sure to use a stiff ribbon so the bow will hold its shape.
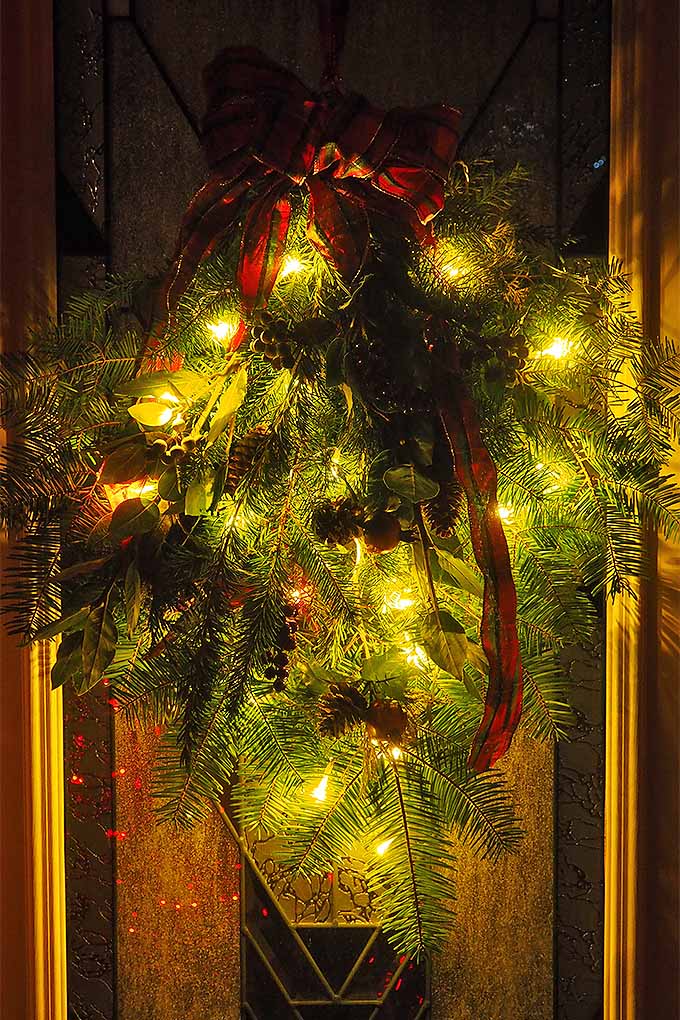
Add shorter branches, then your decorative pieces, and finish off with an elegant bow and your holiday door will look gorgeous for the entire holiday season. If you like, a string of lights also makes a nice touch at night. If you have a lot of surplus material when you’re finished, make another swag or two for your yard, or arrange evergreen bits in vases or containers around the home – the fragrance is heavenly! These also make nice gifts for friends and neighbors.
And for more fun holiday projects, be sure to check out our Christmas centerpiece design and tutorial.