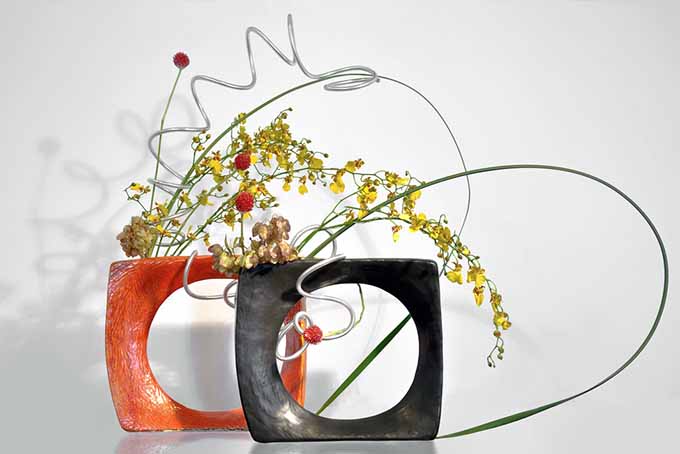
With a few tips, you’ll be on your way to crafting centerpieces for your home, and thoughtful gifts to give to friends and loved ones. The art of floral arranging is an ancient and fascinating one. From the elegant simplicity of Japanese Ikebana to lush European designs, the sky’s the limit when it comes to expressing your creativity with nature’s bounty.
Define a Theme
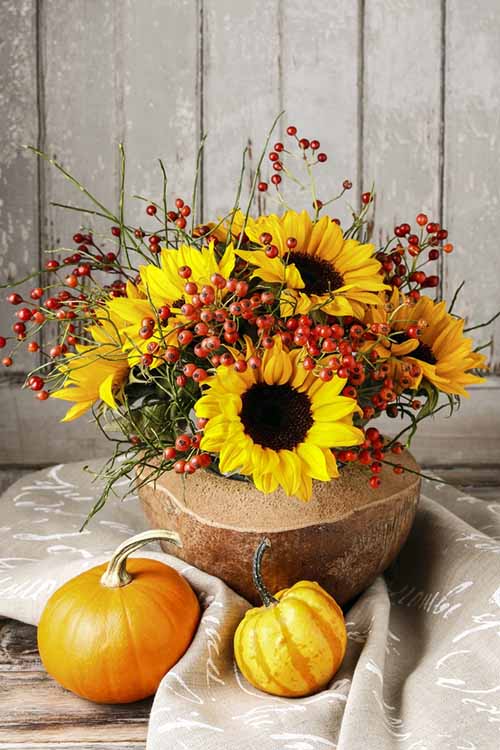
Take a walk through your garden and see what’s there from which to choose. Do you have some nice leafy branches, English ivy, budding roses? Or are there mums, bittersweet, and mini pumpkins? Choose a decorative container that will reflect two things: the season, and the atmosphere you wish to create. Maybe your mom is coming over for tea. How about some rosebuds and ferns, in a cute teacup on a saucer? Are the kids having a Halloween party? How about carving out a pumpkin, lining it with plastic, and filling it with sunflowers and berries? Containers can be as rustic as a tin bucket, or as elegant as a crystal vase. Use your imagination!
Flower Arranging 101
A common artistic style includes greenery, focal flowers, and filler flowers.
Greenery
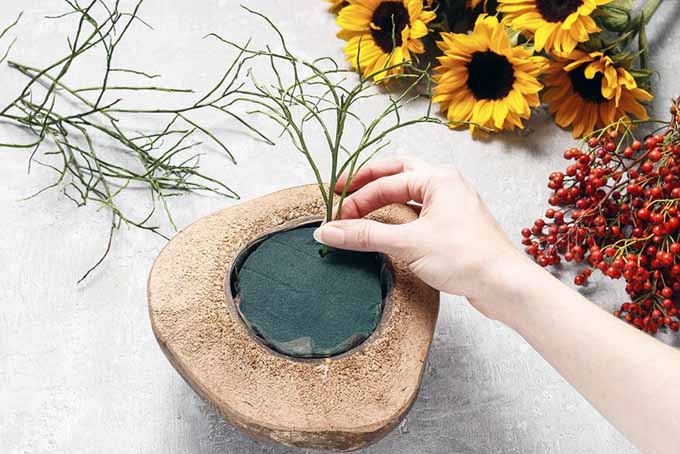
Greenery refers to plant material like ferns, ivy, ornamental grasses, and branches. This goes into your container first, to act as a supporting structure for the flowers you will then add.
Focal Flowers
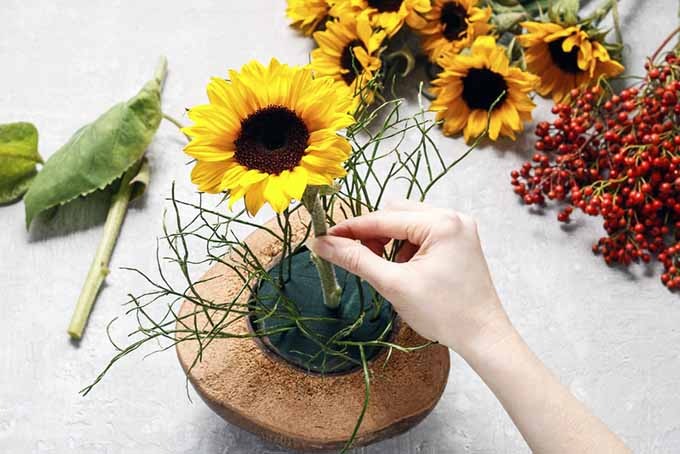
Focal flowers are the largest, showiest flowers in your vase. These are the highlights of your garden.
Filler Flowers
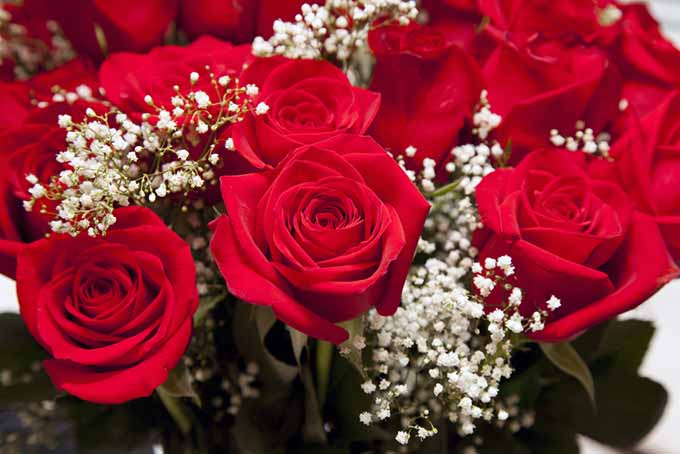
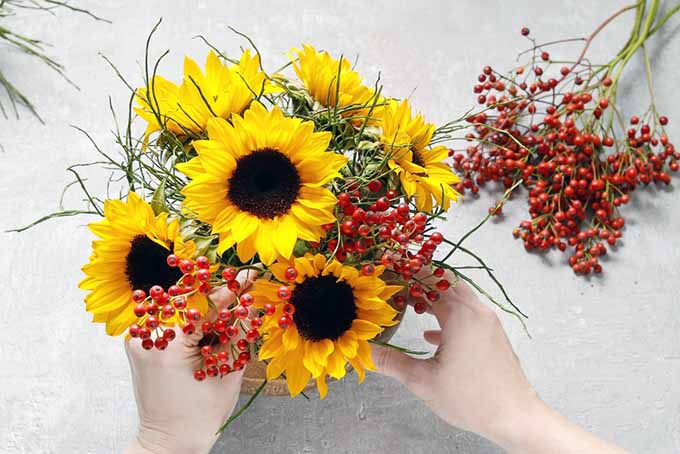
Filler flowers are smaller. Place them decoratively among the larger flowers. Varieties like limonium, statice, or gypsophilia (baby’s breath), are light and airy, and serve to fill the gaps between the greens and focal flowers with a lacy accent.
Choosing a Container
Any vessel that can hold water is a candidate for a fabulous floral display. And once you’ve chosen one, ask yourself two simple questions:
Clear and Vertical
If you answered clear and vertical, you’ll see stems beneath the water in a vase that will support flowers and leafy greens and branches well.
Clear and Horizontal
If you answered clear and horizontal, you’ll see stems beneath the water in a vase that probably won’t support your display without assistance. You’ll need a nifty little gadget called a “flower frog” or a “kenzan” to hold flowers in place. A flower frog is like a glass paperweight with indentations for stems. A kenzan is commonly used in Japanese pieces, and is a heavy metal weight with sharp spikes into which flowers are pressed to keep them stable.
Opaque and Vertical
If you answered opaque and vertical, you may do the same as above.
Opaque and Horizontal
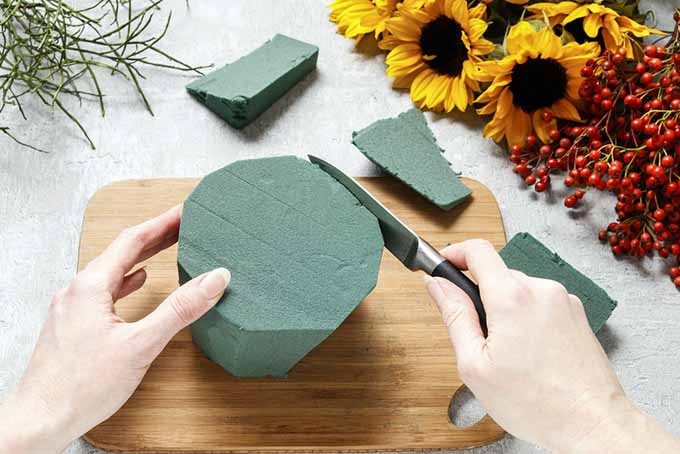
If you answered opaque and horizontal, you may do the same as above, or use water-absorbing foam bricks in the bottom of your container. After soaking according to manufacturer’s instructions, cut one or more of these spongy green blocks to fit, and push stems down into it for a stable and beautiful work of art. These are the basics, and they provide an excellent jumping off point from which to create your own masterpieces. There’s just one more thing I want to tell you: Less is more. Remember this, and your designs will be truly amazing. Now let’s get going!
Selecting Flowers and Greenery
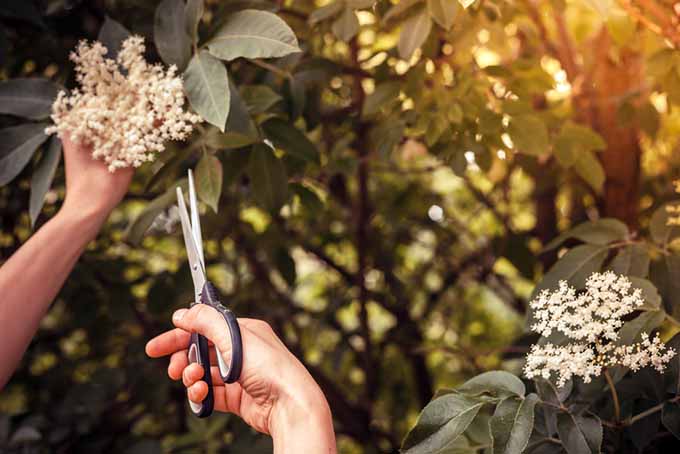
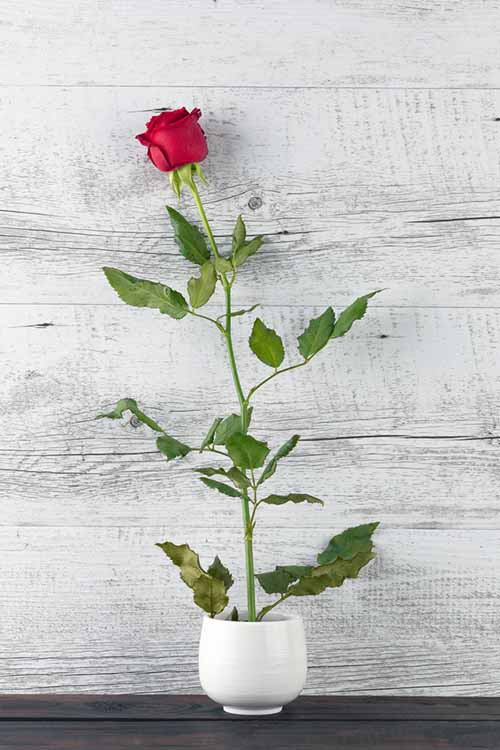
Grab your shears and a bucket with about four inches of water in the bottom. We’re heading out to the garden! Walk through your garden to find whichever type of flower is at its peak of beauty. This is the one you want to feature in your arrangement. If you discover several options, even better. In my garden right now, the early autumn Shasta daisies are just opening. These make a great focal flower, with their long, sturdy stems and hearty flower heads. Consider the size of your container and cut several focal flowers, with stems that are as long as possible on each. Cuts should be made at a 45° angle.. Gently remove any leaves and thorns from the bottom four inches of their stems, and place immediately into your bucket. Now choose your structural material. This can be sturdy greens like ferns, creeping vines, evergreens, and deciduous (i.e. leaf-dropping) tree branches. Choose one or several and cut several pieces, keeping the size and shape of your vase in mind. Cut stems at a 45° angle, strip the bottom four inches, and place in water. Look for interesting textures and colors that complement your focal flowers. Last, but definitely not least, choose another type of flower that won’t upstage your focal flower, but will fill in any gaps and complement the overall arrangement. Cut at a 45° angle, strip the bottom four inches, and place in your bucket.
Design Basics
It seems like there’s a rule for everything, doesn’t it? Again, I say use guidelines at first, and once you’ve gotten the hang of what you’re doing, please yourself. So, in addition to the basics of combining flowers and greenery, there’s a rule of thumb for how tall an arrangement should be in order to be pleasing to the eye. Measure the height of your container. Your plant material should be one and a half times to twice the height of the container, in order to achieve a sense of visual balance. That being said, try it and then let your inner artist experiment with bolder and more daring designs!
Easy as 1-2-3
Here’s an example for you to follow that’s so easy you won’t believe it! Foam bricks are fairly forgiving. If you place a stem into one and change your mind, gently remove the stem. Rinse and re-cut it under water, to be sure it drinks water and stays fresh.
Some Handy Tips
If you’re working in a vase without foam, you’ll need to trim more leaves off your stems. Water fouls quickly, so you don’t want any leaves standing under water where they will rot. Decide how much water you want in your container, and make sure to trim leaves above this mark. Also, backyard flowers don’t usually last as long as those from a florist that have been raised for longevity in a vase. Remember to keep foam moist by watering into the open corner of the container. Foam soaks up water from the bottom, so don’t just water the top of it. As for vases without foam, every day you should grasp your flowers in a bunch, remove from the water, snip bottoms on an angle under gently running tap water, and refill with fresh water and flower food. With proper watering, your fresh arrangement may last for up to two weeks.
Time to Get Creative
That’s enough to get you started! You can be as plain or fancy with your design as you want. The more you arrange, the more imaginative your designs will become. You might also try your hand at arranging dried flowers and greenery foraged from the garden at the end of the growing season, using dry foam blocks made for this purpose, and wired florist’s picks to reinforce delicate stems. Spray finished pieces with hairspray and dust gently with an electrostatic duster for everlasting treasures. If it’s glitz and glamour you’re after, try placing decorator stones in the bottom of your vases, adding some curly wire accents, or spraying branches in metallic shades of silver and gold. Floral arranging is a fun and functional hobby that I know you’re going to love! With just a little practice, you can bring the outside inside, and share the beauty of your creations with family and friends. Whether you’re decorating for a holiday, planning a party, or simply looking to freshen up your home with something bright and colorful from the garden, flower arranging is for you. What flowers have you arranged from your backyard garden? We’d love to hear from you in the comments below! © Ask the Experts, LLC. ALL RIGHTS RESERVED. See our TOS for more details. Uncredited photos: Shutterstock.
