Species plants achieve a mature stature of five to eight feet tall and wide. There are also compact cultivated varieties from which to choose. Native to the eastern shores of North America, I. glabra thrives in full sun with fertile soil. Deer and rabbits leave the bush alone, but bees are attracted to the nectar and pollen. Foraging birds feed on the late-season berry-like drupes, but please note that these fruits are toxic to both people and pets. We link to vendors to help you find relevant products. If you buy from one of our links, we may earn a commission. Here’s the lineup: Let’s get started.
1. Be Advised: It Takes Two
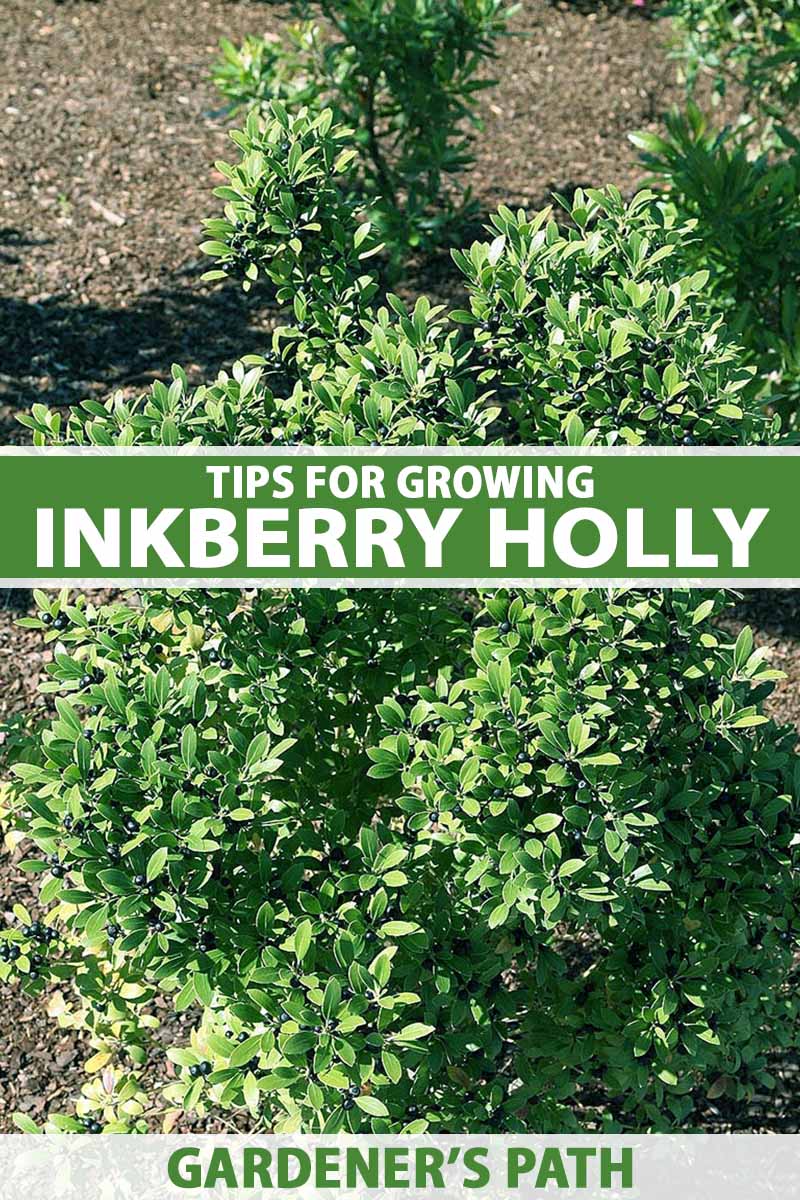
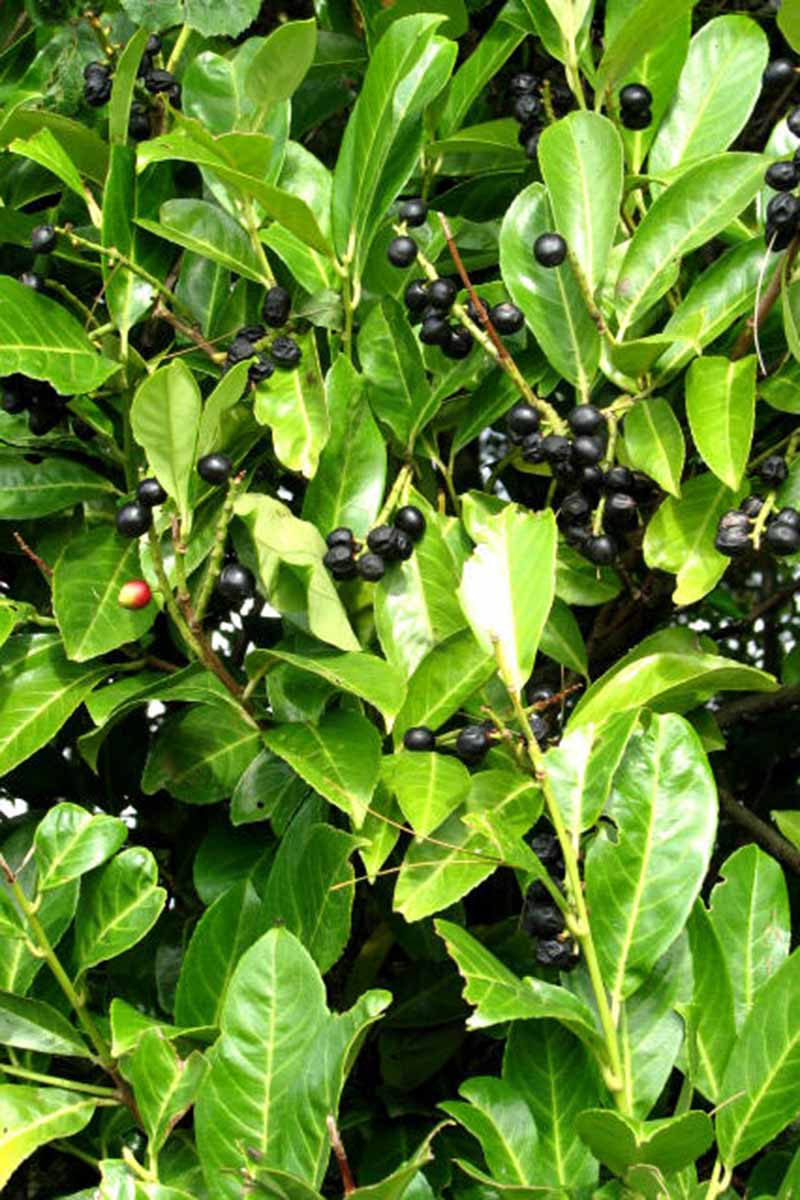
Ilex glabra is characterized not only by its evergreen foliage, but by little white spring blossoms, and blue-black berry-like drupes that adorn the bush from fall well into winter. This is a dioecious species, and both male and female plants produce flowers. However, only the female sets fruit, provided there is a male shrub in the vicinity to provide the pollen necessary for fertilization. The logical question I’m sure you’re thinking is, “How far apart should I plant them?” That’s a great question, and there’s not a definite answer. The closer you plant a male and female, the greater the chance of pollination. Also, the primary pollinators of these plants are bees, so if you have an abundance of flowers, the odds of producing fruit are even greater. And finally, since this is a native plant, it’s possible that a male may be growing near enough for pollinators to visit it and then come to your property. So, you may want to buy a female, give it a year or two, and if you don’t get fruit, seek out a male from a reputable nursery. They are not always easy to find.
2. Control the Suckers
No, I’m not being facetious. Suckers are shoots that grow randomly from a shrub, tree, or other woody plant’s roots. If they are not removed, you may end up with a “colony” of shrubs that sprouted from the first one. The species plant, as it appears in the wild, is prone to “suckering.” In addition, stressors like a lack of water or root damage from mowing equipment can make a plant more likely to sucker. As soon as you see sprouts growing under or near your shrub, pull them out and discard them, unless you want multiple hollies to grow. If they are uprooted with care, you may be able to transplant them. You can reduce the risk of suckering by purchasing a cultivated variety, rather than a straight species. You’ll read about one shortly, in the “Substitute for Boxwood” section, and you’ll be introduced to several others in the photo captions throughout the article. Allowing suckers to remain in proximity to the main shrub may be detrimental to all in the form of crowding that causes reduced airflow and root space, competition for nourishment, and reduced sun exposure.
3. Elevate the Crown
A common mistake gardeners make when planting is to set the crown, or the point where the branches meet the roots, too deeply in the soil. This can cause even a moisture-loving plant to suffer from oversaturation, as water is likely to pool instead of draining away, limiting the roots’ intake of essential oxygen. The pros at the Clemson University Cooperative Extension Home and Garden Information Center recommend preparing a hole that is two to five feet wide. It should be as deep as the distance from the top roots to the bottom of the root ball. The root ball should be set in the hole so that the top roots sit at or slightly above ground level when planting is complete.
4. Manage Bare Legs
Something you are unlikely to read in a plant description is that the lower portions of this shrub’s branches sometimes drop their leaves, leaving unsightly “bare legs.” This is due to a lack of sunlight penetration to the bottom portion of the shrub. You can avoid this with regular yearly pruning and/or periodic deep pruning every three years or so. With regular pruning, you can remove up to one-third of the branches to their points of origin, or just take out lifeless branches. Deep pruning is taking a shrub way down to crown level for a total makeover.
5. Prep the Bed and Loosen the Roots
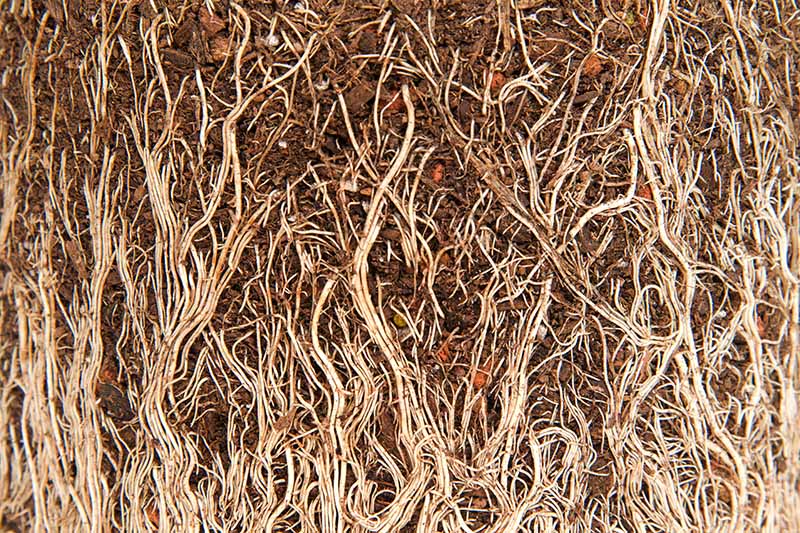
You may purchase or receive your inkberry holly as a young nursery plant in a pot, or as a more mature, “balled and burlapped” shrub. The first step in planting a shrub is not to dig a hole, but to prepare a bed, as described in the “Elevate the Crown” section. The roots of this bush are shallow and extend outward. Instead of plunking it into a narrow hole, place it in an area of soil that has been loosened, to support lateral root growth. Measure the distance from the crown, where the branches meet the roots, to the bottom of the nursery pot or burlap bag. This height is how deep you should dig. Then make the garden soil loose and crumbly in an area that is two to five feet wide, and as deep as your height measurement. This is an acid-loving species that thrives in fertile soil. You can purchase a combination moisture meter/pH analyzer as discussed in the “Provide Ample Moisture” section of this article, or conduct a soil test through your local agricultural extension, to determine your soil’s pH level. The addition of organically-rich compost, aged manure, or the fertilizer described in the “Support Acidity” section below may be used to increase soil fertility and acidity. Place all of the prepared/amended soil off to the side on a tarp while you get the bush ready. Ideally, when you unbag or unpot a shrub, the soil is loose and the roots are not tangled. In this case, simply place the holly in the center of the planting area, and gently flay the roots outward before backfilling with soil. But what if you unpot and find that the roots go around and around in a mat so thick you can’t even see the dirt? This condition is called being “root-bound,” and it means the plant has outgrown its container and the roots have nowhere to go. Rootbound plants need some tough love. Start by laying the shrub on its side. Then take your pruners or hori hori knife and make shallow downward cuts into the mass of roots, rotating the bush as you go. Think of the cuts as the spokes of a bicycle wheel, only just go a few inches deep, not all the way to the center. This slicing loosens the roots so you can place the bush in the planting area with some roots flayed out, ready to spread and absorb nourishment. Don’t worry if some severed roots fall off. The circular ones are not likely to ever straighten out and grow properly. When I. glabra is planted in this way, its shallow but fibrous roots spread out and grip the ground well, making the species an especially good choice where erosion is a problem.
6. Provide Ample Moisture
This is a coastal shrub that prefers soil that stays moist. Avoid areas of standing water, but consider those places in the landscape that tend to dry out a bit more slowly than others. Keep in mind that this shrub requires full sun to part shade when making your site selection. Water I. glabra deeply when you plant it in early spring or late fall. Thoroughly saturate the soil not only over the roots, but across the entire area of prepared soil.
7. Prune Appropriately
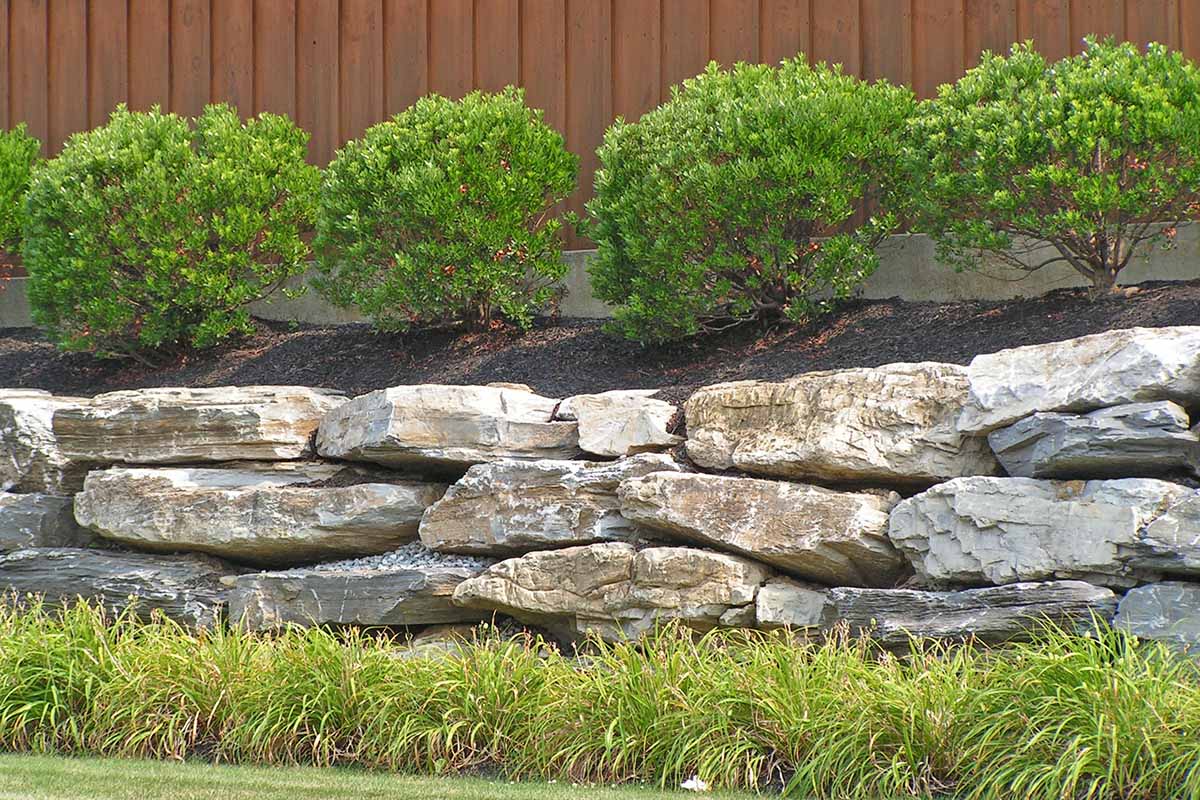
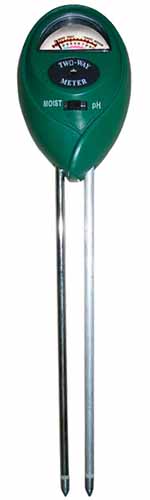
To know when to prune, you have to decide if flowers and fruits are important to you, and you need to know that I. glabra blooms on old wood. Check your new shrub every few days, and water it deeply at least once a week to maintain even moisture. A moisture meter can help with this task. Active Air 2-Way Moisture/pH Meter The Active Air 2-Way Moisture/pH Meter is a combination moisture meter and pH checker. Use it to help gauge when it’s time to water. For use as a pH meter, distilled water is required. Find the Active Air 2-Way Moisture/pH Meter available from Arbico Organics. No batteries are required. Once you see new growth, ease up on the watering a little, by waiting for the top six inches or so of soil to dry out before giving it a good soaking. Continue to monitor moisture for the first year. Thereafter, an inch of water per week is adequate in the absence of rain. Check plants regularly, especially during heatwaves, and adjust as needed. If you have a male, and flowers don’t matter, do your regular pruning in late winter while the bush is dormant. This involves the removal of up to one-third of the damaged or dead branches, as well as those with bare lower legs. If you want your male to flower again the next season, prune it just after flowering. It’s not too late, as the new flush of growth that follows pruning has plenty of time to set next year’s buds and harden off before winter. For a female, there is really no good time to prune, because as flowers finish blooming, those that were pollinated set fruit. In this case, pruning involves losing some flowers and potential fruit. So, late winter or just after blooming are both appropriate times. If you plan to grow hedges, select compact cultivars and you will prune far less than you will if you purchase a full-size species plant and insist that it be a friendly hedge height. It’s the same scenario here. If you don’t care about flowers or fruit, prune in late winter. If you do want to preserve flowers and possible fruit, wait for blooming to finish before picking up the loppers. A periodic deep pruning is best done in the spring, when there is plenty of time for a strong flush of growth to harden off before winter. When the shock is over and the shrub recovers, budding and the potential for fruiting resume. Strongbox® Inkberry Holly, I. glabra ‘Ilexfarrowtracey,’ is a compact cultivar with a mature height and girth of only two to three feet. Space plants two to three feet apart for a formal appearance and minimal pruning. Strongbox® Inkberry Holly Note that Strongbox® is a female plant, and it will produce berries if a male inkberry holly is planted nearby. You can find Strongbox® inkberry holly plants available from Nature Hills Nursery in #3 containers.
9. Support Fertility and Acidity
As mentioned in the “Prep the Bed and Loosen the Roots” section above, to grow inkberry holly, the soil should be fertile and acidic, and may be enriched with amendments such as compost, aged manure, or a fertilizer for acid-loving plants. The pH should not exceed 6.8, and this can be determined with a soil test or a pH analyzer like the one recommended in the “Provide Ample Moisture” section of this article. When the earth is too alkaline, this species is prone to chlorosis, or a yellowing of the foliage. Holly-Tone Holly-tone is an all-natural fertilizer that contains essential nutrients and increases soil acidity. It is made in the USA. Apply Holly-tone at planting time and early each spring to support an ideal growing environment.
Year-Round Landscape Interest
I’m always excited to grow a native shrub. If you’re like me, you’ll enjoy not only the beauty of inkberry holly and its functionality in the landscape, but its ability to support local bees and birds as well. Let’s recap: Put this native evergreen on your garden planner to-do list today! With these nine tips, you’re well on your way to successfully cultivating a long-lived shrub with year-round landscape interest. Are you growing inkberry holly? Let us know in the comments section below! If you found these tips informative, you may enjoy reading the following articles about growing holly next:
How to Grow and Care for English HollyHow to Grow and Care for Winterberry HollyHow to Grow and Care for American Holly TreesHow to Plant and Grow Oak Leaf Holly