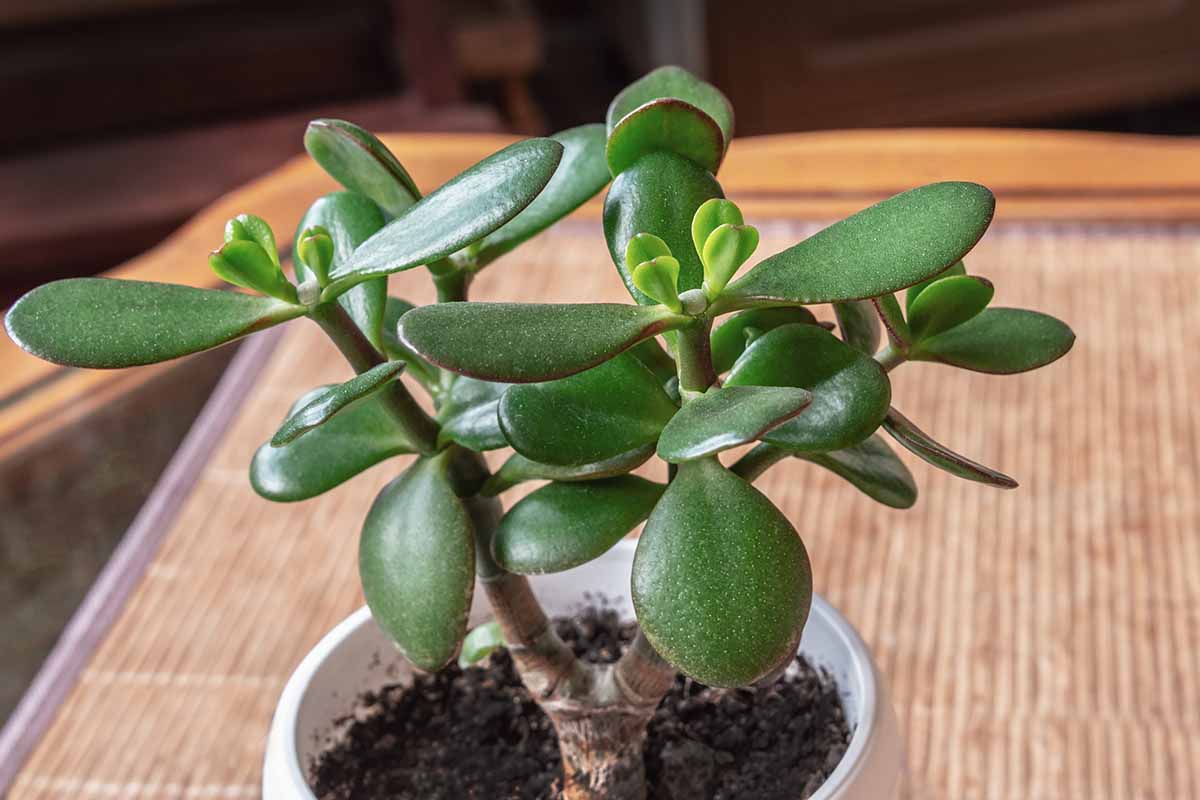
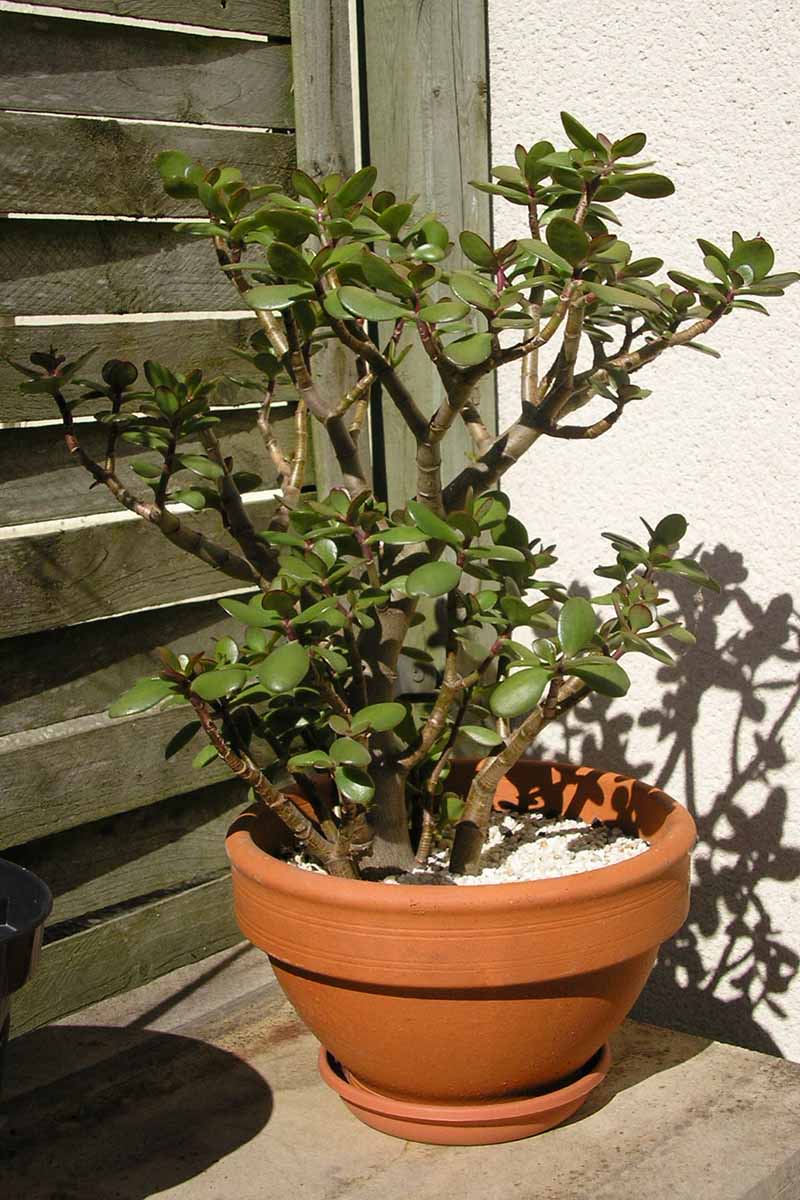
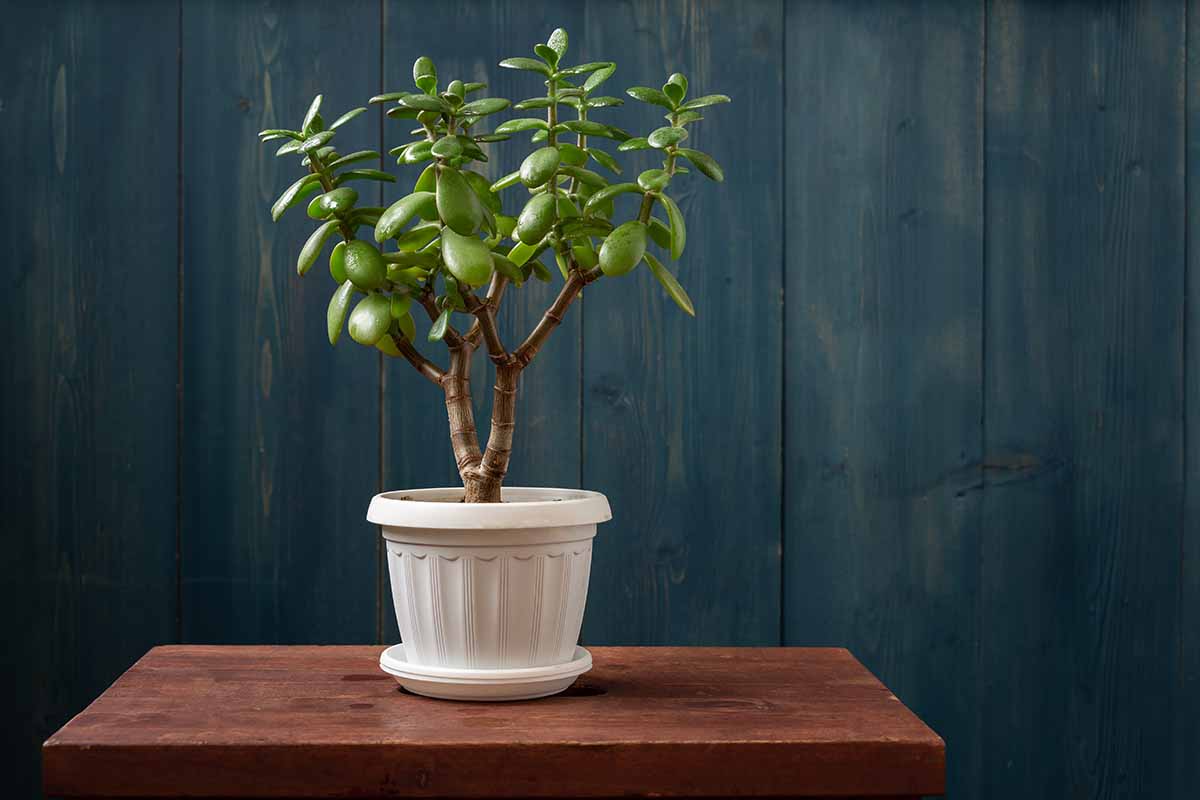
Native to South Africa, it is suited to outdoor cultivation in USDA Hardiness Zones 11 and 12. It may be cultivated as a houseplant in all regions and it is popular for being water-wise, not prone to pests or disease, and long-lived. We link to vendors to help you find relevant products. If you buy from one of our links, we may earn a commission. Characteristic traits include fleshy evergreen leaves, thick, branching stems, and an 18- to 30-inch indoor height. In our growing guide, we introduce the jade plant and discuss how to cultivate it indoors. This article discusses nine reasons for pruning jade and the tools and techniques to address them. Here’s what we’ll cover: Let’s get started!
9 Reasons to Prune Jade
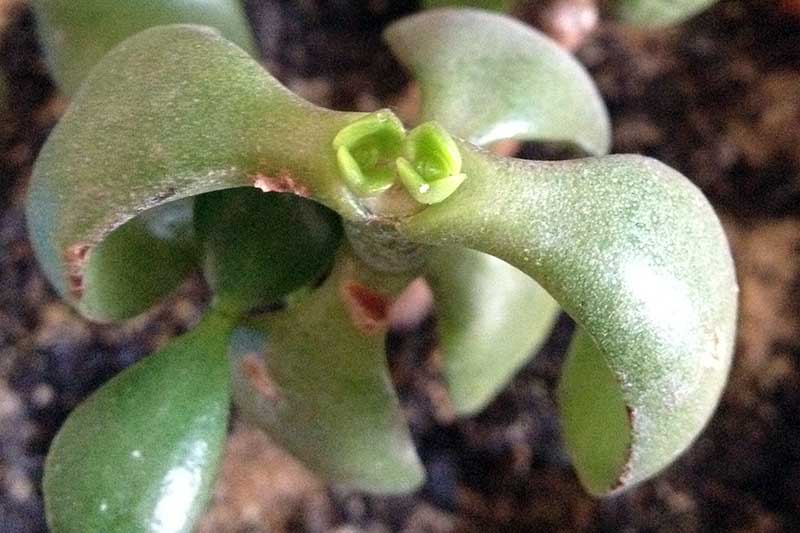
Pruning in this case is the process of removing unwanted stems and/or leaves. The purpose is to keep a plant healthy, make it look more attractive, or both. What I find fascinating about pruning jade is that when you make a cut at a growing point called a node, two shoots grow where there had been one. Nodes are where new growth originates. They may be leaves, pairs of leaves, or the brown lines on mature stems called leaf scars. The growing tips of the stems, aka shoots, or apical meristems, are the primary growing nodes. Jade doesn’t have to be pruned, but there are nine good reasons why you may want to clip stems or leaves, including: For each reason to prune, there are recommended tools and suitable techniques for the job. Let’s assemble the tools and then talk about techniques.
Preparatory Steps
Unless you have an urgent need to prune, wait until spring or summer when your plant is growing vigorously. An active plant heals and regrows quicker than one in winter dormancy. Select a day soon after you have watered. It’s best to avoid splashing water onto freshly cut plant tissue, as it can invite pathogens and pests. Collect the following:
A pair of snug-fitting, disposable gloves for sap sensitivityCutting tools, like a paring knife, small scissors, pruners, and a horticultural saw (for large, old stems)Cotton balls70 percent isopropyl rubbing alcoholSmall plastic trash bag
Using sharp tools is essential. Jagged cuts made by dull blades don’t heal well and may be vulnerable to pest and pathogen infiltration. Sanitary equipment is also crucial, especially when trimming an infested or infected specimen. Here’s how to sanitize cutting blades:
Put on disposable gloves.Work on or over the trash bag to protect surfaces.Moisten a cotton ball with 70 percent rubbing alcohol.Wipe the sides of the blades with the saturated cotton ball.Hold the moistened cotton ball and carefully run the sharp cutting edges over it.Rinse the blades and your gloved hands thoroughly.Dispose of the cotton ball in the trash bag.
Now, let’s tackle the nine reasons for pruning.
Appropriate Trimming Techniques
For every reason to clip foliage, there is an efficient way to complete the task. Let’s find out how.
1. Get Rid of Damaged Foliage
While C. ovata is not pest or disease prone, there may be times when you inspect the foliage and find signs of pests, like aphid eggs, beneath a leaf. To remove the leaf, use small scissors, like bonsai or nail scissors, to snip it off. Here’s how: Hold the leaf between your thumb and index finger. Slice through the petiole that attaches the leaf to the stem. Make the cut an eighth of an inch away from the stem to avoid wounding it. Be sure to throw the infested leaf and your disposable gloves in the trash, and sanitize the scissors.
2. Last Resort
Occasionally, even a plant not prone to pests and disease succumbs to one or the other and treatments seem to be failing. Over- or underwatering may cause unhealthy and unsightly conditions like rotting roots and leaf drop. Whatever the cause, sometimes the last resort before we give up is a deep pruning. Normally, we don’t remove more than one-third of the foliage at a time because it may shock a plant and delays growth. However, dire circumstances call for drastic measures. To try to salvage a mature C. ovata, you may need a horticultural saw, but in many cases, pruners will suffice. Older stems are often tree-like and have brown leaf lines. You’ll need to cut your plant down like a tree, just above a leaf line. Yours may have one or multiple stems. Use the appropriate cutting tool to cut them all to a height of about two inches. You want to avoid going too short, because you may damage the crown, where the stems and roots meet. If you have a younger specimen, you can cut above a node, or take leaf or stem cuttings to start over. You’ll find instructions for propagating jade plants in our guide. Repotting with fresh potting soil compounds the stress. TLC and patience are needed going forward.
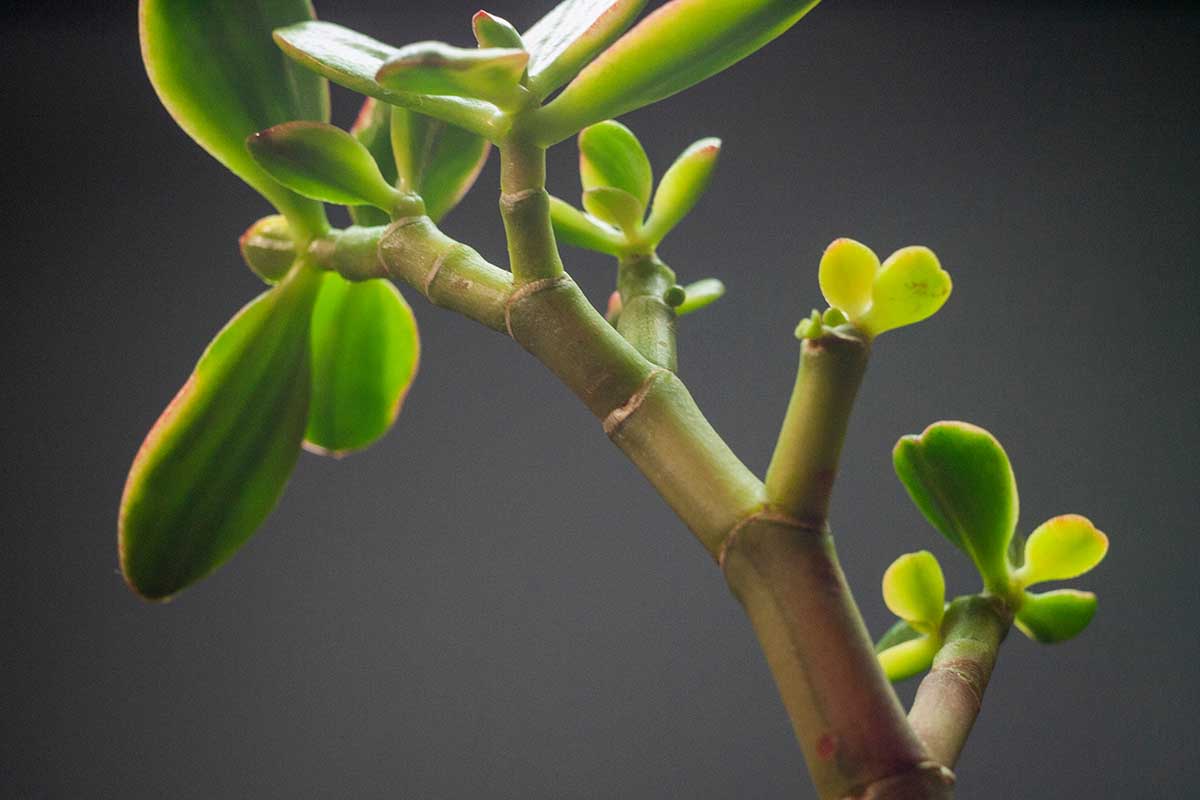
3. Promote Compact Growth
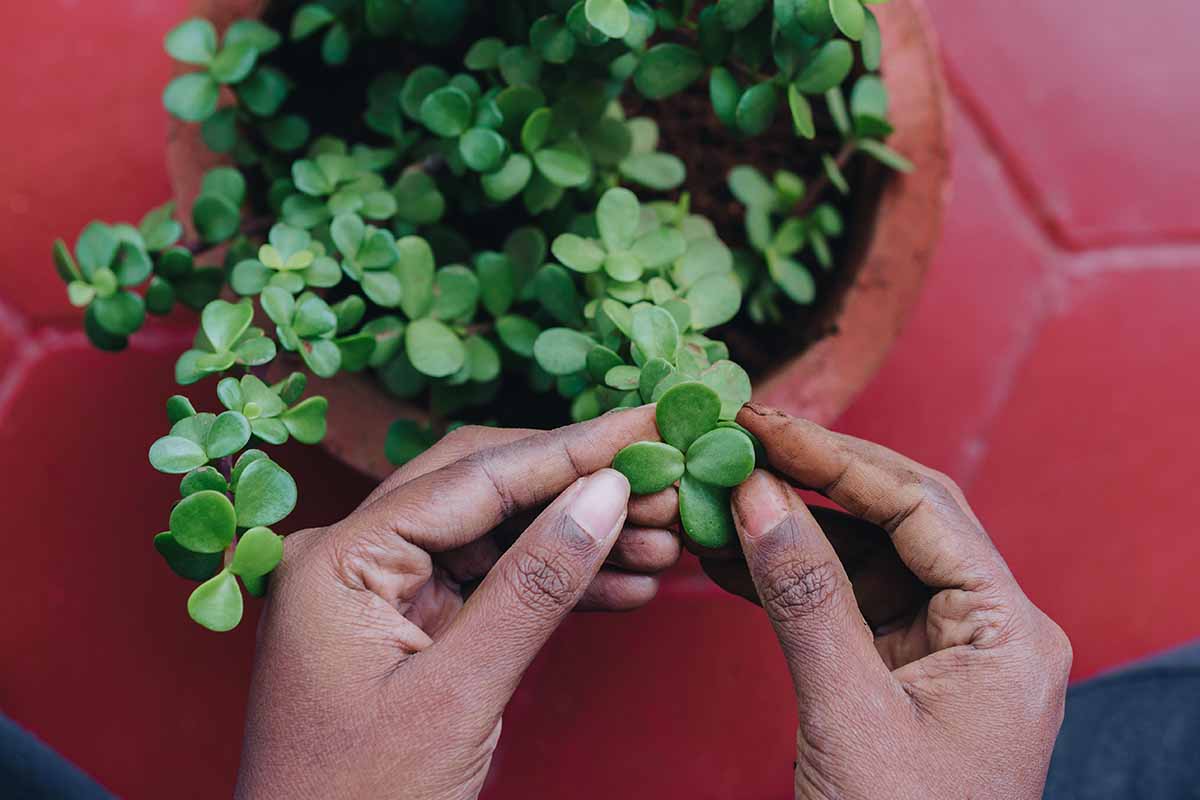
Pinching back the tip shoots or apical meristems encourages lateral branching. The new growth is horizontal and dense instead of vertical and loose. It’s an excellent practice to begin in the second year of a plant’s life. To pinch tip shoots, use your thumb and index fingernails to grasp the smallest pair or two pairs of leaves at the end of the stem. You should place your fingernails an eighth of an inch above a leaf pair. Press your fingernails together and pinch through the petiole. For uniformity, pinch off the same number of leaves on each stem. For a more random look, vary the lengths. If you’d like your plant to be bushy and compact, pinch the growing tips regularly.
4. Reduce Bulk and Rejuvenate
Sometimes an older plant becomes top-heavy and unable to support its weight. The woody branches may become limp and/or break under the bulky foliage. In this case, trimming redistributes the weight and inhibits breakage, particularly of the main load-bearing stems. Remove up to one-third of the bulk by cutting all branches by the same number of inches or cutting randomly, leaving some longer and others shorter. You may need to use a horticultural saw to slice cleanly through older, woody plant tissue. Pruners may be all you need for narrower branches. Remember to slice just above a node.
5. Remove a Broken Branch
If a branch breaks off, it’s essential to make a clean cut to smooth out the jagged wound. The key to ensuring regrowth is to use a paring knife or saw, depending upon thickness, to slice cleanly just above a node. Choose the appropriate cutting tool for the width of the branch. Locate the ragged tissue left by the break or from which the branch is dangling. Slice just below the ragged place. Do your best not to damage nearby foliage or risk a scar. If breakage is a common occurrence, your plant may be top-heavy and in need of a rejuvenating bulk reduction as discussed above. It may be possible to propagate the broken piece, to start a new plant.
6. Selectively Prune Crossed Branches
Two branches that cross may rub against one another, causing wounding. Exposed plant tissue is vulnerable to pests and diseases and may result in unsightly scarring. To decide which branch to keep, examine the branches that cross. Does one seem to have the more dominant role, standing vertically, while the other crosses its path? Does the crossing branch point inward, toward the center, creating a tangled look? Is the crossing branch preventing some foliage from receiving sunlight? The answers to these questions can help you make a good decision. Consider both health and aesthetics. Then, here’s what you can do: Remove an entire offending branch to its point of origin, and continue to prune any foliage that sprouts there. Or, clip off a portion of the branch to stop the crossing and stimulate branching at a lower point. Remember to clip an eighth of an inch above a node.
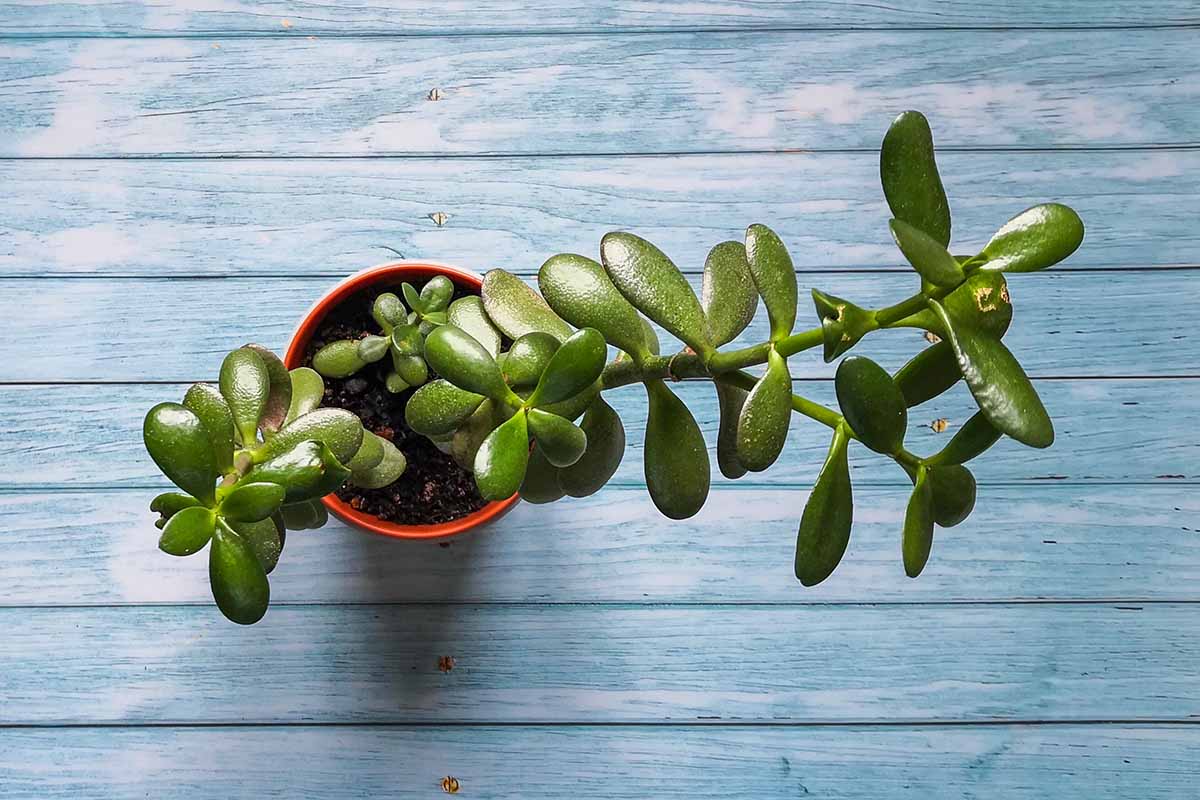
7. Shorten Leggy Stems
Leggy stems are elongated and have large gaps between sparse leaves. They make a plant look scraggly and unhealthy. Causes include overfertilization and inadequate sun exposure. If an entire plant is leggy, you can cut up to one-third of each stem just above a node to encourage bushier growth. Avoid overfertilizing and provide bright indirect sunlight. You may also have a healthy stem that is much longer than the others and skews the general symmetry. A stem like this can cause a plant to be visually and physically off balance and at risk for breakage. Cut it an eighth of an inch above a node at a length that complements the neighboring foliage and contributes to the overall stability.
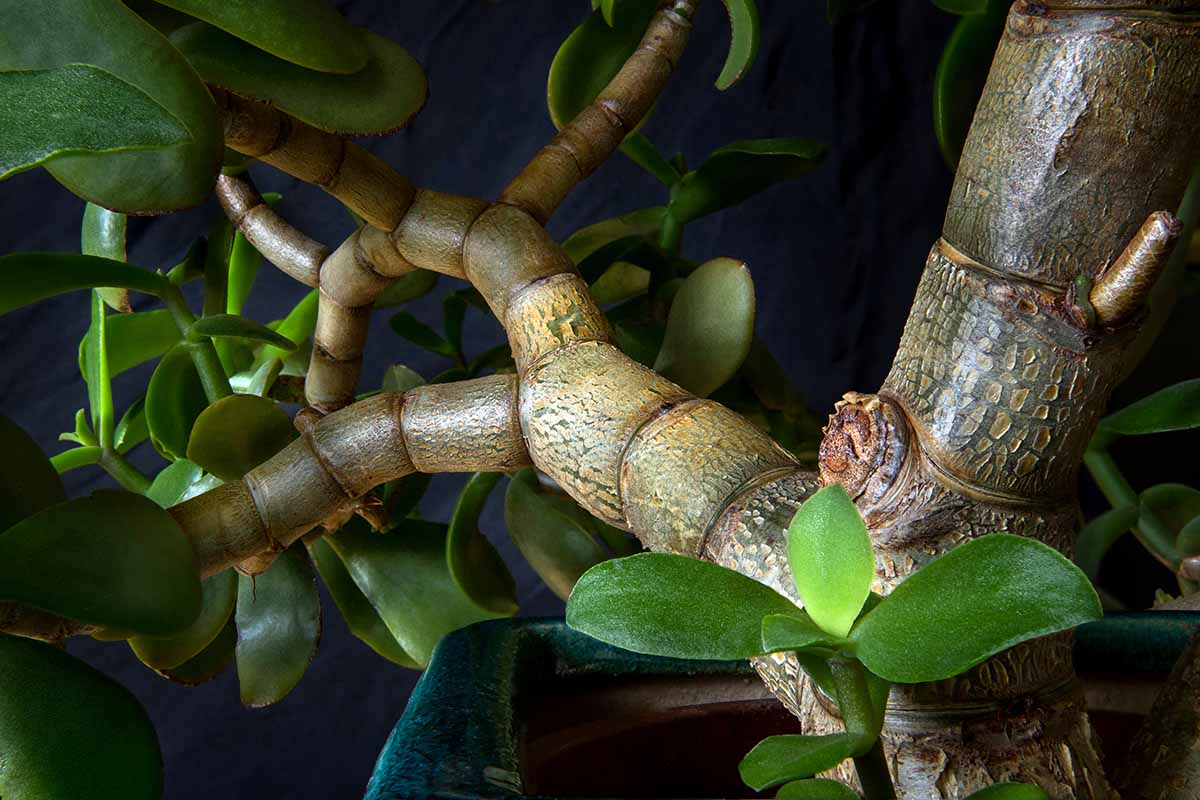
8. Style Artistically
As C. ovata matures, the stems become woody and resemble tree bark. Some people like to clip the leaves from a main stem to make a tree-like trunk, or one may develop naturally over time as older leaves drop. Bonsai is an ancient Japanese art that involves training a plant into the form of a miniature tree by artistically trimming the stems, leaves, and branches. You’ll need bonsai scissors or other small scissors to cut the leaf petioles without injuring the main stem. And the same small scissors, or your fingernails, are perfect for managing new tip growth to create a dense, leafy canopy. Deciding on shape, proportion, and where to cut to design a miniature tree is an exciting project many find very rewarding. You’ll find detailed information in our guide to bonsai pruning. Additional supplies, such as wire and pliers, may be required.
9. Take Cuttings
And finally, you may want to propagate cuttings from your prize C. ovata to keep or give away. To do so, snip off tender young stems or leaves. Use small scissors and remember to cut just above a node to promote regrowth. Before planting the cuttings, let the wounded ends dry out for a day or two. Note that the overall appearance is likely to be more vertical without trimming, since plants will branch less. And while you may find this look attractive, over time, the long, unbranched stems may begin to lean. Occasional pruning stimulates lateral growth that restores stability. With these nine reasons for pruning and the tools and techniques for addressing them, you’re ready to trim leaves and stems as needed or make pruning a regular part of your jade care regimen. Even if your plant is healthy and attractive, it’s important to add pruning to your gardening skill set. Who knows when a problem may arise, or you may decide to get creative? Do you grow jade? Are you styling it or letting it grow naturally? Tell us in the comments section below, and feel free to share your pictures! Now that you know how to prune your jade plant, you may be wondering how to keep other houseplants trimmed and attractive. Here are three articles you may find helpful:
How to Properly Prune Your Pothos PlantHow and When to Prune Your Fiddle-Leaf FigWhen and How to Prune Fuchsia Plants