There’s still some work to be done, and the garden needs a bit more of your attention and TLC before it can rest quietly for the winter. By taking care of these late season tasks, you’ll ensure that your plants and soil stay healthy during the cold, dark months. And your garden will be primed and ready for action when spring arrives, so you can jump right in! We link to vendors to help you find relevant products. If you buy from one of our links, we may earn a commission.
1. Dig Up or Mulch Root Vegetables
Like many cool season crops, root vegetables can take a frost or two and still be harvested in good condition.
In fact, most root crops – such as beets, carrots, celeriac, parsnips, and rutabagas (but not potatoes) – sweeten in flavor when left in the ground to mature at temperatures close to freezing. And if you have well-draining soil that doesn’t freeze, many can be left in situ over winter, to be dug and enjoyed as needed. To make digging root crops easier and protect against hard frosts, cover vegetable beds with a thick, 6-inch layer of dry mulch. Cardboard, fern fronds, evergreen boughs, or clean straw all provide good insulation that’s easily moved when you want to access your veggies. In regions where the ground freezes, dig up root vegetables, brush off the dirt, and store them in a cool, dark location before the ground freezes.
2. Cover Frost Tender Plants
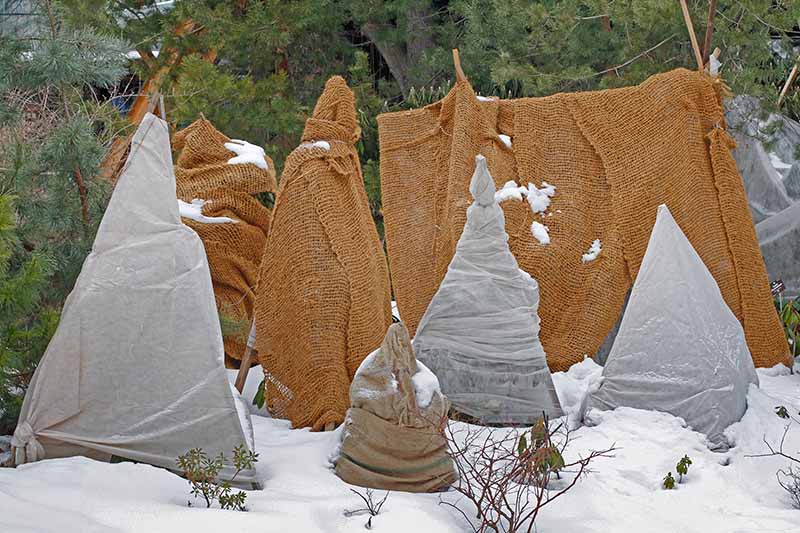
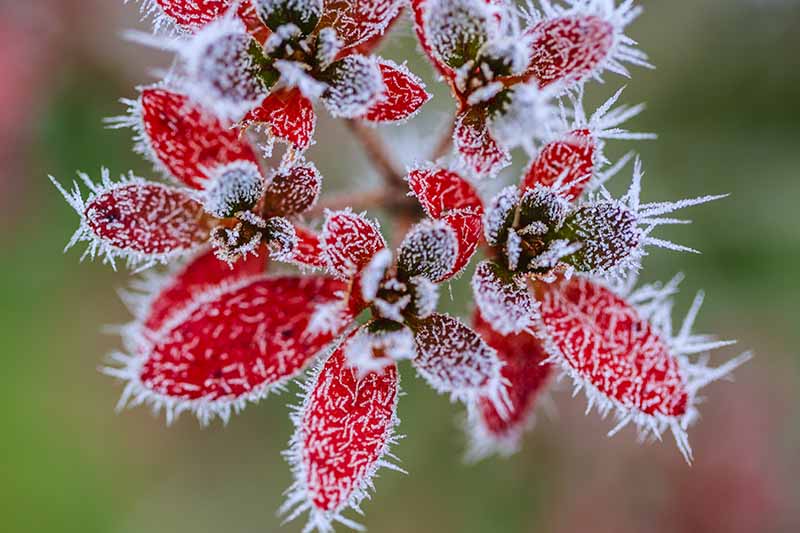
During the coldest months, or when expecting a hard frost, tender perennials, tropicals, and succulents will benefit from having their leaves and stems protected.
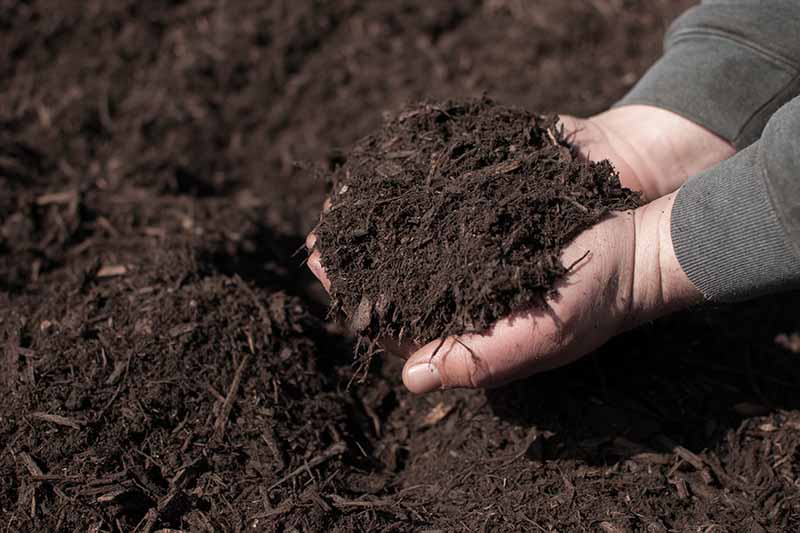
This is also true for perennials that might suffer damage to crowns and roots such as clematis, grape vines, and roses. Use any material that provides lightweight, breathable insulation. Blankets, burlap, evergreen boughs, fern fronds, floating row covers, landscape fabric, and straw stooks are all suitable to wrap plants. (Stooks are upright bundles of grain or grass stems that resemble a tepee.) To protect tender crowns, use a dry mulch of shredded bark, evergreen boughs, fern fronds, sawdust, or straw to cover each crown/the crown of each plant. Pile and stack the mulch over the crown and up the base of the stems, covering the first 12 to 18 inches or the entire height of shorter plants. The crown is the base of the plant. The area where the stems and roots meet, and energy and nutrients are transferred from the roots to the topside for growth. Many plants have their crowns at ground level, exposing them to winter cold. Remove covers once all danger of frost has passed.
3. Divide Perennials
After your perennials have finished flowering, they’ll enjoy some attention before going dormant for the season. Clean plants of broken or dead stems and cut back as needed – the amount depends on the plant, but a general rule of thumb is to remove 1/4 to 1/3 of the top growth. Divide plants into quarters, thirds, or halves and trim excess root growth. Prepare and plant new divisions as outlined in our guide to dividing perennials.
4. General Cleanup
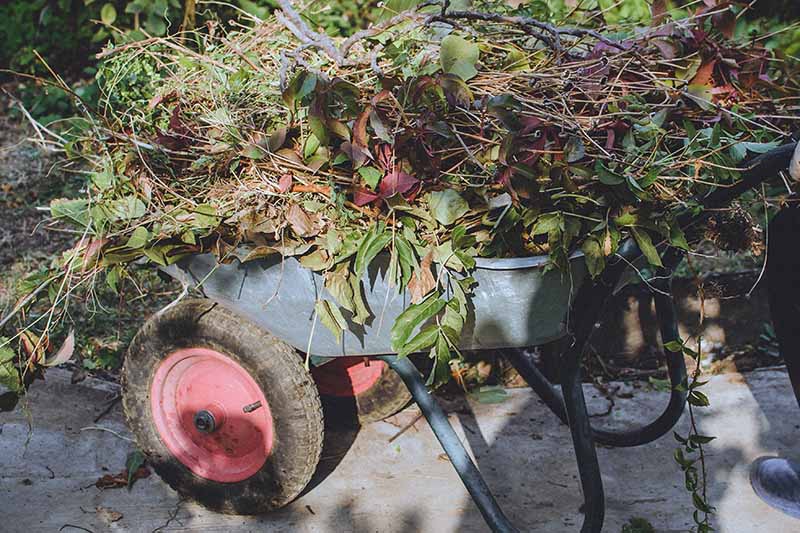
A general cleanup helps to organize your garden, keeps plants healthy, and returns the soil to homeostasis by removing a variety of pests – including potentially harmful bacteria, fungi, and larvae that like to overwinter in the detritus of dead and rotting vegetation.
Some important jobs to take care of:
Remove and dispose of annuals. Deadhead and trim perennials and woody shrubs of dead or damaged wood. Remove any leaves or plant debris from beds. Empty outdoor containers of their soil and store upside down. Remove hose nozzles and sprinkler heads, then store in one place – like a bucket in your potting shed. On a warm day, remove standing water from garden hoses, then roll up hoses and store. Drain and winterize irrigation systems as needed. To prevent brown patches in the lawn, rake leaves before freezing temperatures set in.
5. Lift Cold Tender Bulbs, Corms, and Tubers
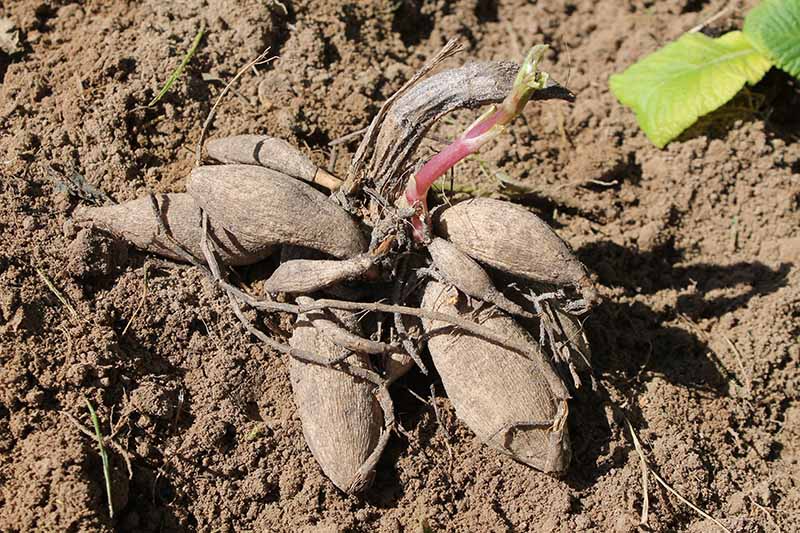
Tender summer and fall flowering bulbs like dahlias and cannas add terrific color to the garden, but many will need to be lifted and stored to survive freezing temperatures.
This includes plants such as:
Acidanthera Amaryllis Caladium Calla lily Canna lily Dahlia Elephant ear Gladiolus Tuberous begonias
After a light frost, but before the ground freezes, remove dead foliage and carefully lift bulbs, corms, and tubers from the soil. To lift bulbs without damage, insert a garden fork all around the plant’s drip line (the outer edge of its growth) and gently pry upwards.Shake off excess dirt, rinse with the garden hose, and allow to dry for a day or two out of direct sun. Sort bulbs, discarding any that are shriveled, soft, or damaged. Store in ventilated containers lined with loose material such as crumpled newspaper, peat moss, sawdust, or vermiculite. Label containers with the contents and date, then store in a cool, dark location, ready for planting out in spring.
6. Plant Cover Crops
Cover crops – such as clover, grains, grasses, and legumes – are planted in late summer to rejuvenate the soil by adding important nutrients.
After your harvest is finished, remove dead and spent plants and weeds. Till the soil lightly to loosen the top six inches, then sow your selected seeds and water well. For the home veggie patch, choose crops that grow quickly, spread out to choke weeds, and are easily tilled into the soil come spring. Some suggestions are:
Alfalfa Barley Buckwheat Crimson clover Fava beans Oats Peas Rye Vetch Winter wheat
You can read more about the “how to” of cover cropping here or find more cover crop species selection tips here.
7. Plant Spring Bulbs and Fall Garlic
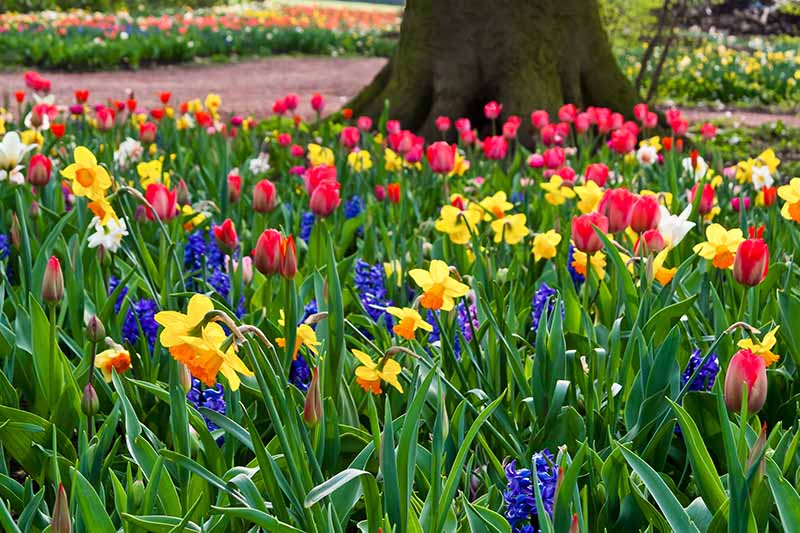
Spring bulbs and fall garlic can be planted anytime in autumn but need to go in before the ground freezes. This includes bluebells, daffodils, Dutch iris, fritillaria, grape hyacinth, Grecian windflower, hyacinth, tulips, snowdrops, and so on.
In areas where temperatures don’t fall below freezing, finish planting bulbs by early November to allow roots enough time to form before winter sets in. The rule of thumb for bulbs is to plant at a depth 3 times the bulb’s height. So, a 2-inch bulb gets planted to a depth of 6 inches. For any type of bulb, position with the large or flat end down in the planting hole and the peaked or narrow end on top. For bulbs with no discernible top or bottom, like Grecian windflowers, plant on their side to facilitate easy growth. You can read more about growing garlic here.
8. Prepare Beds for Winter for an Easier Job in Spring
To prepare flower and vegetable beds for winter, remove all dead or finished plant material including rotting fruit, vegetables, and weeds.
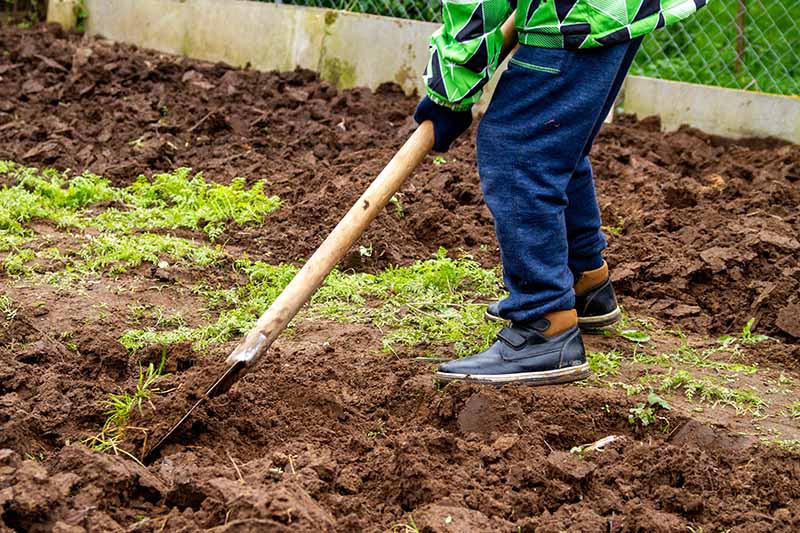
Till the soil lightly to expose any unfriendly larvae looking to overwinter, such as Japanese beetles. Add and dig in a 2-inch layer of well-rotted compost or manure. Test soil levels to determine if additional nutrients are required and amend as needed. Autumn is also a good time to work on creating new beds or expanding garden space. For some fresh ideas, check out our guides to growing square foot gardens and making your own DIY raised beds. After the ground freezes, add a top dressing of mulch to clumps of herbs and perennials.
9. Prune and Mulch Berry Patches
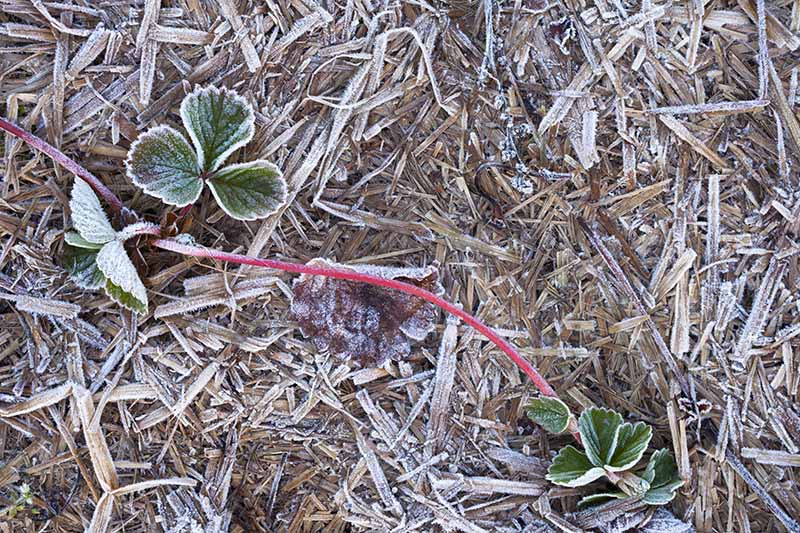
Strawberry plants can tolerate light frosts, but they have shallow roots and are easily damaged by hard frosts and cold spells.
Protect plants with a 3- to 5-inch layer of clean straw, finely shredded leaves, or pine boughs. Apply after the first heavy frost but before the ground freezes. Mulching too early can smother plants, and if applied too late, plants can suffer cold damage. Protecting raspberries and blackberries against the cold depends on the type of cane you’re growing. Both have perennial roots and crowns, but the canes only live for two years. The first year of growth is when primocanes form, and canes in their second year are known as floricanes. For raspberries, floricanes flower and produce summer berries on two-year-old canes, which need to be cut right to the ground after harvest. The remaining 1-year-old canes should be cut back to 3 feet. The best time to do this is in fall when you can still tell the difference between the two. Find more information on identifying primocanes vs floricanes here.
After cutting back the 1-year-old canes, gently bend them to the ground and mound 3 to 4 inches of soil or mulch over top of the canes to protect against freezing temperatures and drying winds. Slowly remove the soil after the danger of frost has passed in the spring. Primocane raspberry plants produce a summer crop on two-year-old canes and a fall crop on new ones. To enjoy both crops, prune canes and cover with soil in autumn as for floricanes. However, in regions with extremely cold winters, an easier option with primocanes is to cut all the canes back to the ground in fall. This means you’ll lose your summer berry crop, but you’ll have a bigger and better fall crop – and without the bother of providing winter protection. Blackberries also set fruit on 2-year-old floricanes and come in two growth forms, erect and trailing – erect plants are hardier and more tolerant of cold weather.
For erect varieties, prune most of the 1-year-old canes to the ground in late autumn, leaving 3 or 4 of the most robust canes of each plant in place. Cut the remaining canes back to 18 to 24 inches and provide a 3 to 4-inch layer of mulch to protect the crowns. Trailing varieties are pruned in the same way as for primocane raspberries. Cut canes back to 3 feet, then gently lay them down on the ground and cover with a thick 3- to 4-inch layer of mulch.
10. Tend the Compost Pile
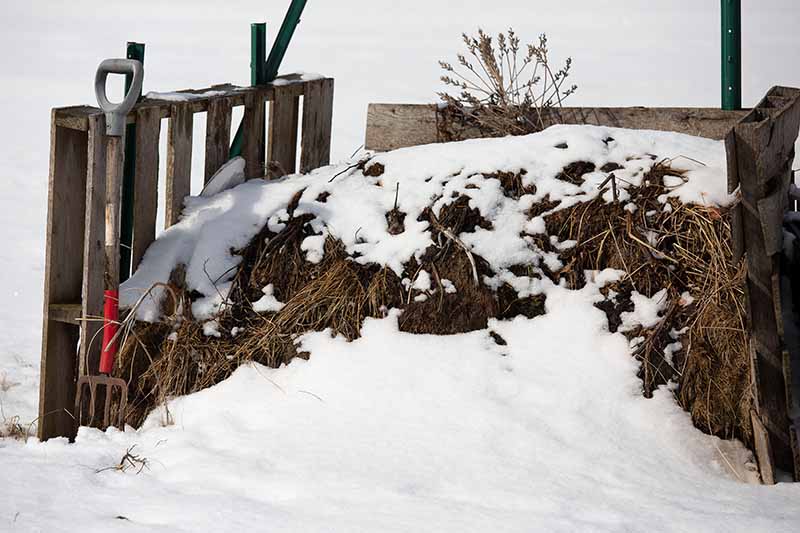
To keep compost viable during the cold months, microbes within the compost piles need to be kept active – which means temperatures must be maintained above freezing.
For regions with the occasional cold spell, turn and water active compost piles one last time before hard frosts arrive. Then pile on layers of insulating material such as cardboard, evergreen boughs, sawdust, or straw to keep the core from freezing. In areas with prolonged freezes, harvest mature compost in fall and use it as a nutrient-rich garden mulch. Continue adding kitchen scraps to your pile over winter – they’ll freeze until spring, when you can begin layering materials again. In milder regions, moisture control is often more important than insulation. Cold, soaking rain can waterlog compost, washing away nutrients and important microbes. To protect from drenching rains, first pile compost into a heap. Or, for bins, upend two or three pots in a row in the center. Then drape with a tarp, spreading it past the edges. Peg or secure the tarp in place.
11. Clean, Sharpen, and Store Tools
Extend the life of your garden tools with some end of season maintenance.
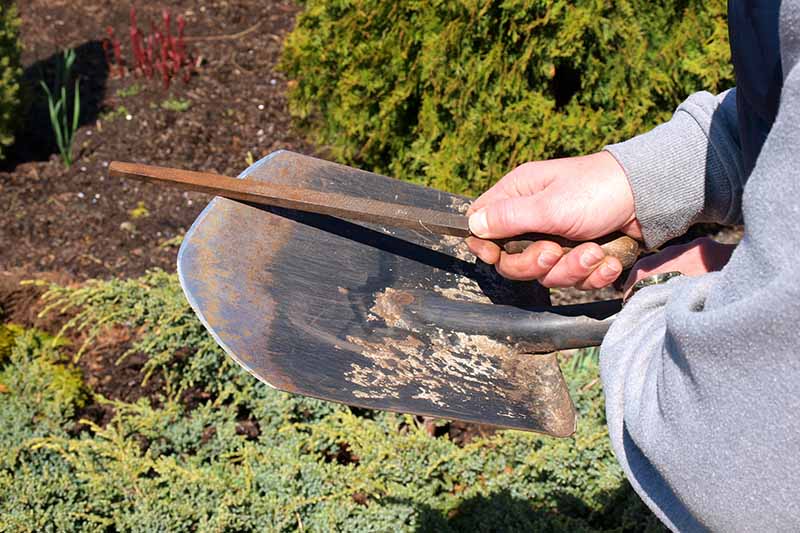
Use a stiff wire brush to brush off dirt from metal utensils. Rub away any rust spots with sandpaper. Rub metal parts with an oiled rag to condition steel and prevent rust. Follow with a dry rag to remove excess and polish if needed. Sharpen the edges of garden forks, hoes, scythes, shears, shovels, and spades. Oil hinges, pins, wheels, or any moving parts on tools such as augers, clippers, pruners, or wheelbarrows. Make a note of any tools that need to be replaced, and add them to your wish list. Once clean, store in a dry location.
Enjoy the Rest
Once all your pre-winter chores are taken care of, you can sit back and enjoy the rest and relaxation that winter brings.
Spend some time going over your journal notes and seed catalogs, then start dreaming big about next year’s garden projects! Do you readers have any must-do pre-winter tasks? Let us know in the comments below. And be sure to check out our other cold weather garden guides – here are a few that might interest you.
How to Survive Jack Frost: Prepping Your Trees for Winter Guide to Clematis Winter Care How to Grow Hellebores, the Winter to Spring Sensation
© Ask the Experts, LLC. ALL RIGHTS RESERVED. See our TOS for more details. Uncredited photos: Shutterstock.
